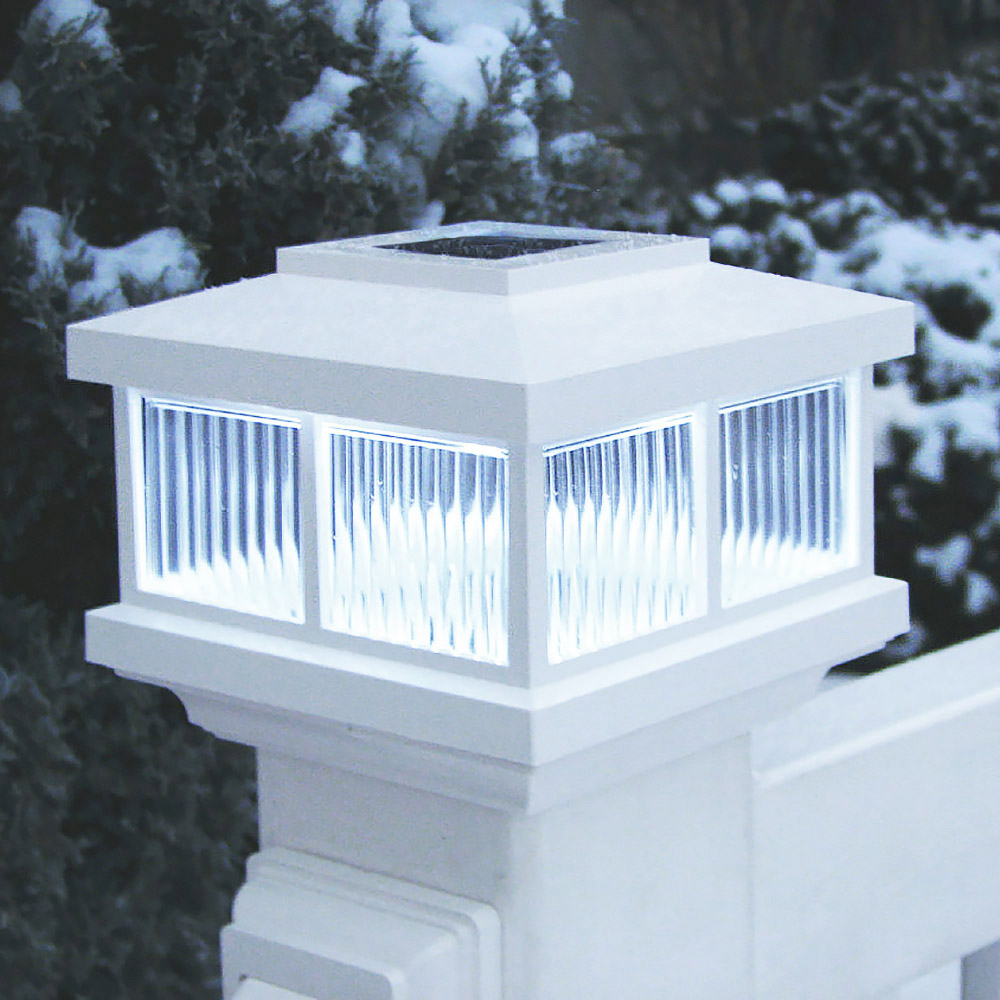
Troubleshooting and Cleaning Solar Post Cap Lights
Solar post caps can last quite a bit longer with some basic troubleshooting and cleaning of your solar post cap lights occasionally. Knowing how and what type of battery to replace will make basic maintenance a breeze. Cleaning the terminals is another thing to keep in mind when changing batteries.
Replacement Battery Specifications:
- IFR14500 (AA Size)
- LiFePO4 3.2V
- 600mAh Or Higher
Remember that solar lights require sunlight to charge. It's best to install the lights away from shaded areas. When first installed, the solar lights may need to charge for a day in ample sunlight before using them regularly. To get the most out of the light, try to install them away from large windows, outdoor lights, and infrared cameras.
Testing Battery And Connection
To test the battery and connection, first, ensure the battery tab is pulled. Remove the battery and re-insert it, ensuring the spring is compressed and not crushed. The light cap should function properly when either upside-down or placed in a dark area. If the light does not show, it may not be sufficiently charged or require replacement.
To test whether the battery or the light needs to be replaced, remove a battery from a known working light and replace it with the battery in question. The light should function properly when placed in darkness. If the light is working, the original battery may not be charged enough or require replacement.
Testing Battery And Solar Module (Multimeter Is Required)
To verify the rechargeable solar battery is charged, use a multimeter to test the DC voltage. Use the probes to touch both the negative and positive battery contacts. A charged battery should be approximately 3.2V. If the battery reads under 3.2V, place it back in the light and let it sit in the sun for a few hours. You should verify the battery is charging by checking for a higher output voltage. If the battery is not charging, it may not have enough sunlight or a poor connection.
If the battery is not getting a charge or the light is not coming on in the darkness, it's time to test the solar module. Remove the battery from the solar module. Using the multimeter, place the negative (black) probe on the spring contact and the positive (red) probe on the flat contact. This is going to test for resistance (Ω). The light should read approximately 8 Ω or higher. If the resistance is significantly lower, the solar module may be faulty.
Solar Terminal Cleaning
To clean corroded terminals, the process is pretty straightforward. Remove the battery. Mix 1 tbsp. baking soda with 1 cup of water. Use a toothbrush with the mixture to scrub the terminals, removing buildup. Afterward, wipe the terminals with a damp cloth and dry them.
Remove the battery from the solar cap to protect already cleaned or new terminals. Use a cotton swab or finger, dab some petroleum jelly or di-electric grease on both battery terminals, and rub around. This will protect the terminals from corrosion and amplify the connection between the battery and the light.
Solar Post Cap ManualIf you have any questions regarding troubleshooting and cleaning solar post cap lights, the battery or solar cap, contact one of our helpful sales representatives.
Contact Us