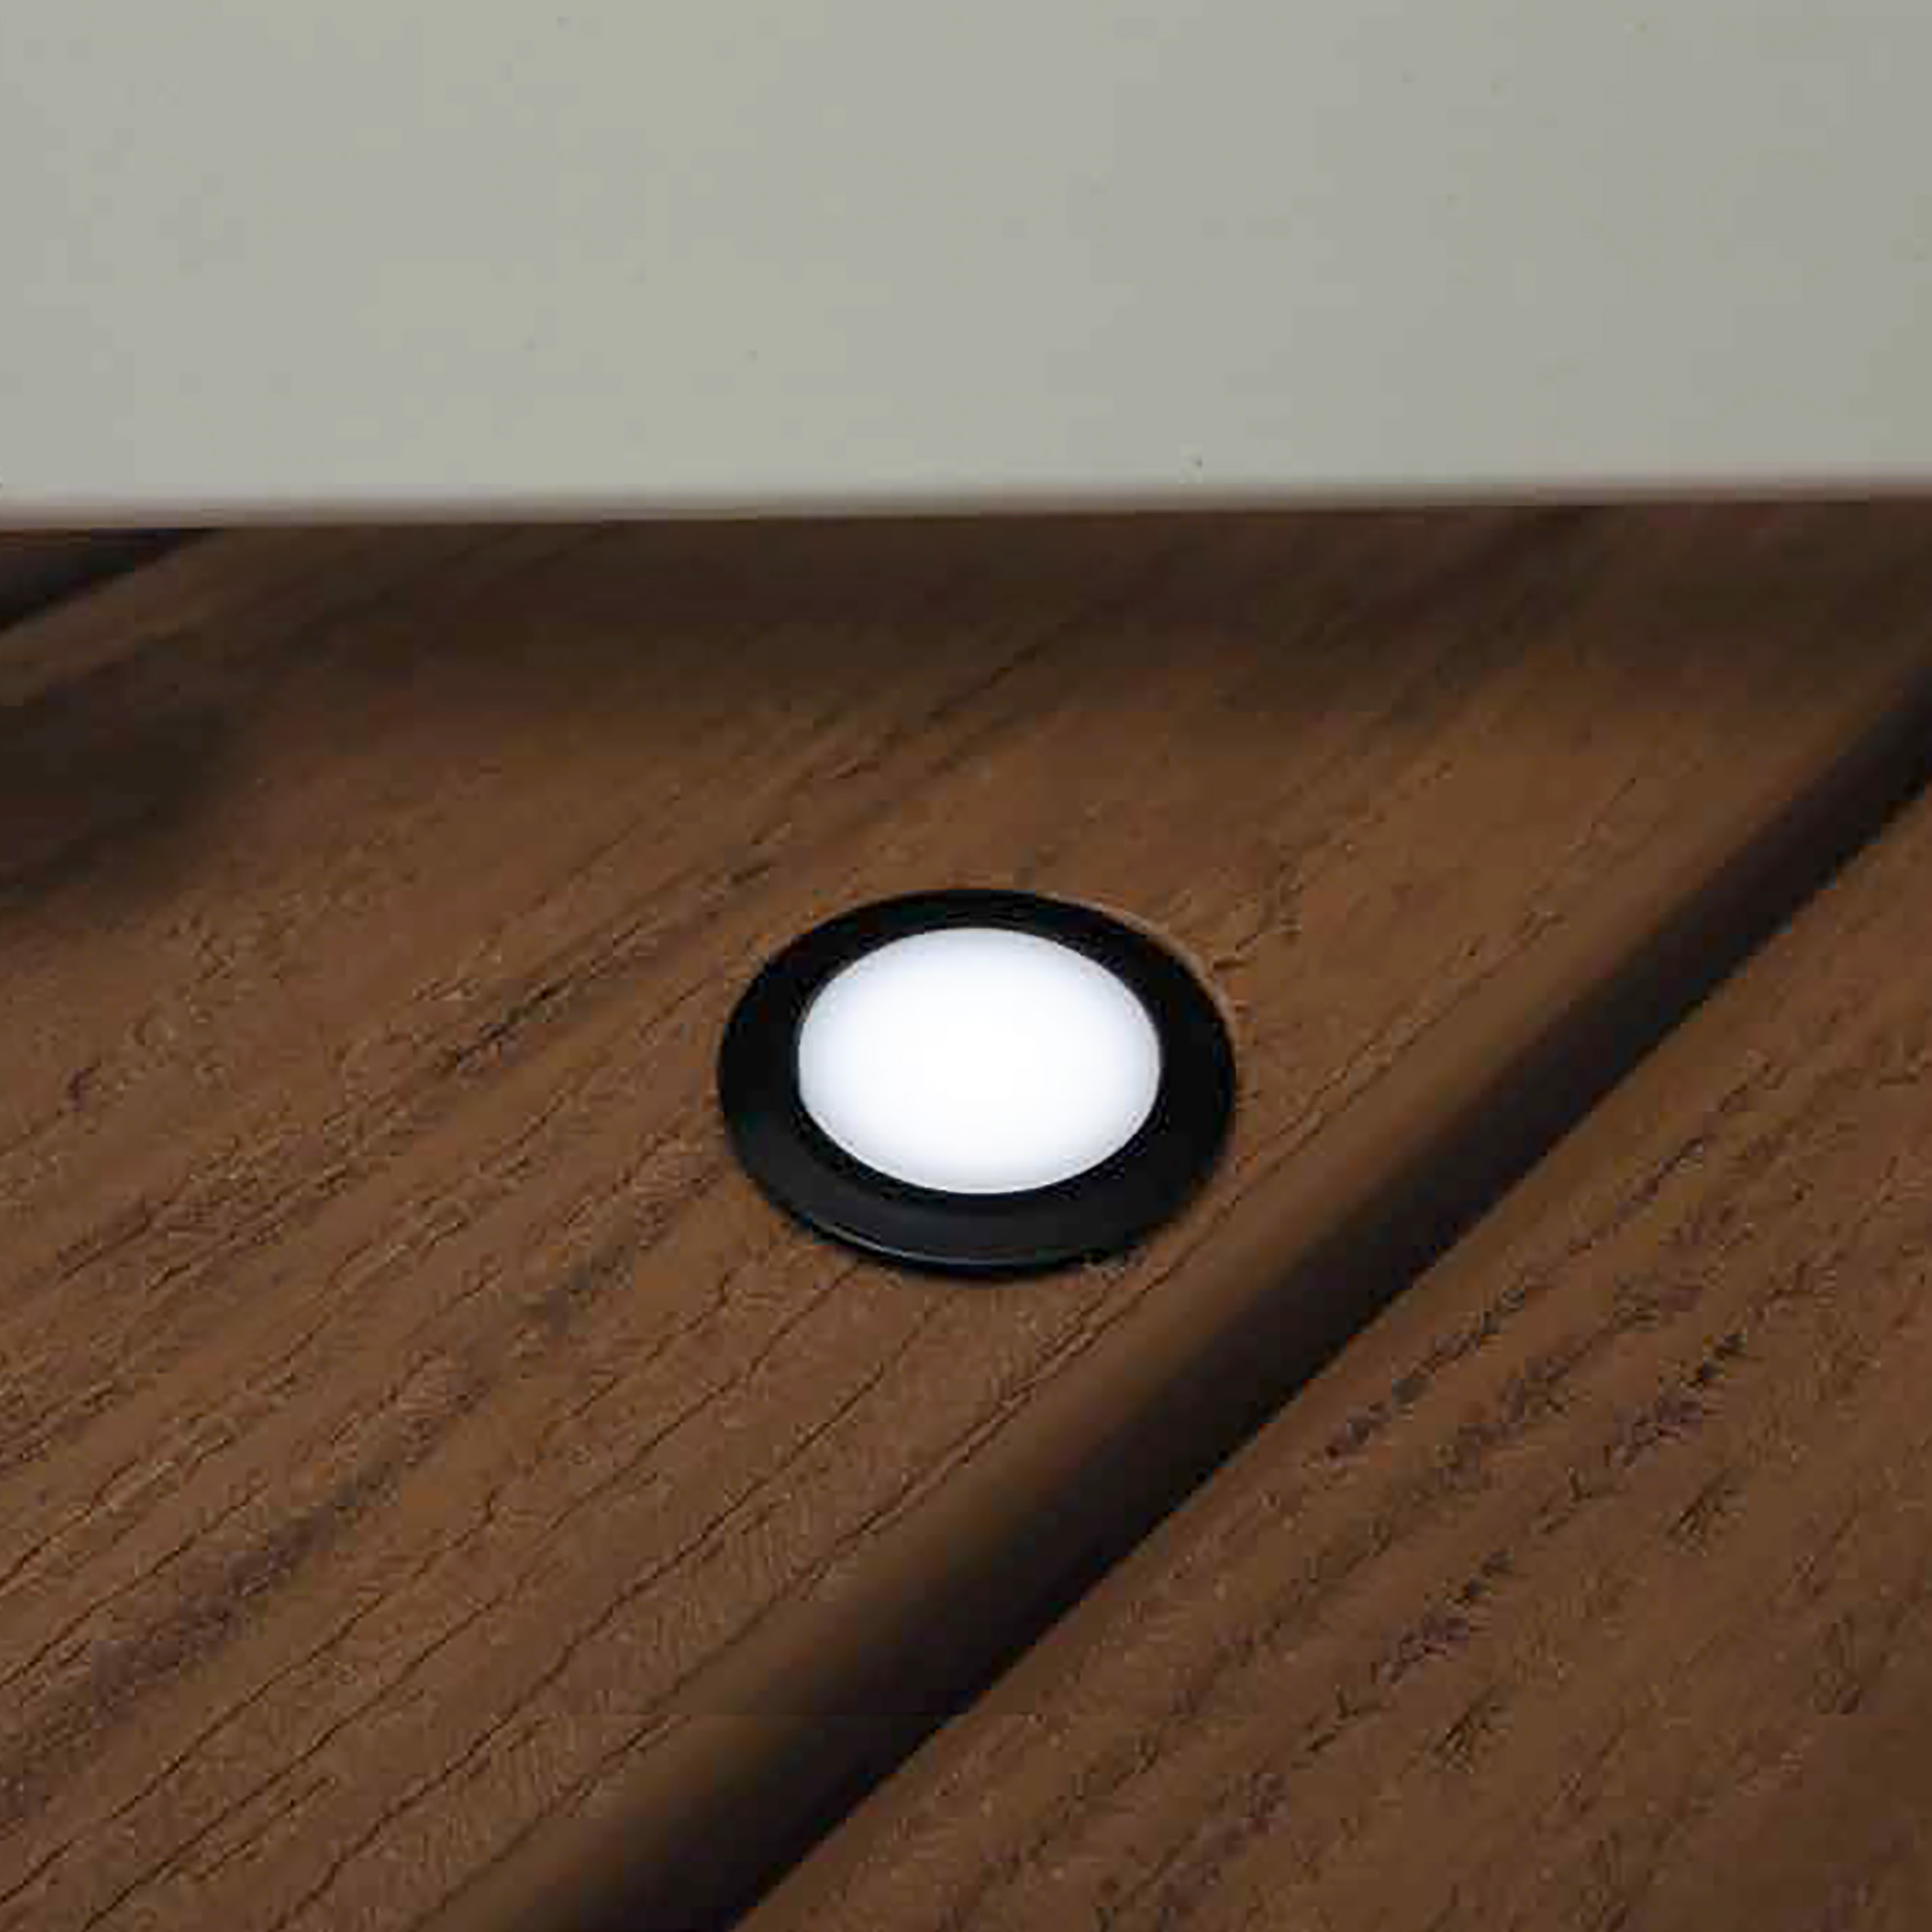
Flush Mount Deck Stair Lights
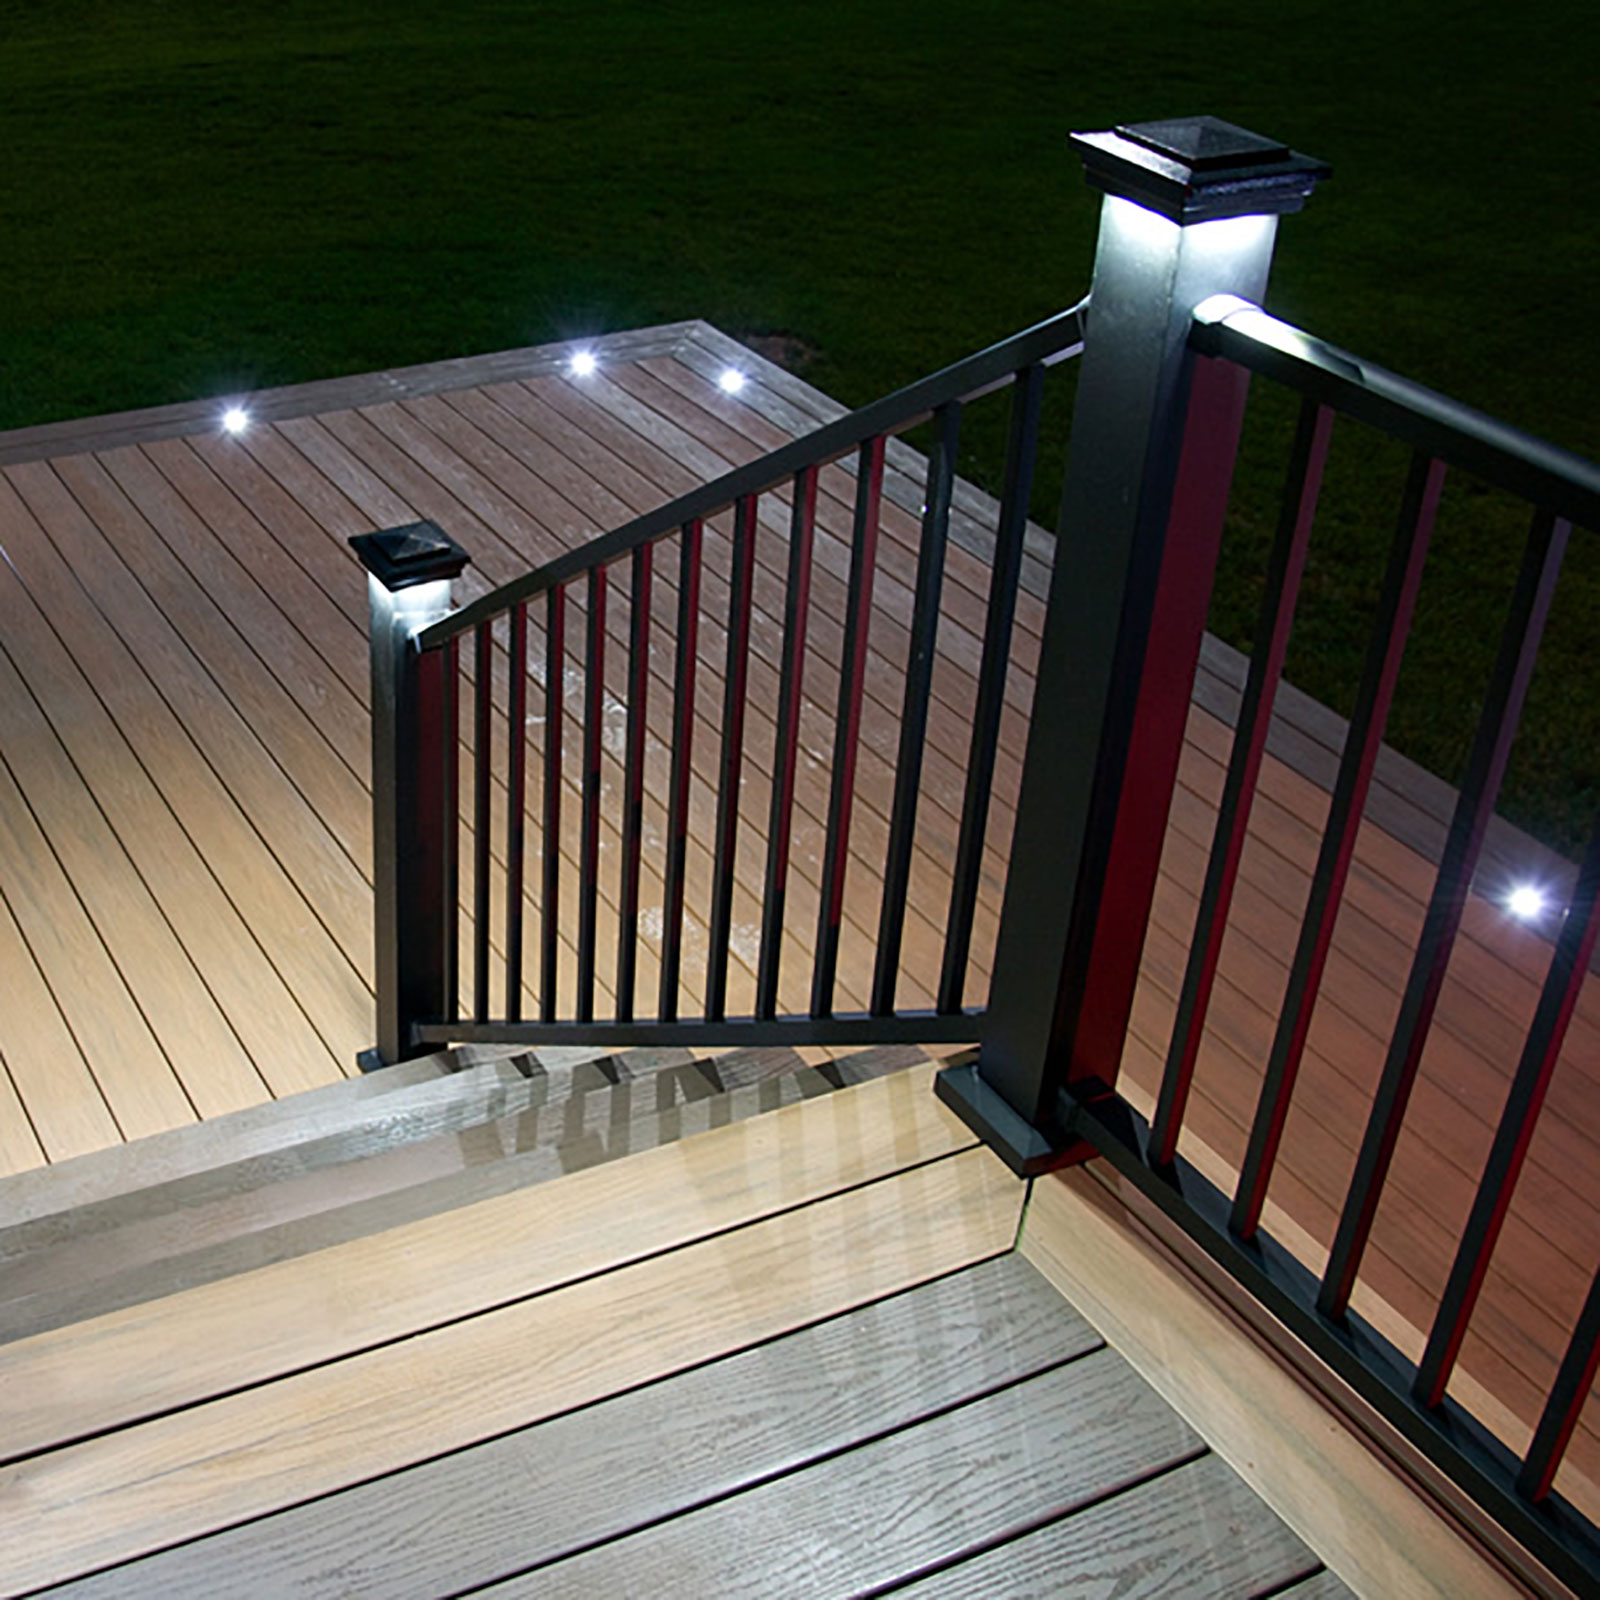
Imagine this: you’re sitting outside on your deck on a Saturday evening. However, as the sun goes down, you cannot see how to enter and exit your deck. The lights around your rail are not enough to illuminate your stairs, and now you’re second-guessing whether you’ll hit the correct step or fall on your face trying to find exact footing.
If you’ve ever stumbled on this issue, there’s a quick fix that won’t break the bank: flush mount deck lights. These lights go on your stairs and can also go around your deck floor to ensure each space is fully illuminated.
Why Should I Use Flush Mount Deck Stair Lights?
These lights have an LED, so they consume less power than average, making your patio setup more environmentally friendly. And, since most flush deck lights come in 5,000 Kelvin, these lights will drastically show off your stair setup and give an elegant look to your backyard.
Some homeowners prefer staggering different light color temperatures to give a unique look to their yard. However, the choice is up to you!
And, to top it all off, depending on the length of your stairs, multiple lights can be added to one stair and cascade down in a parallel line to give a swooping waterfall appearance. It’s the easiest way to add some design elements to a deck.
How Do I Install Flush Mount Deck Stair Lights?
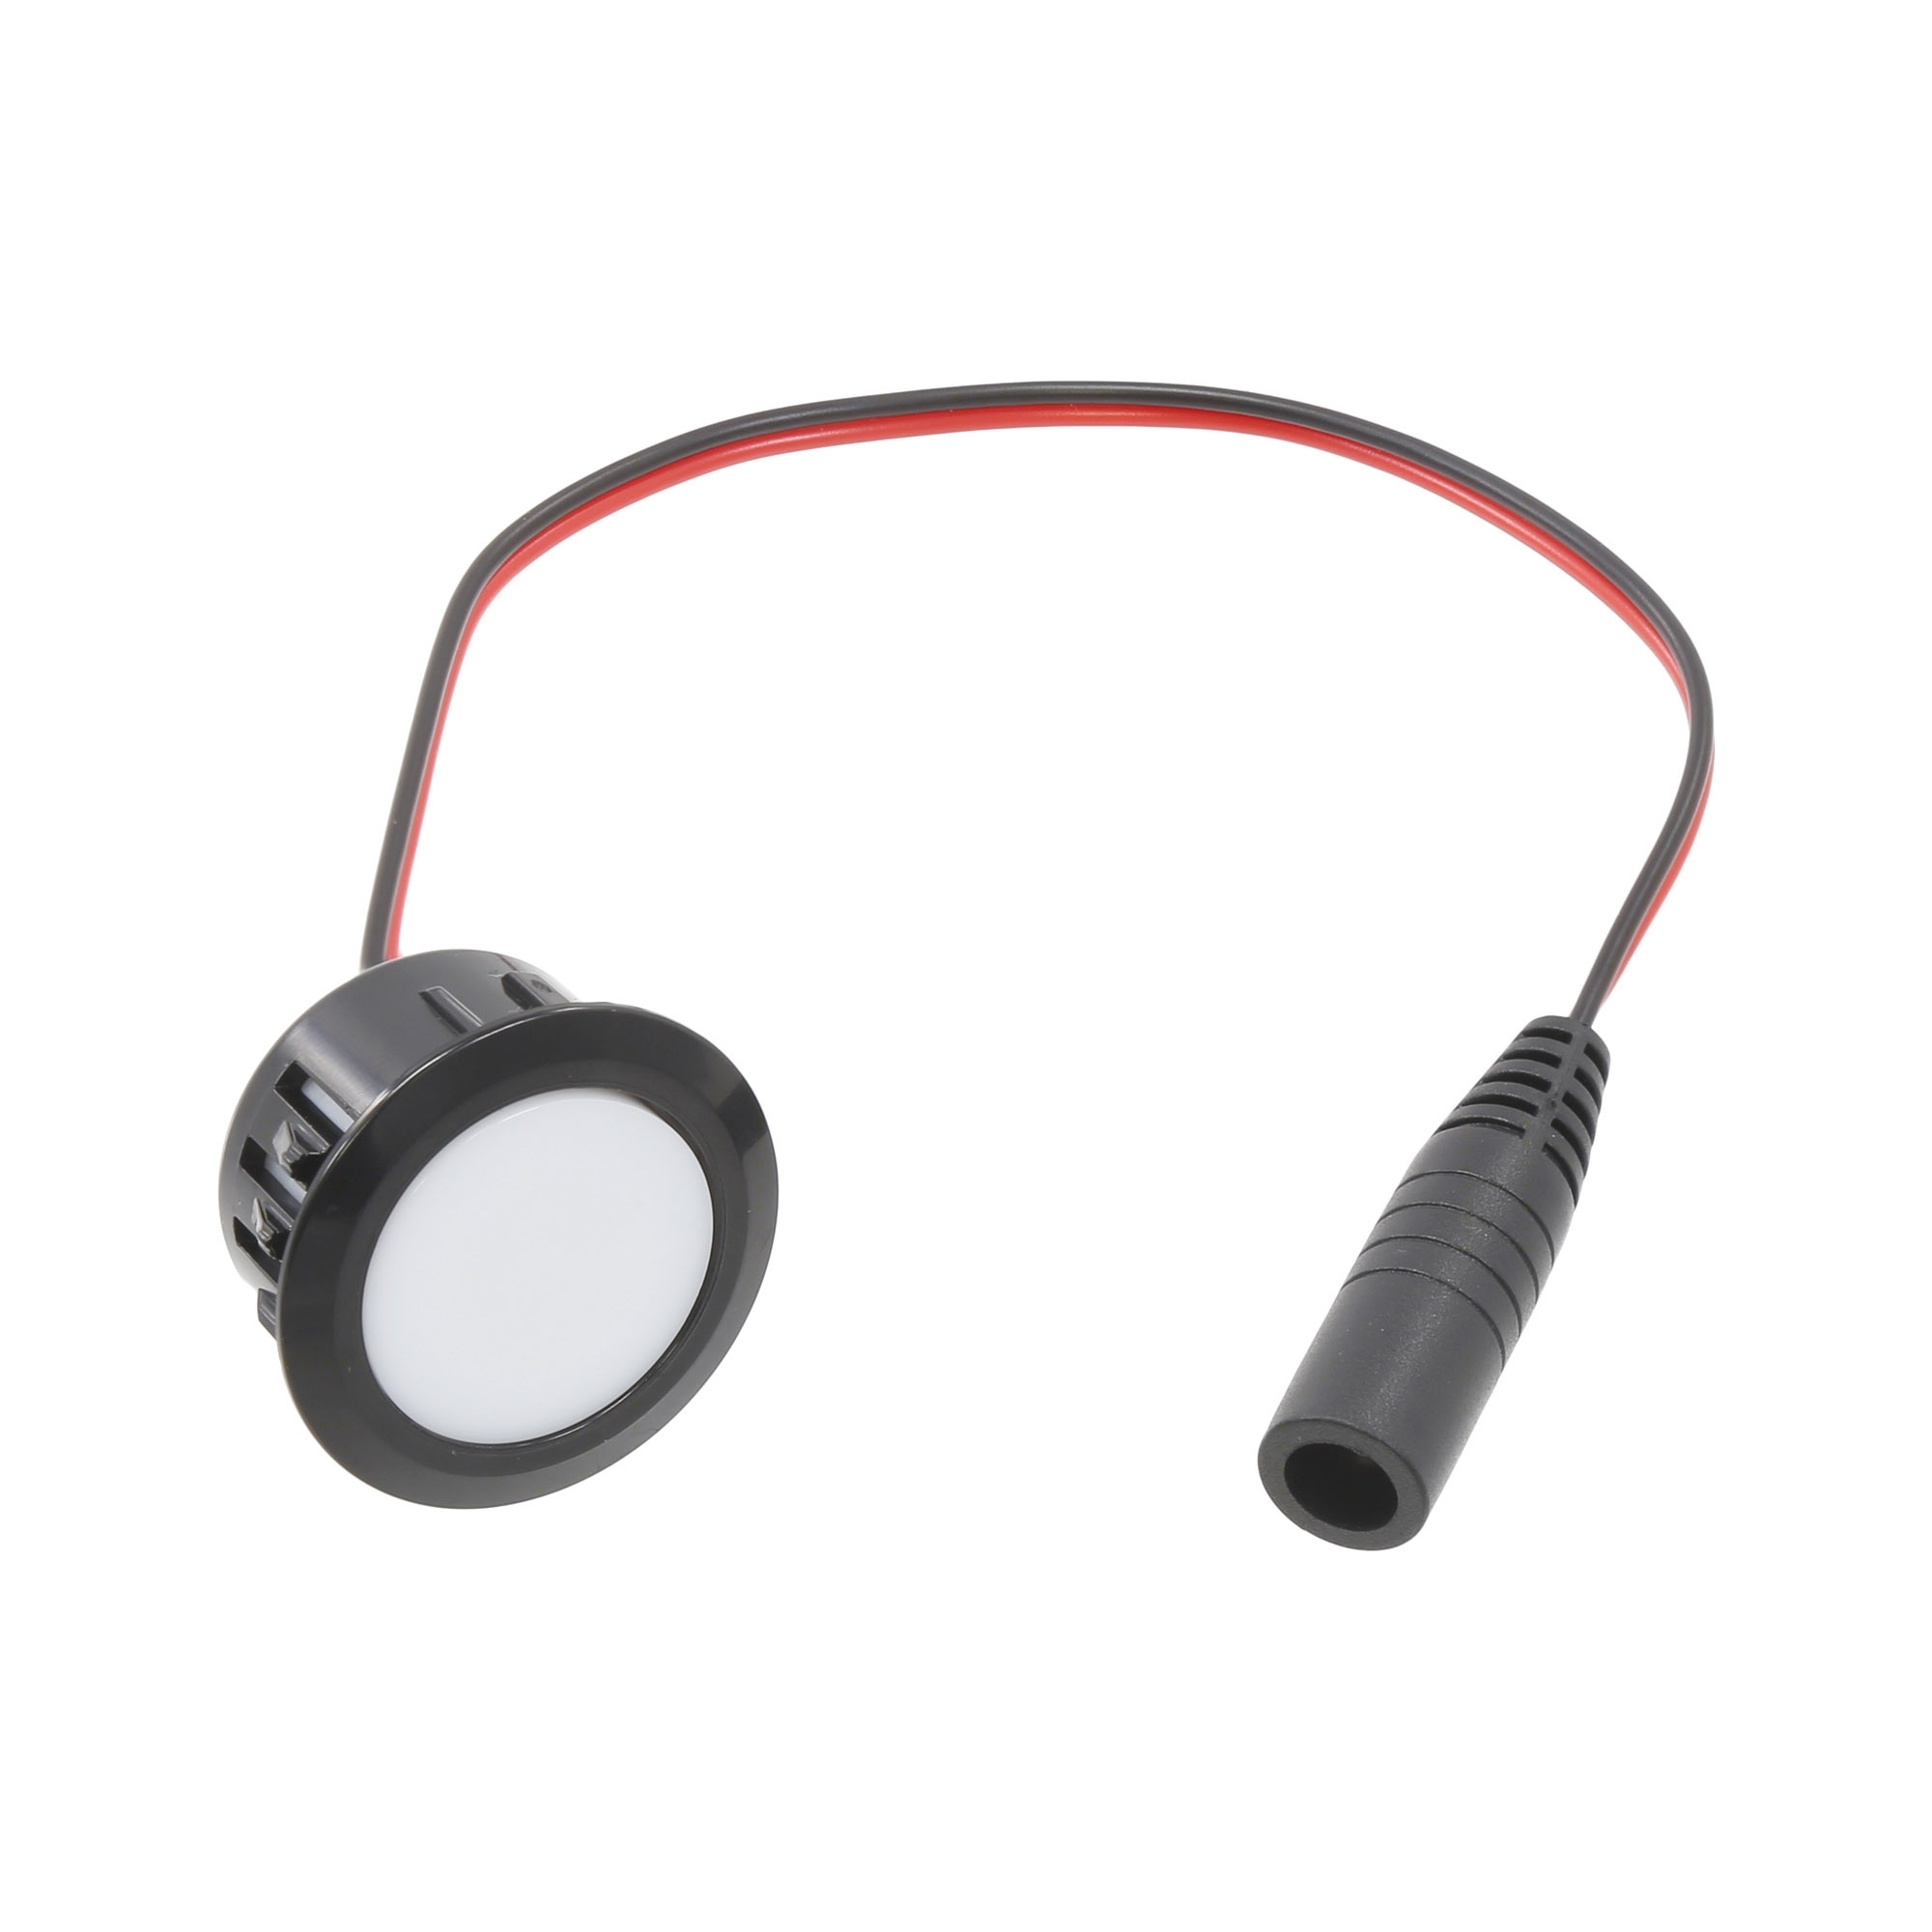
If you need to install an LED light, it’s a quick process that only requires some essential tools such as a forstner bit or bi-metal hole saw, power drill, and flush mount light with trim ring.
- First, lay out where you will place the lights.
- Use a Forstner Bit or Bi-Metal Hole Saw to make a bottom hole in the deck board. Usually, this hole needs to be 1 ¼”, but it may depend on your flush mount light.
- Next, place the wire from the flush mount light into the hole of the trim ring accessory and ensure the light is flush with the lip of the trim ring.
- Connect the male and female connectors. Connection is secure when there is not a large gap between both connectors.
- Next, place the connected harness in your drilled hole first, followed by the trim ring and seated light.
- The flush light should be on if the transformer provides power.
Some Other Tips When Installing an LED Flush Mount Light
- When installing a flush mount light, ensure not to cut any wires. Anything too long can be coiled up.
- If you use wire staples, do not pierce or crush wires.
- Temporarily cover the photocell of the transformer with dark tape so that the lights will turn on after installation, and you can check for issues.
- Your wiring harness should be loose enough so a light fixture can be quickly removed if a replacement is needed in the future.
What Are The Best Flush Mount LED Light Options?
If you prefer quality LED lights, LMT is the top American manufacturer of American-made light options. LMT is the leader in innovation and tests its products multiple times before sending them out. This is why LMT products are available throughout the website.
Installation Ideas For Flush Mount Lights