How Long Should A Solar Light Be Charged Before Installing?
Whenever you purchase a solar light, you may be unaware that charging it is a good practice before putting it in place. If you buy solar post lights or any solar light that will go near your vinyl fence, charging them is especially important when testing them before installing a light on your vinyl fence with vinyl glue. Since vinyl glue is thick and a permanent solution for attaching vinyl post caps, trying before placing them on your fence is essential.
How Do I Charge Solar Lights?
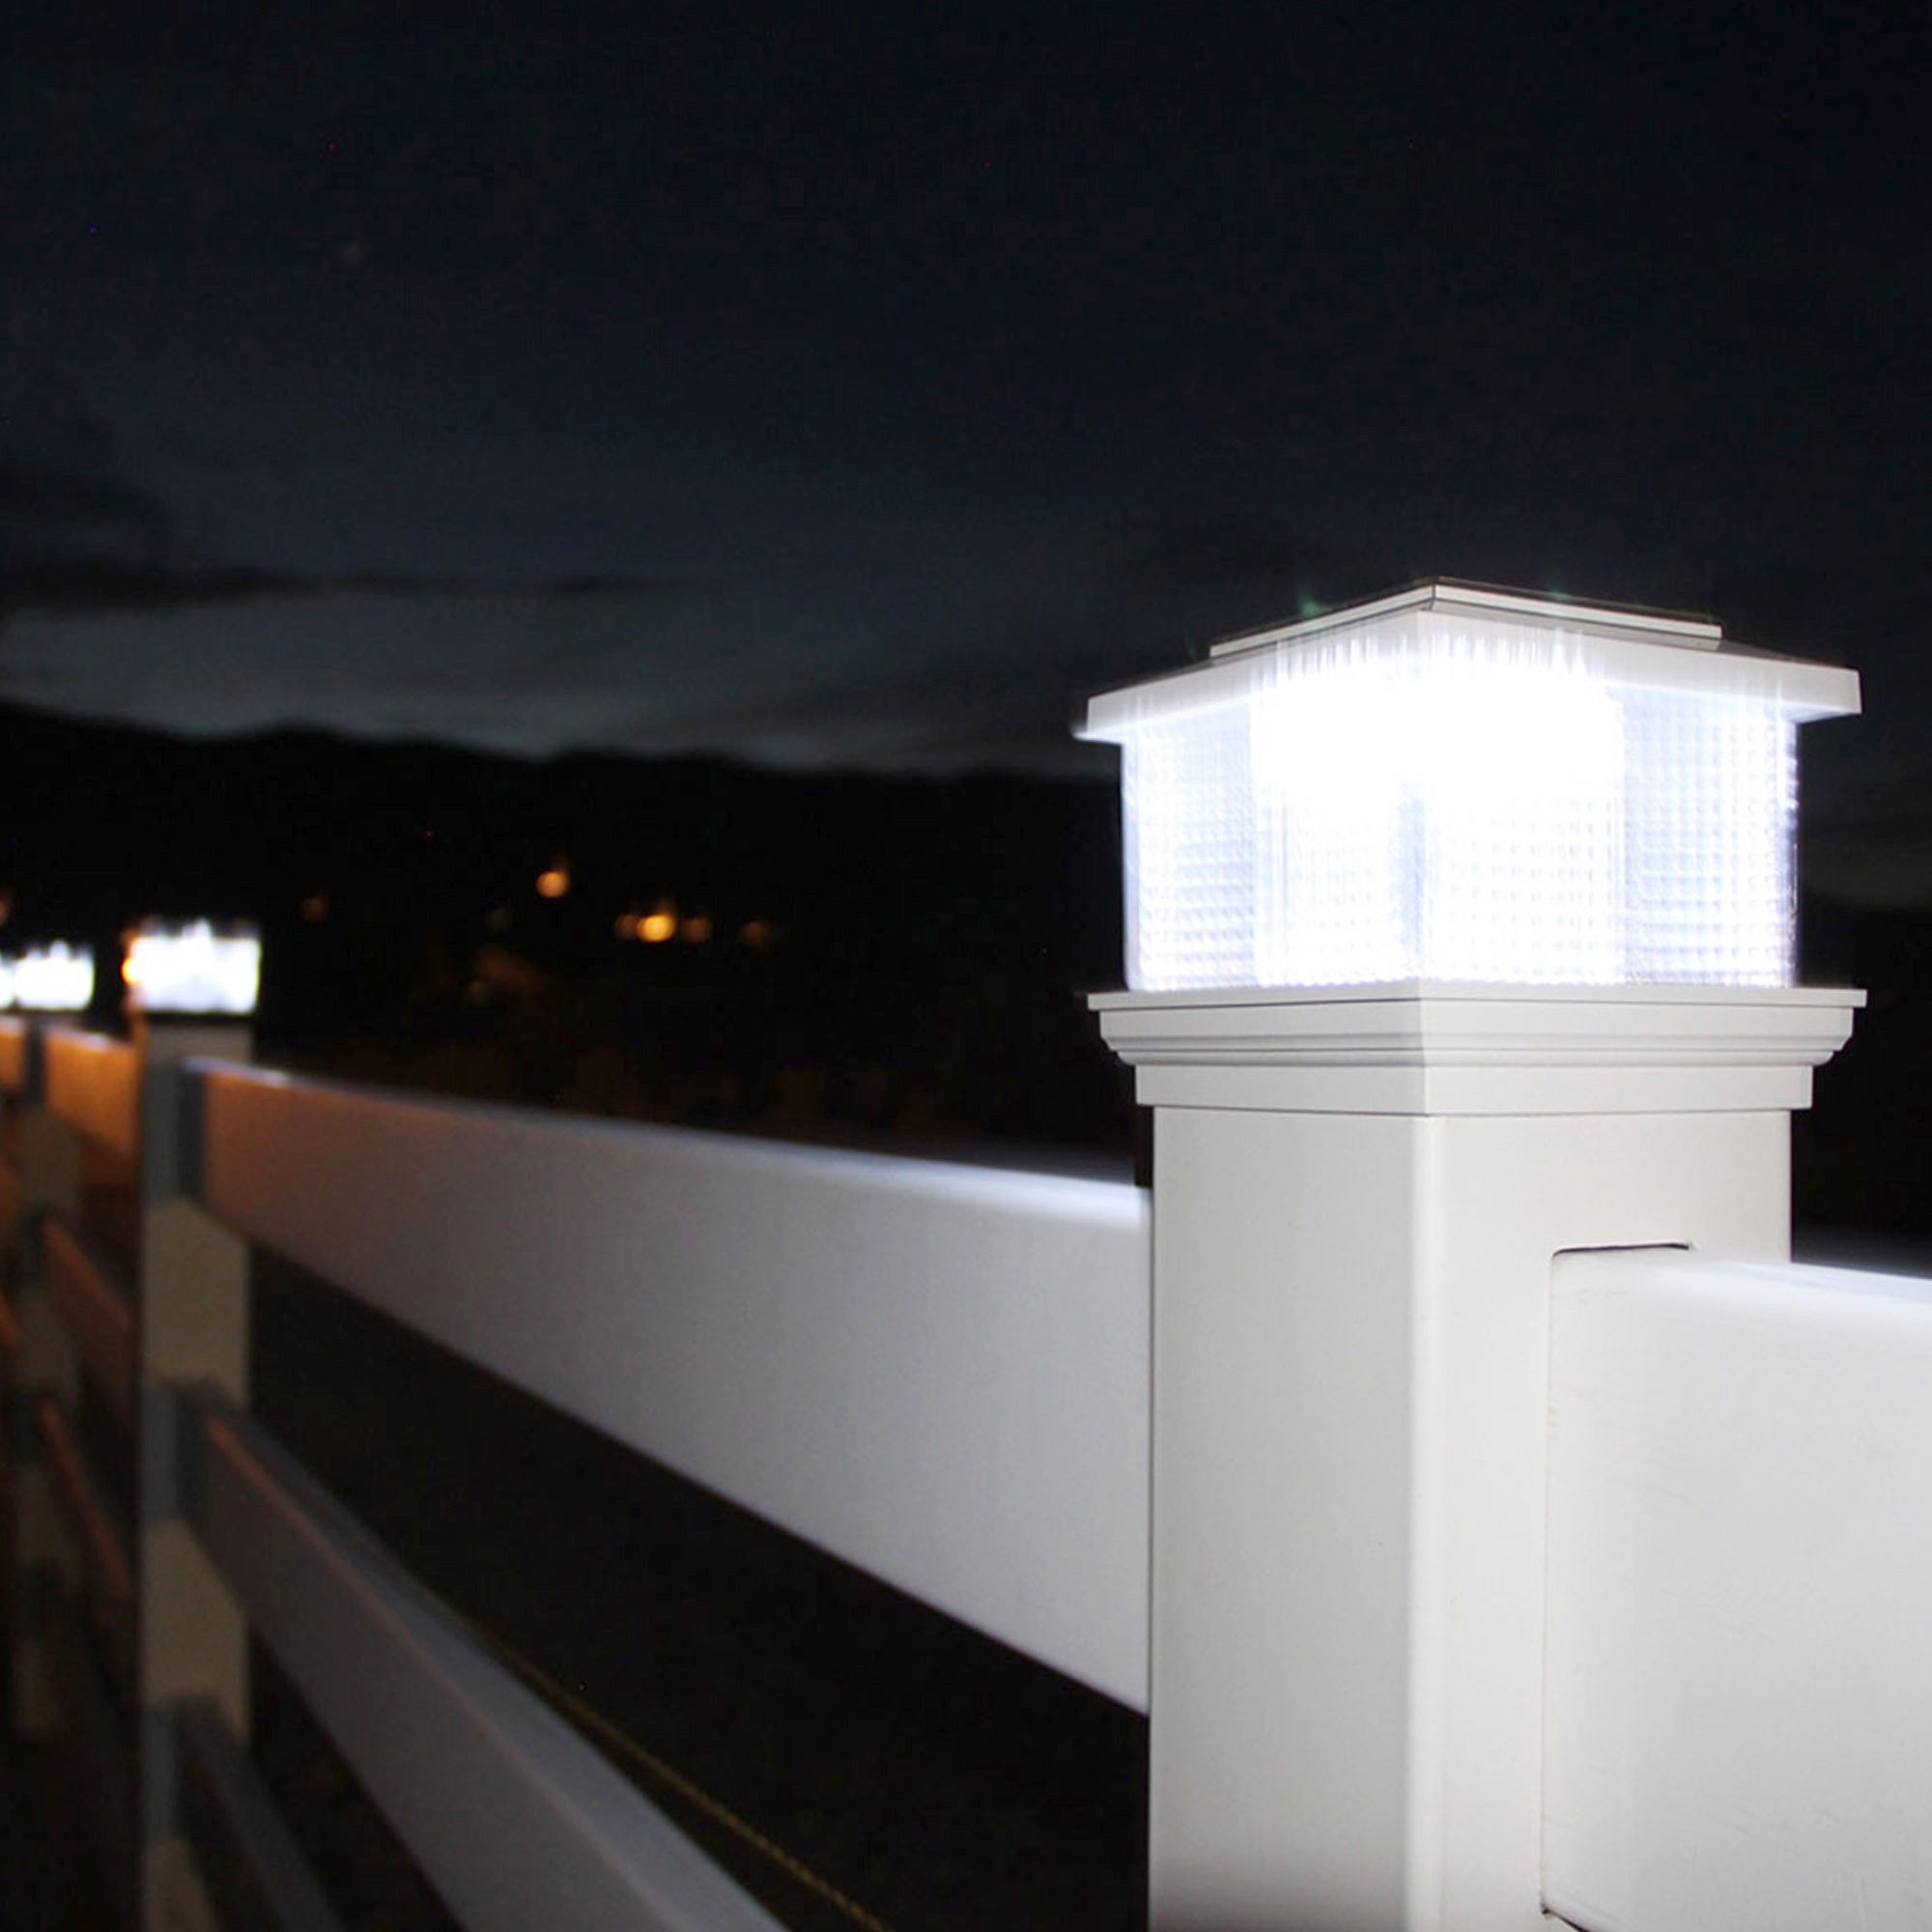
To charge your solar lights, let your light be exposed to direct sunlight for about 5-10 cycles. This means your lights will charge during the day and discharge at night so the battery can be utilized to complete capacity. After this process, you will find that your light will illuminate brightly at night for around 7 to 8 hours. This also helps you see if the battery is working correctly. If you have any defects with your solar post cap or accessories that come from LMT, most of these products have a warranty covering these issues.
How Do I Test My Solar Lights?
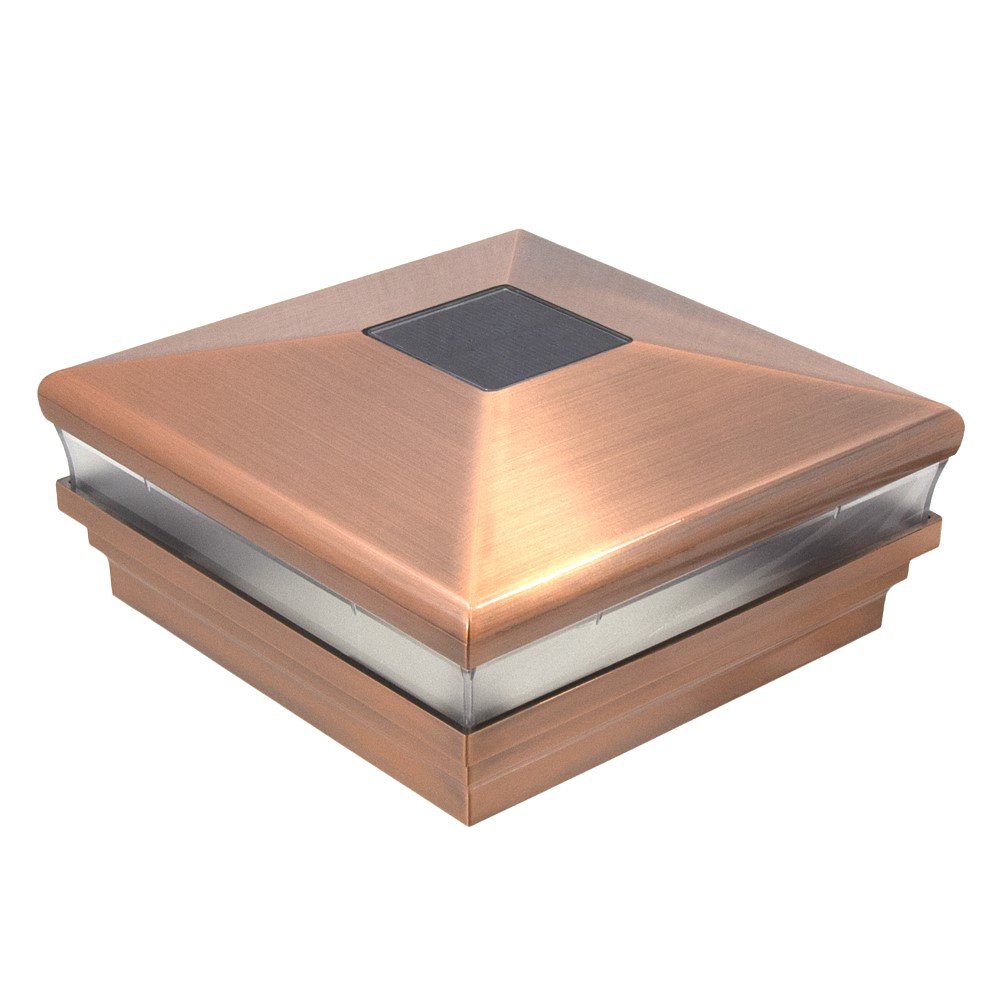
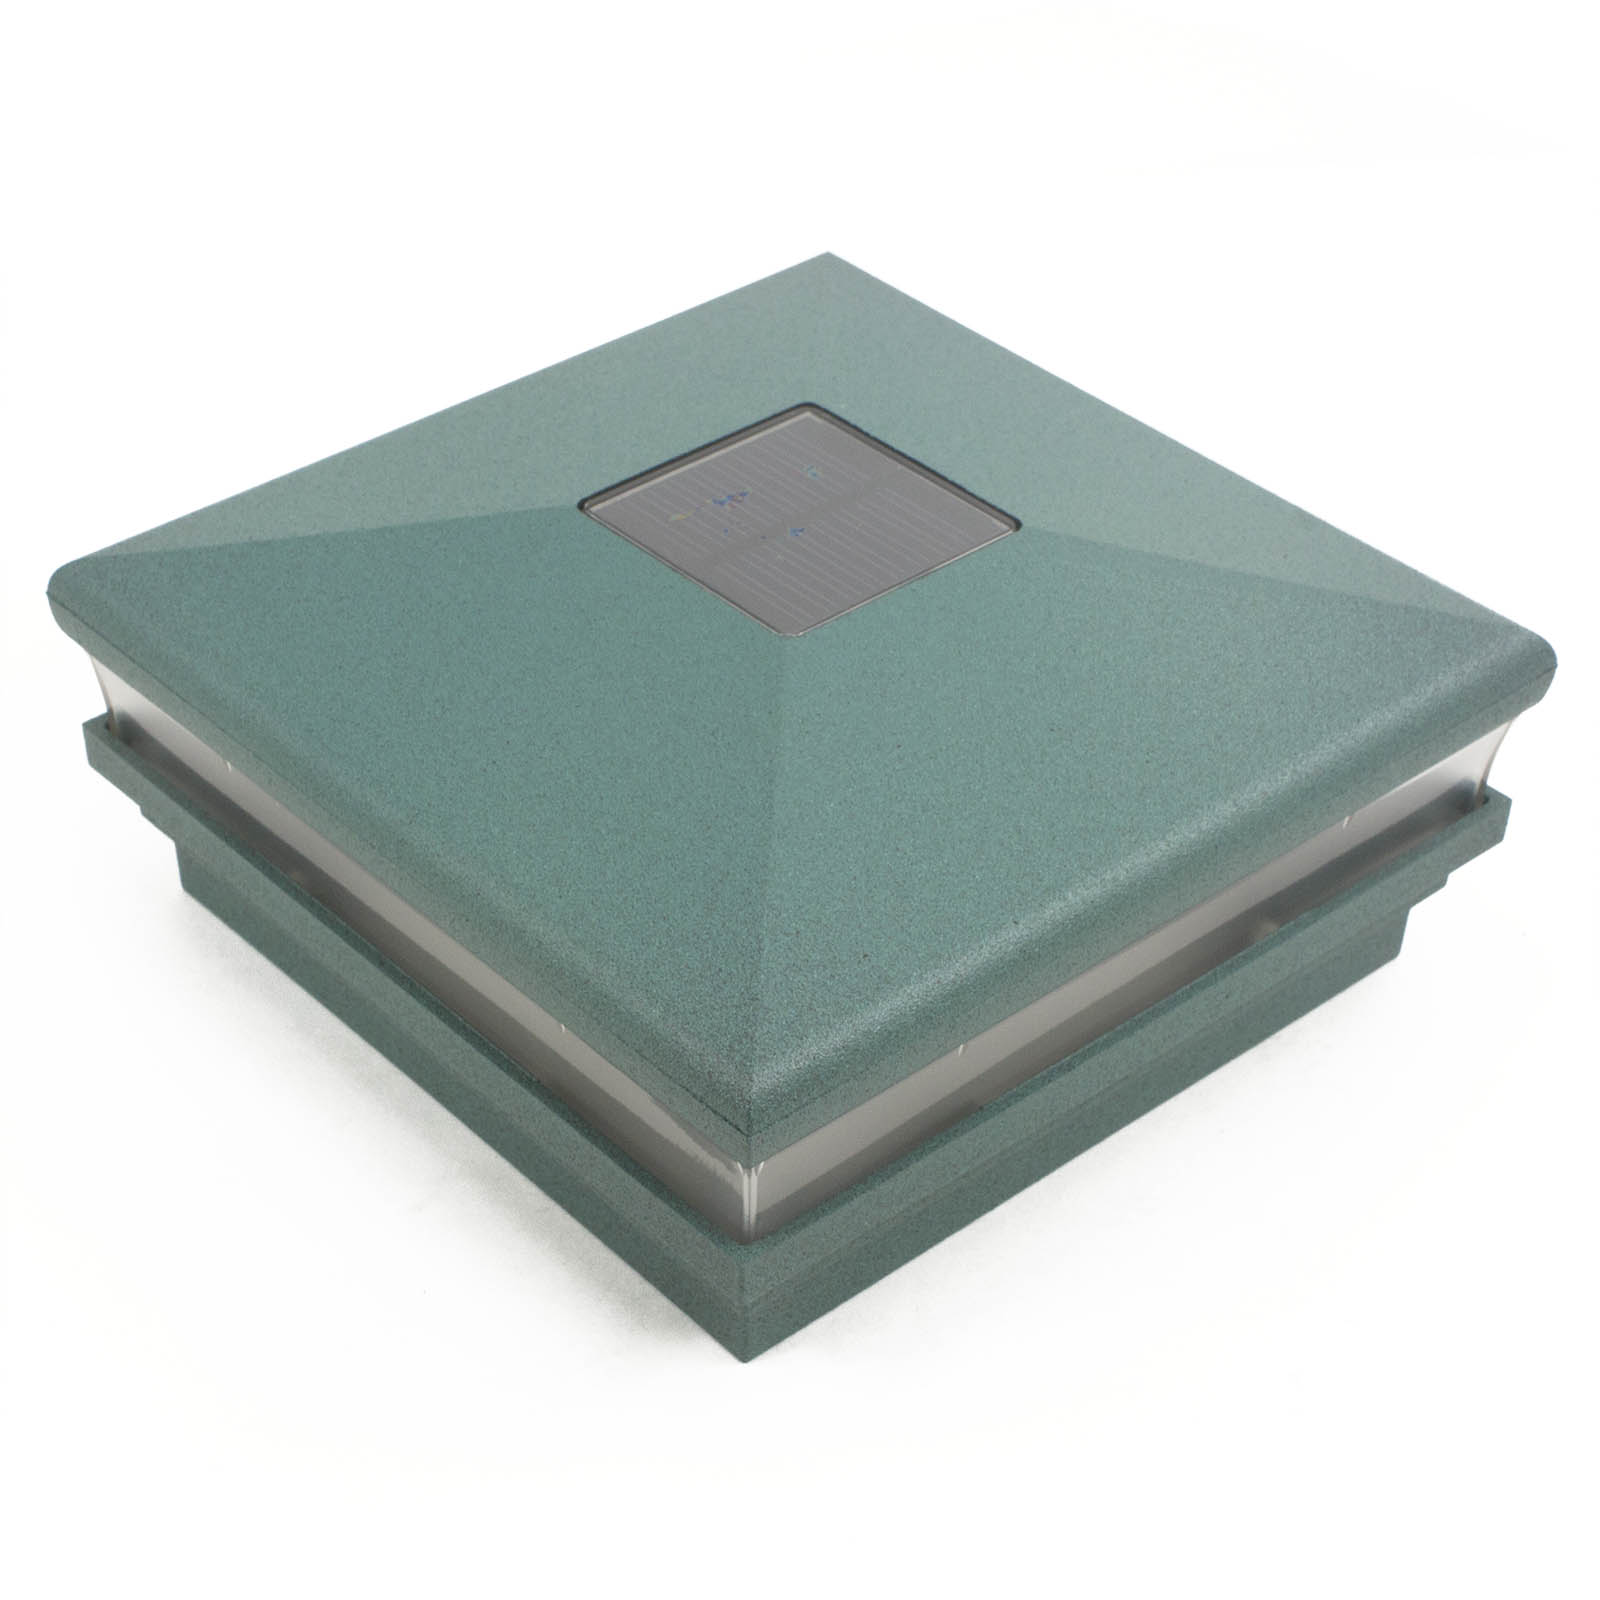
If you find that your solar post light is not turning on during the night, there is an easy test you can do to see if there is a malfunction with the light or if the area around your solar light is not getting dark enough for it to turn off. Completely cover the solar cell — the top part of your vinyl post cap that receives light. If this will not turn on your post cap, there is possibly an issue with the battery or the wiring inside. If this does turn on your post cap, access the area in which it is located to see if it is not dark enough to activate the solar sensor in your light.