ZipUp Ceiling and Under Deck Downward Lighting
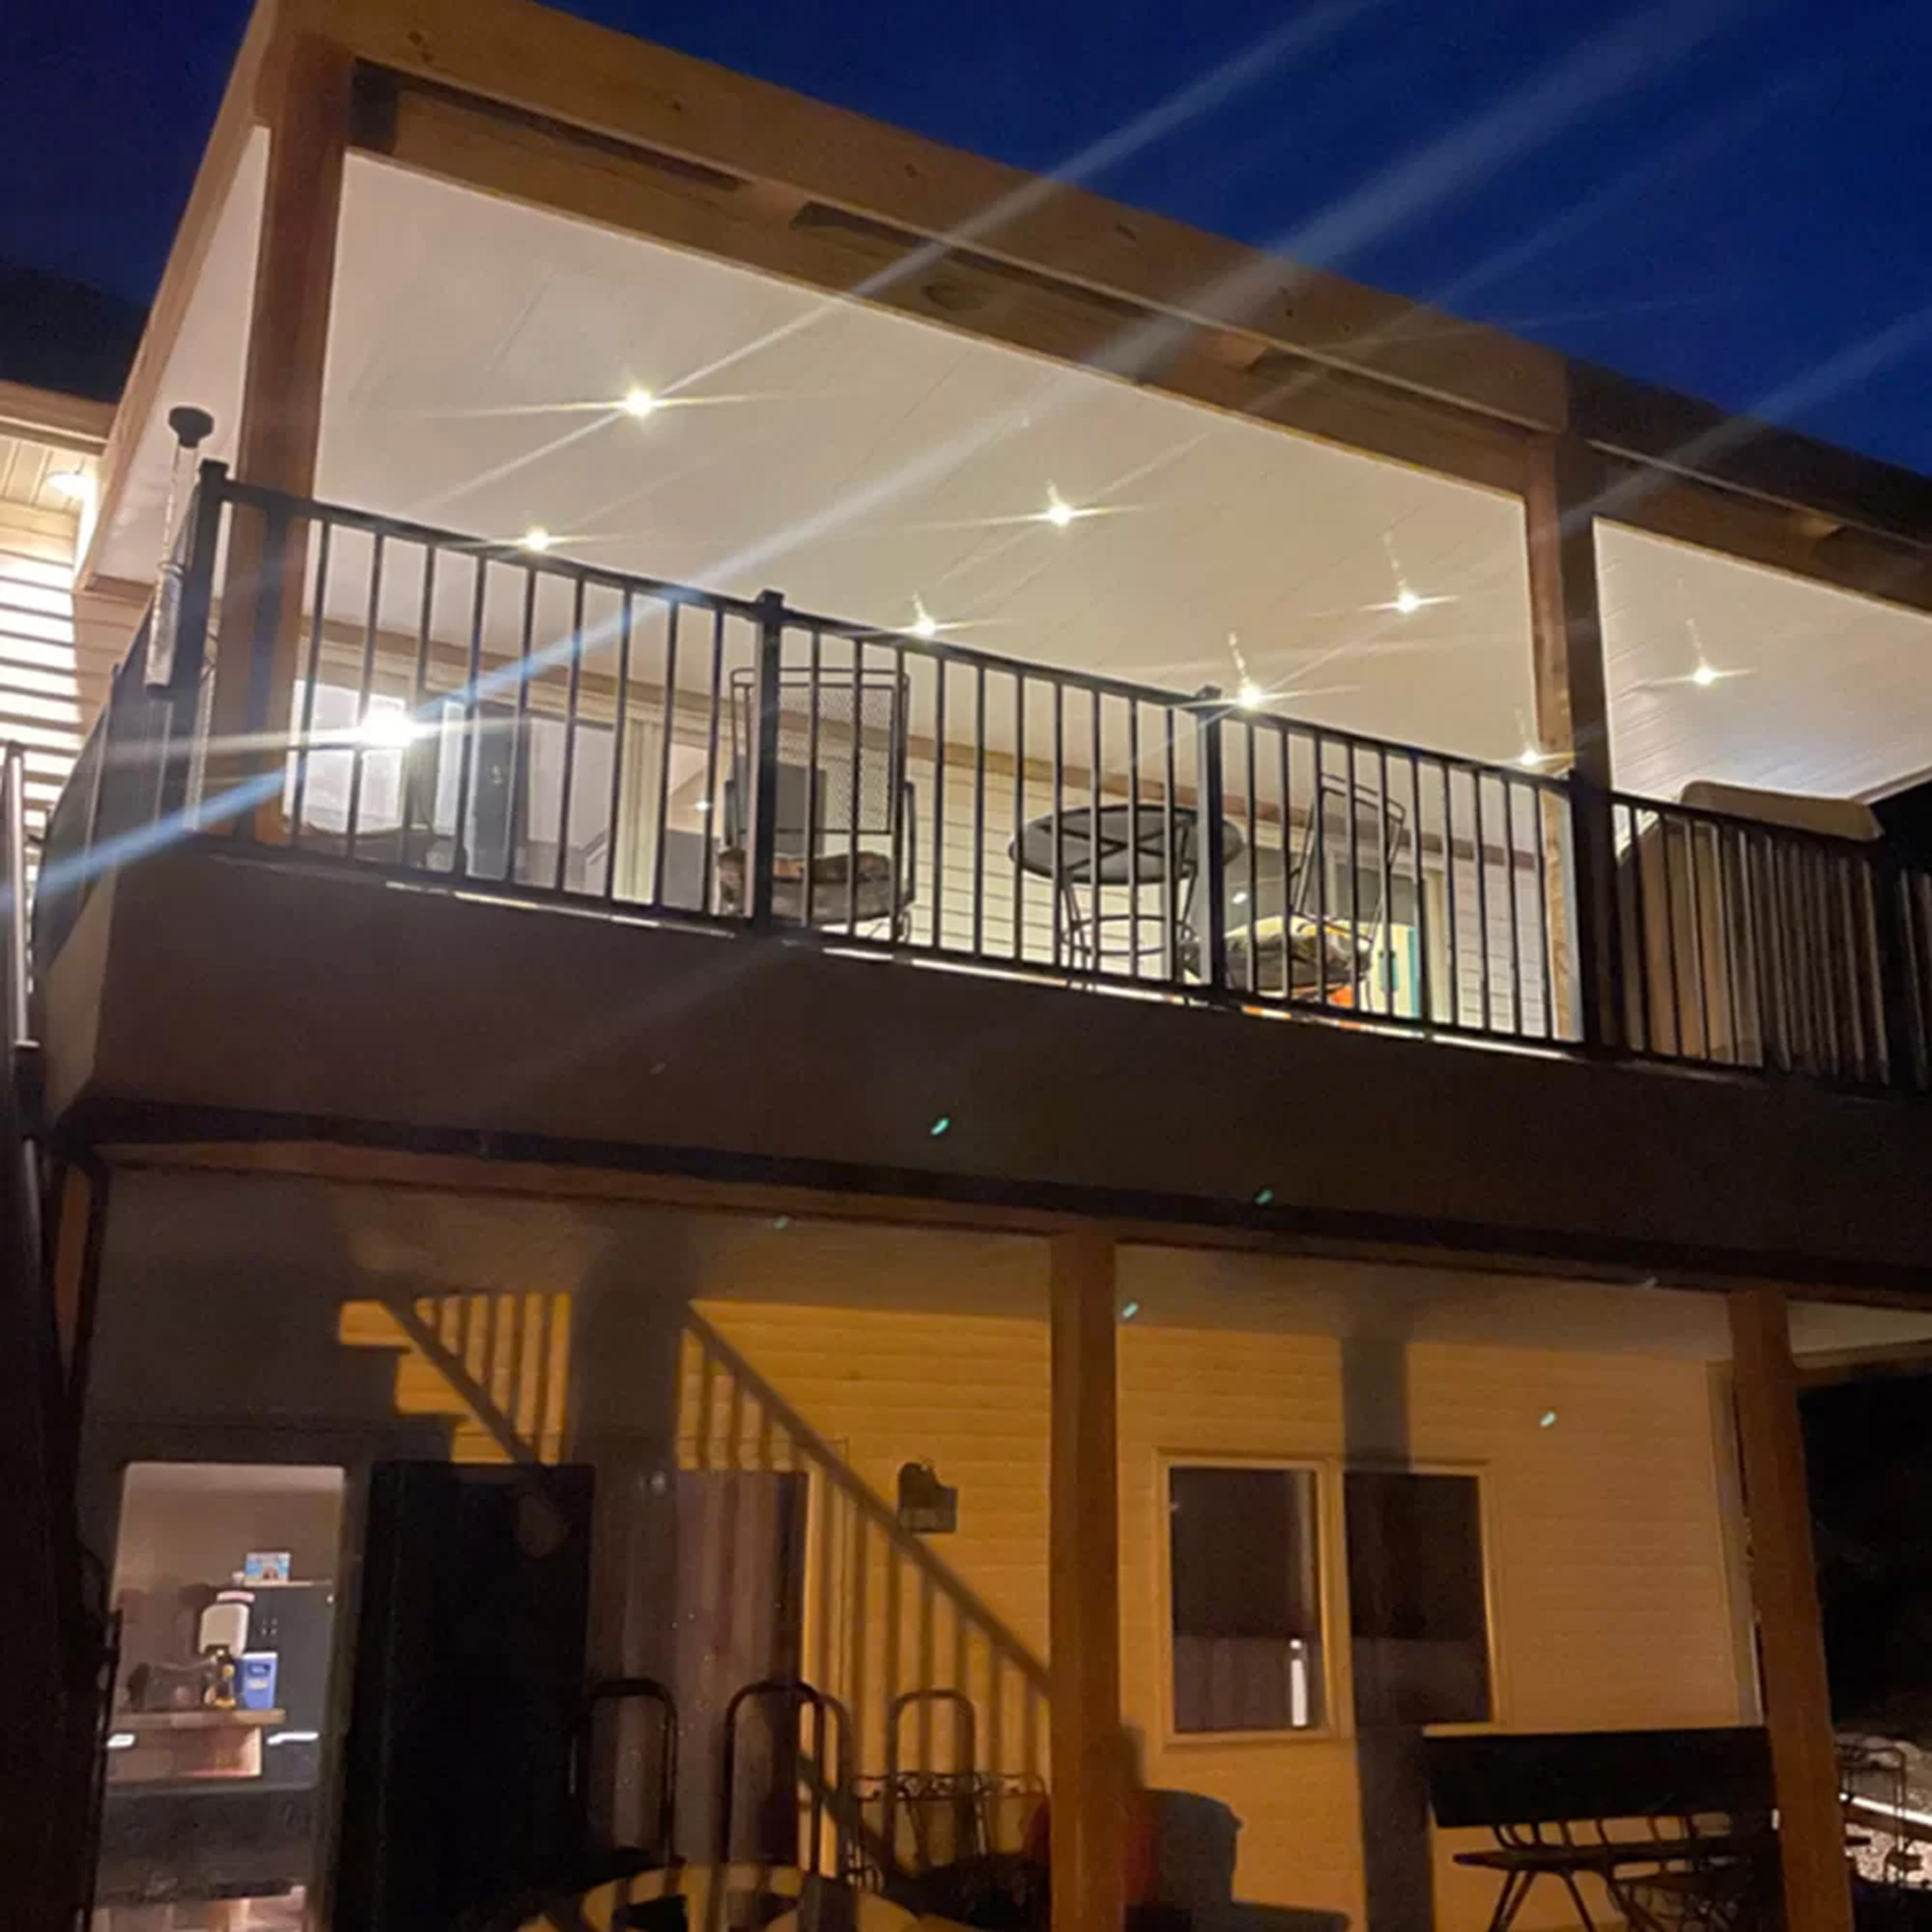
If you're looking for an aesthetic new way to add lighting and a welcoming ambience to your deck or patio, LMT ZipUp downward deck lighting is a great choice that combines durability with functionality. Adding lights to your outdoor space can liven up your property and provide additional visibility for lounging areas, ensuring you have a space to relax all throughout the evening.
What Are ZipUp Ceiling and Under Deck Lights?
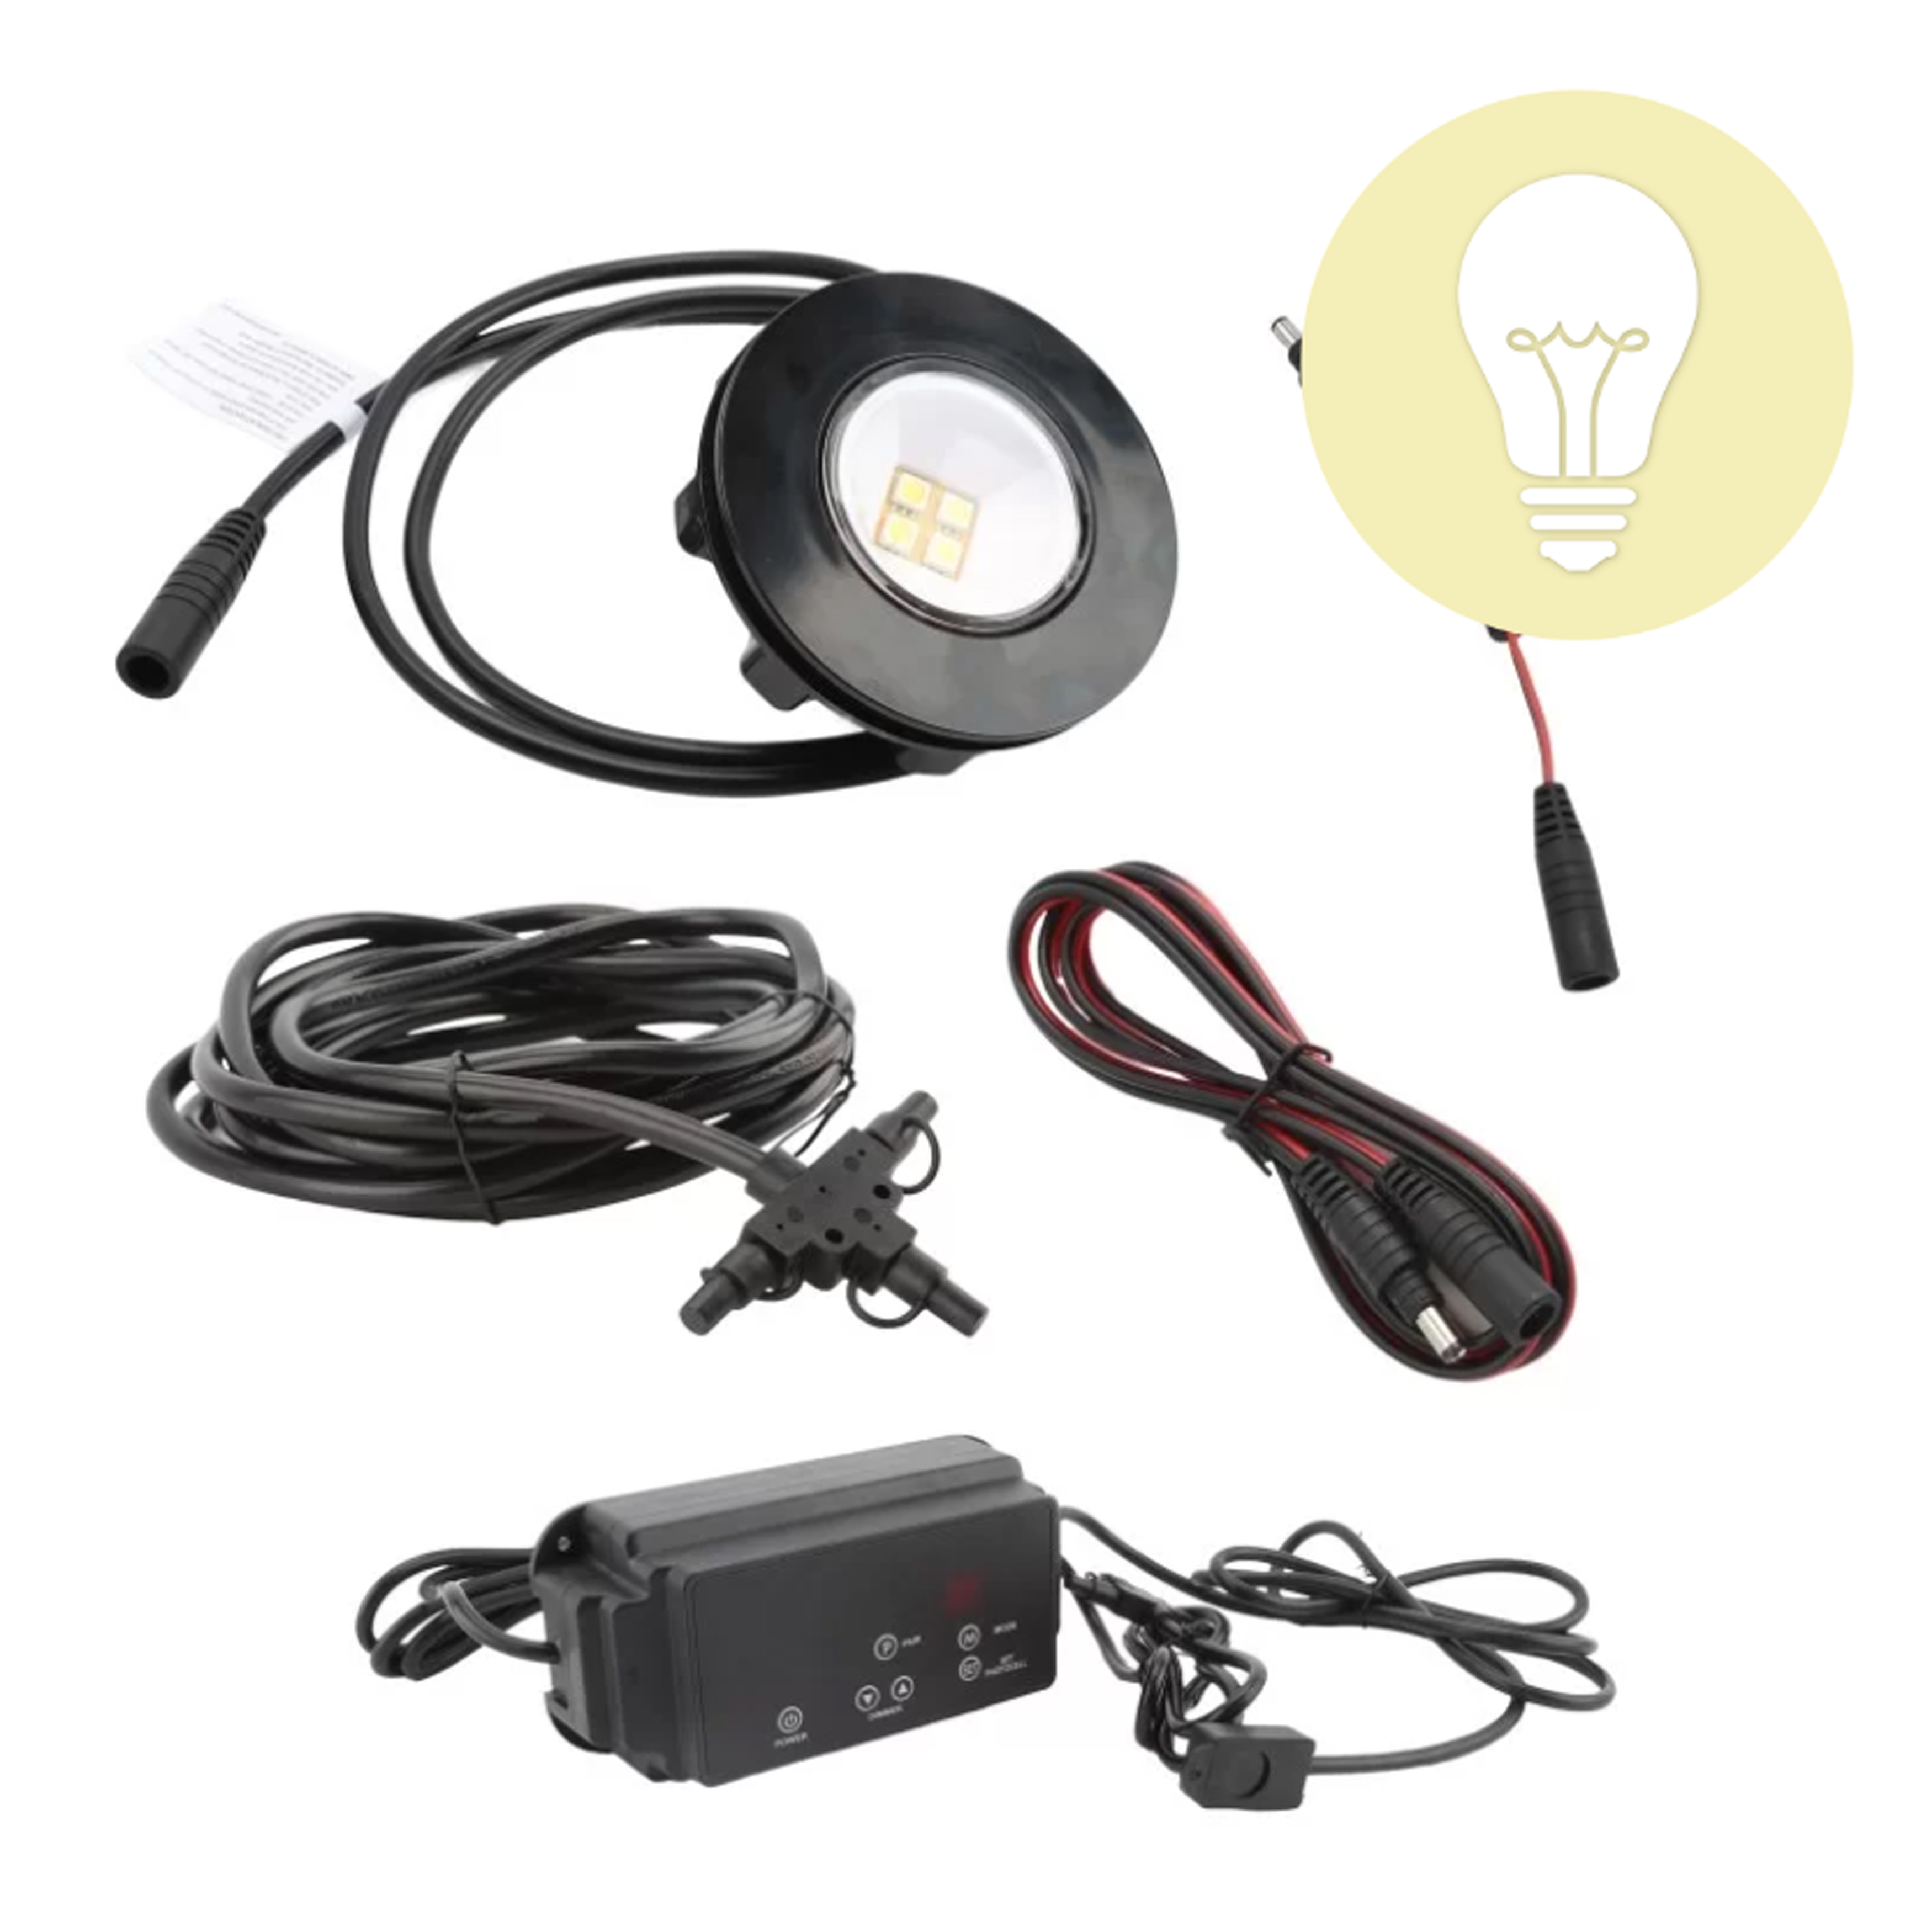
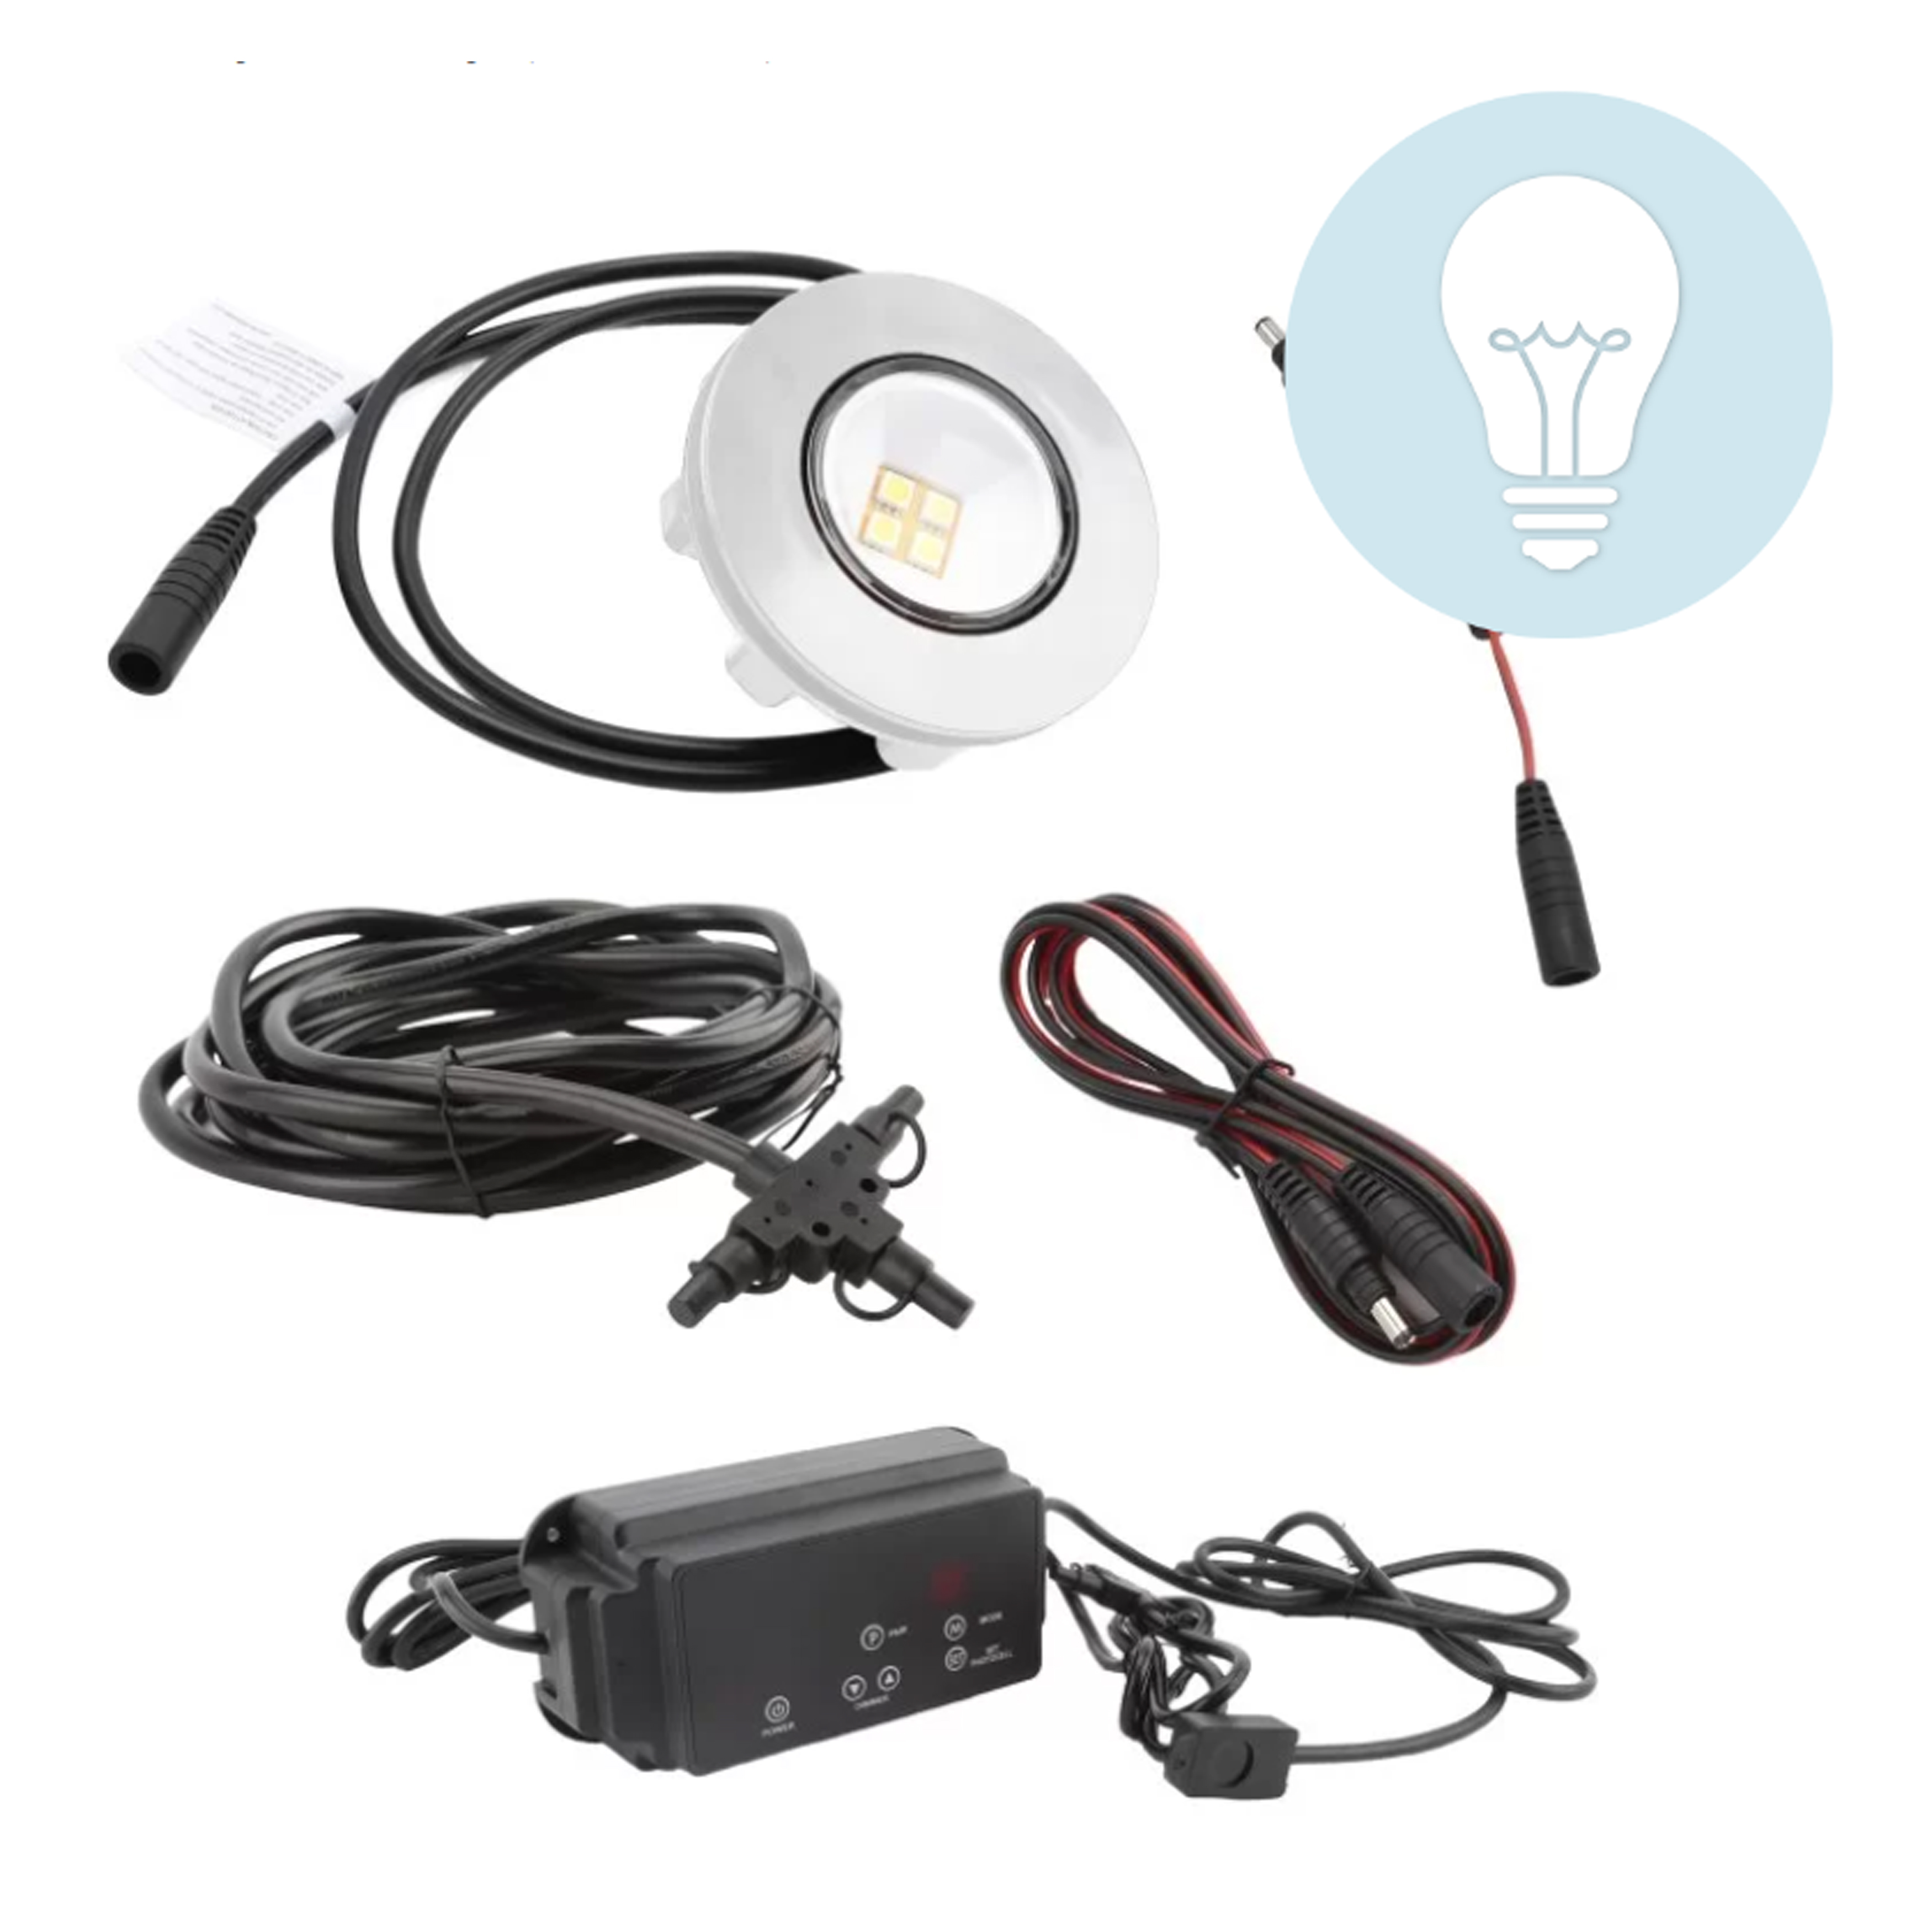
The ZipUp LMT lights are an under-deck lighting solution that provides downward lighting for ceilings or elevated patios. They are installed within the selected structure with the wiring hidden, offering a downlight with a minimalist visual appearance. The configuration of these plug-and-play under-deck lighting features makes for a flexible way to thoroughly light any deck, patio, or balcony, so long as there is a structure above it.
The way these ZipUp lights are manufactured offers energy efficiency. The wires are designed to lead back to a power supply, which is made with a light-sensitive photo eye that triggers the lights to turn on once the sun goes down. Using low-voltage deck lighting like this ensures that you are provided ample lighting without breaking the bank on the electric bills.
Where Can I Install Outdoor Deck Ceiling Lights?
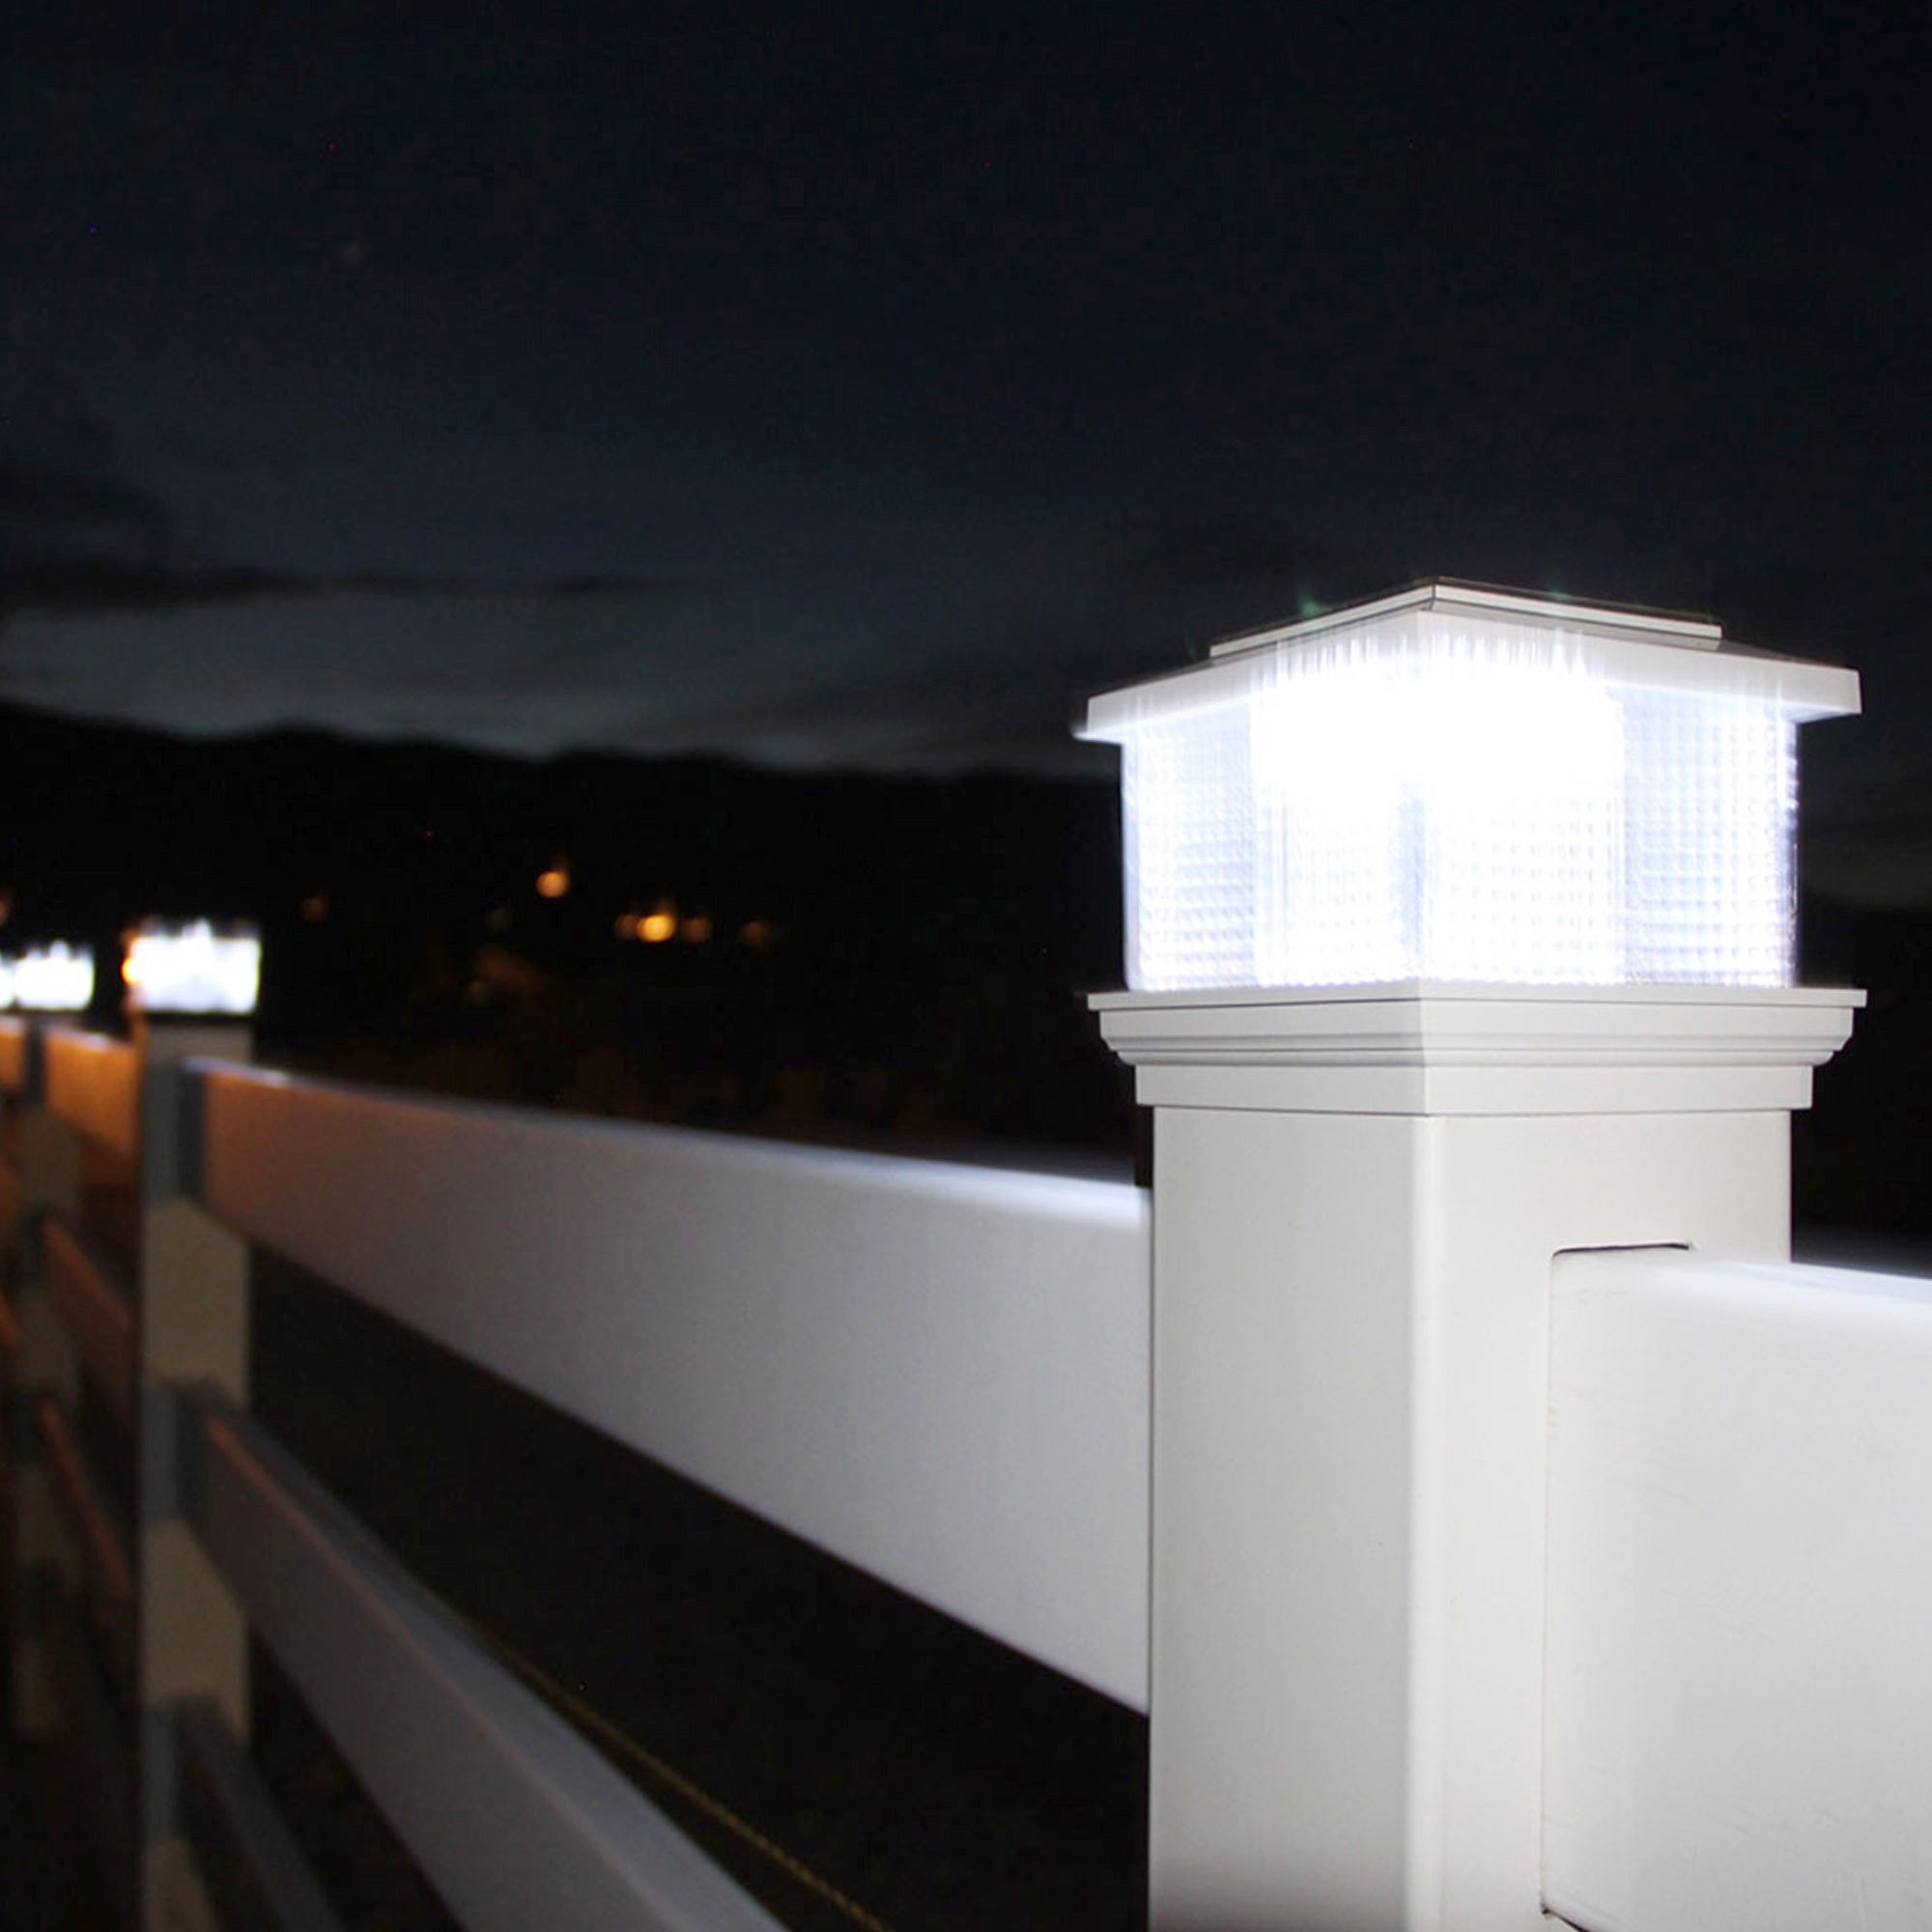
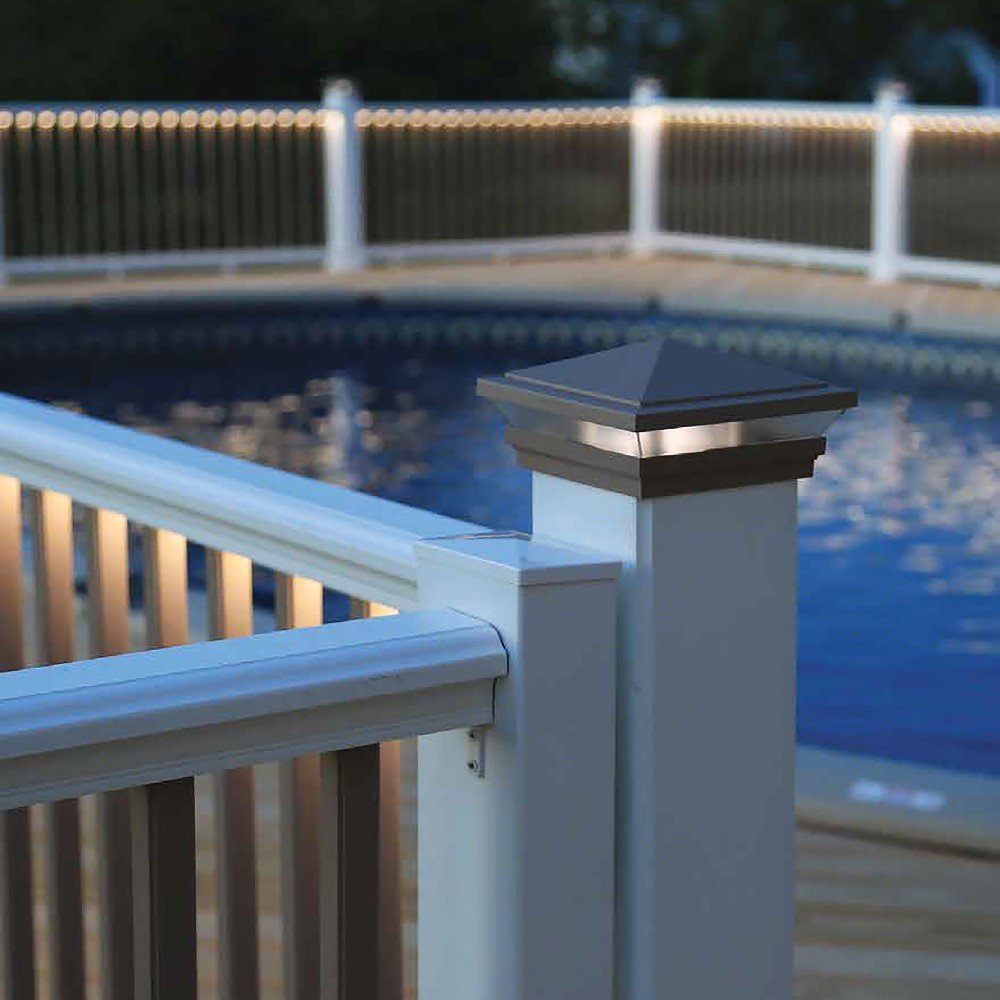
Downward lighting can be installed in any structure that is made of a material that can be drilled into and is hollow enough to maintain the wiring. Many homeowners will use these lights to illuminate a space to spend time in after dark. However, as great as they are for functional purposes, they can also be used solely as décor.
Common Uses For Accent Downlighting:
- Illuminate a patio below a balcony
- Light up a deck underneath a structure of the house
- Adding lights to a second-story balcony
- Decorative accents underneath a deck that is low to the ground
- Creating decorative features on the exterior of a house
Different Options for ZipUp Downward Lights for Decks
There are a few different options for downward deck lighting that homeowners can choose from.
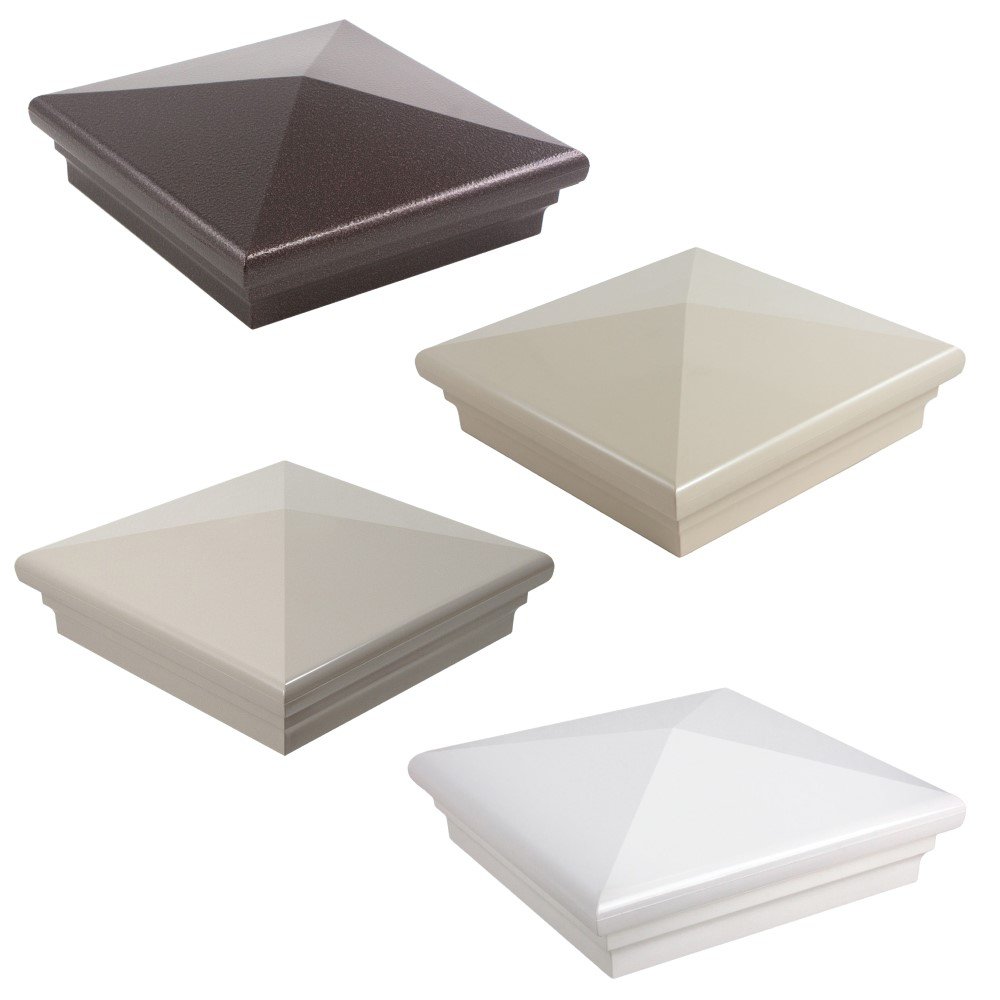
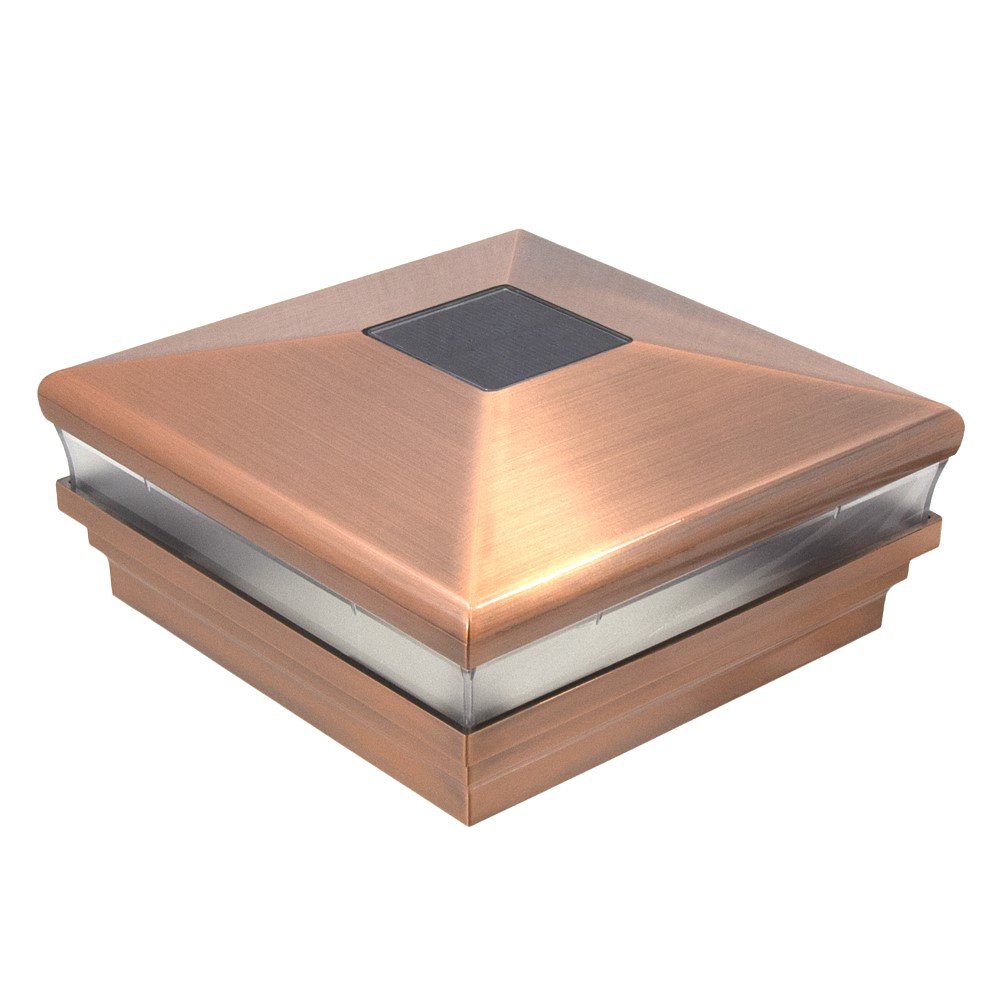
To start, there are two different color temperatures available. 3000K lights feature a warm glow, creating a welcoming and gentle atmosphere. The 5000K lights offer a cooler temperature for a modern and bright ambience. The color of the lights themselves also has two different options: white and black. The white lights may be favorable if your deck or patio is mainly white, which would allow them to blend in more with the architecture. The black lights are more traditional and would work well with almost any décor.
View All ZipUp Downward Light Options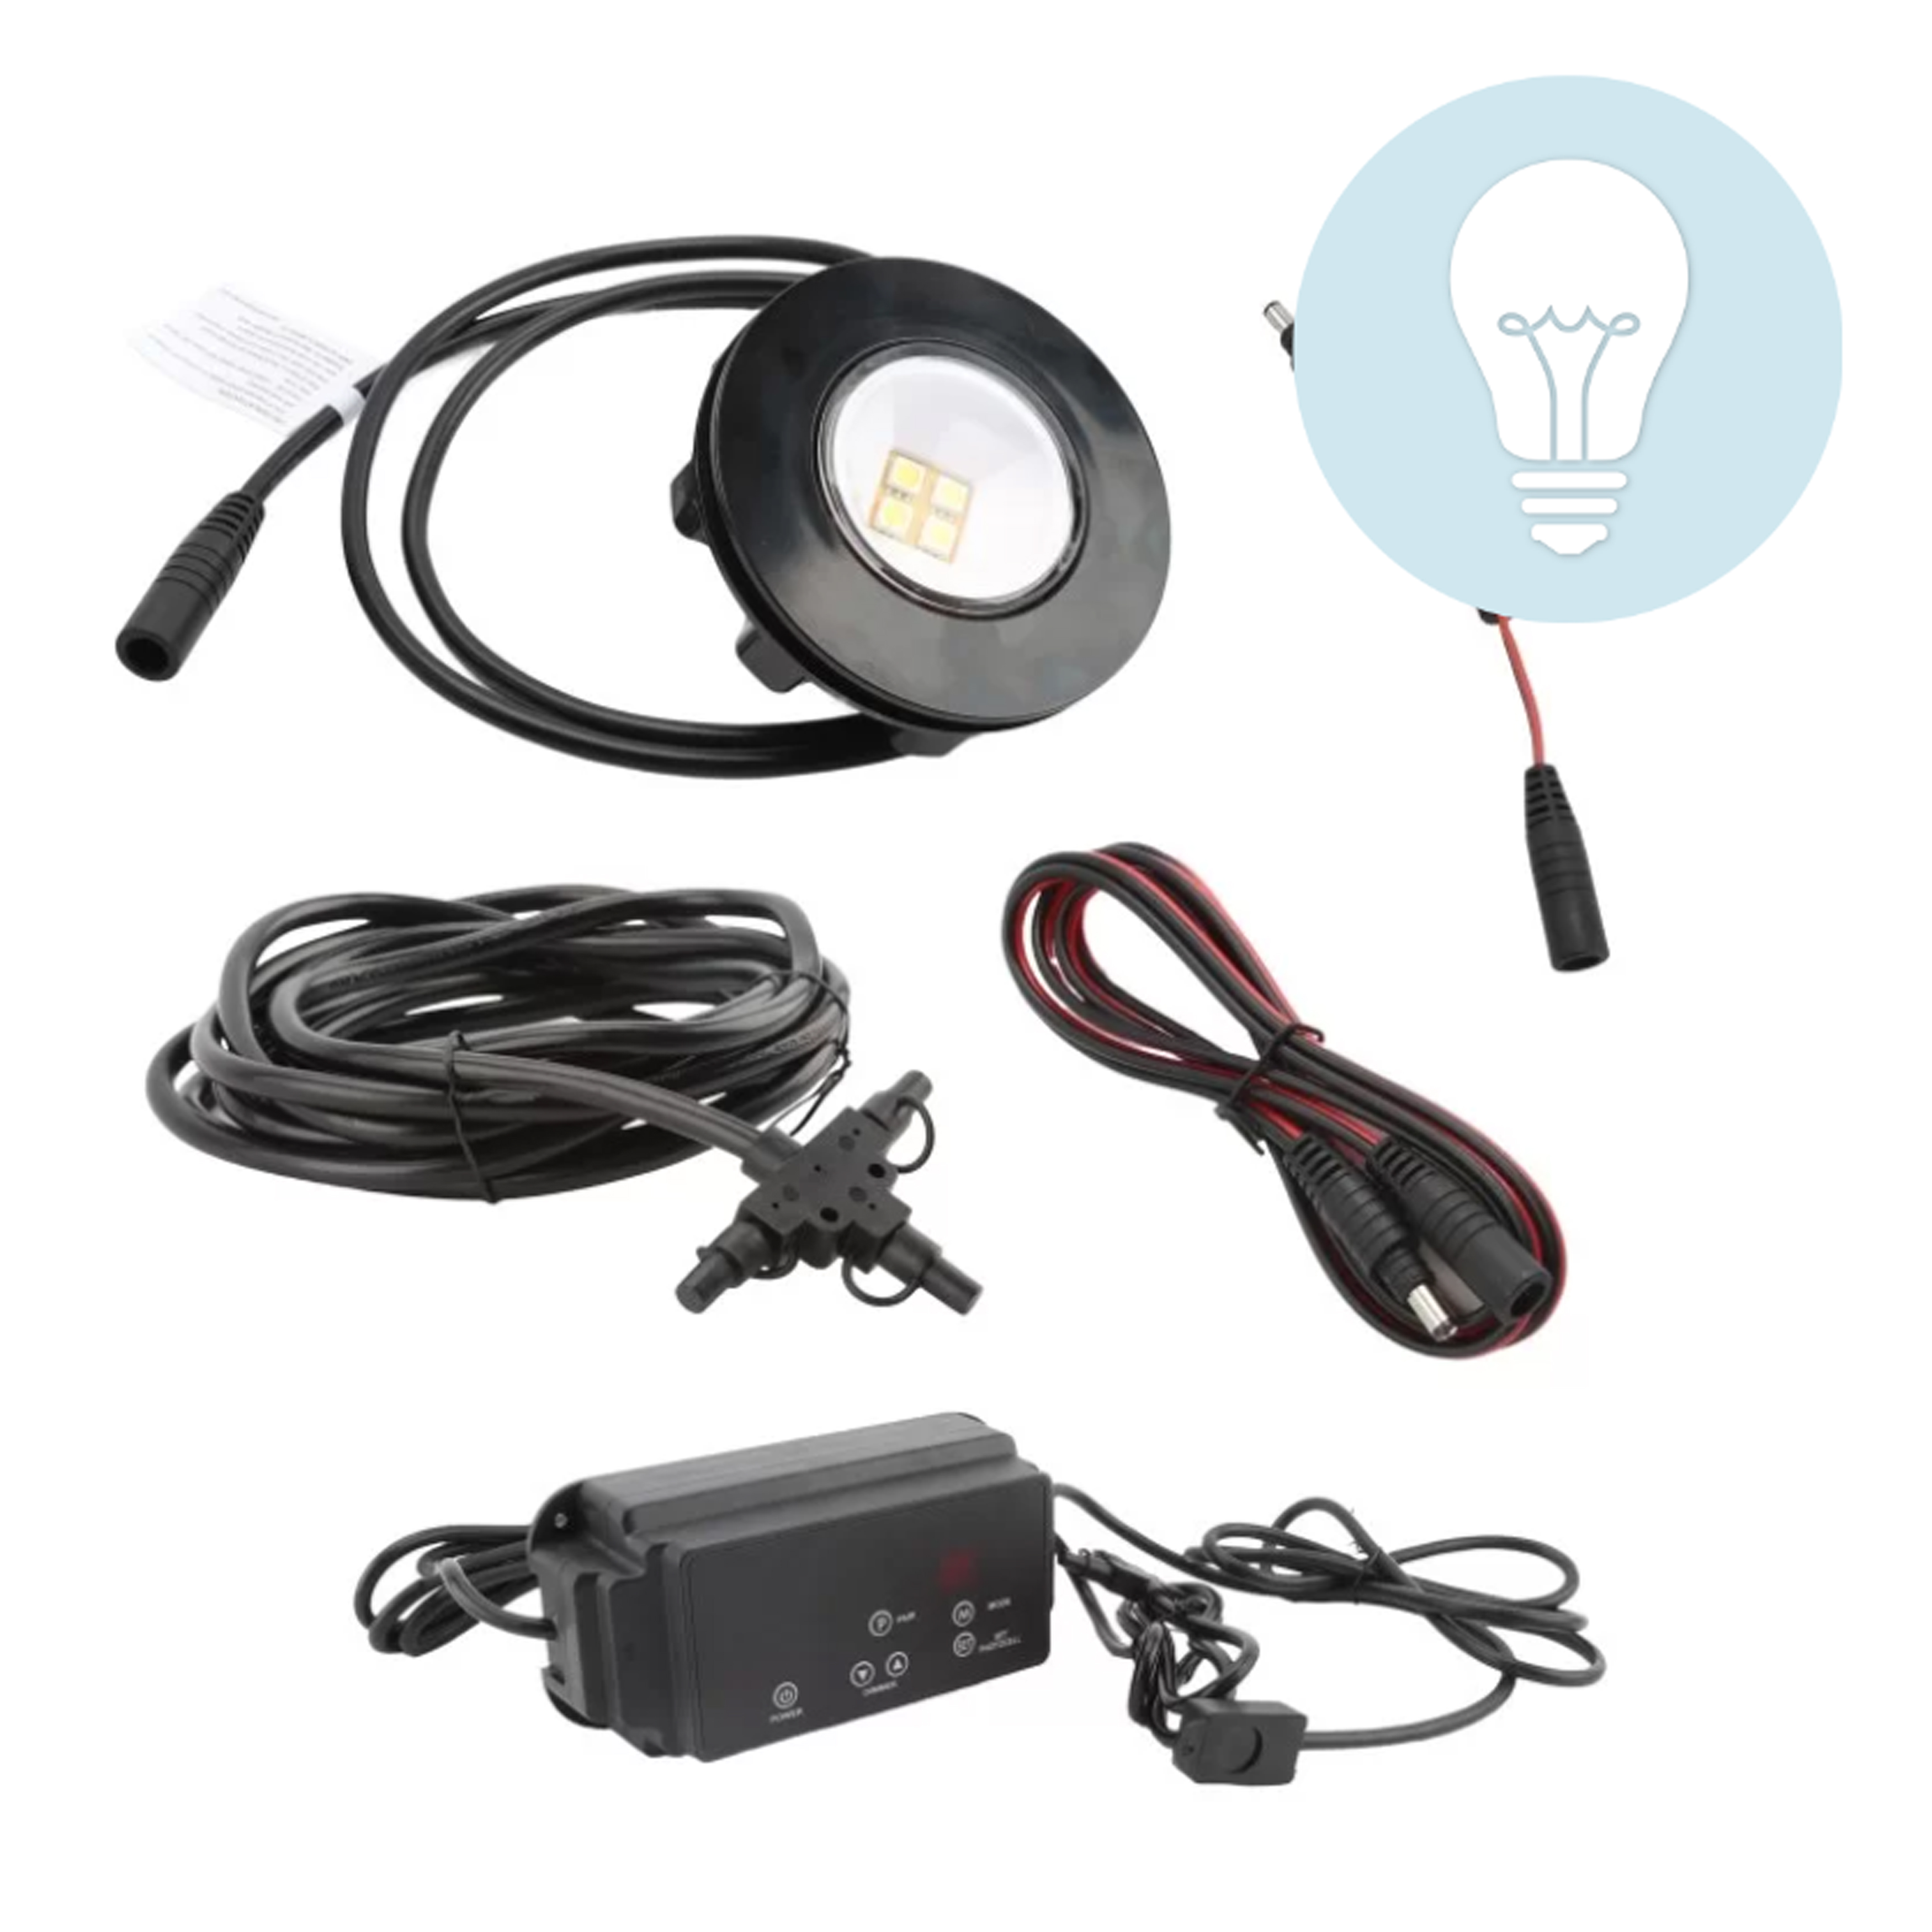
Installing Downward Deck Lighting
Installing the ZipUp lights may take some time, depending on where you plan to install them, but they can be done by anyone regardless of experience.
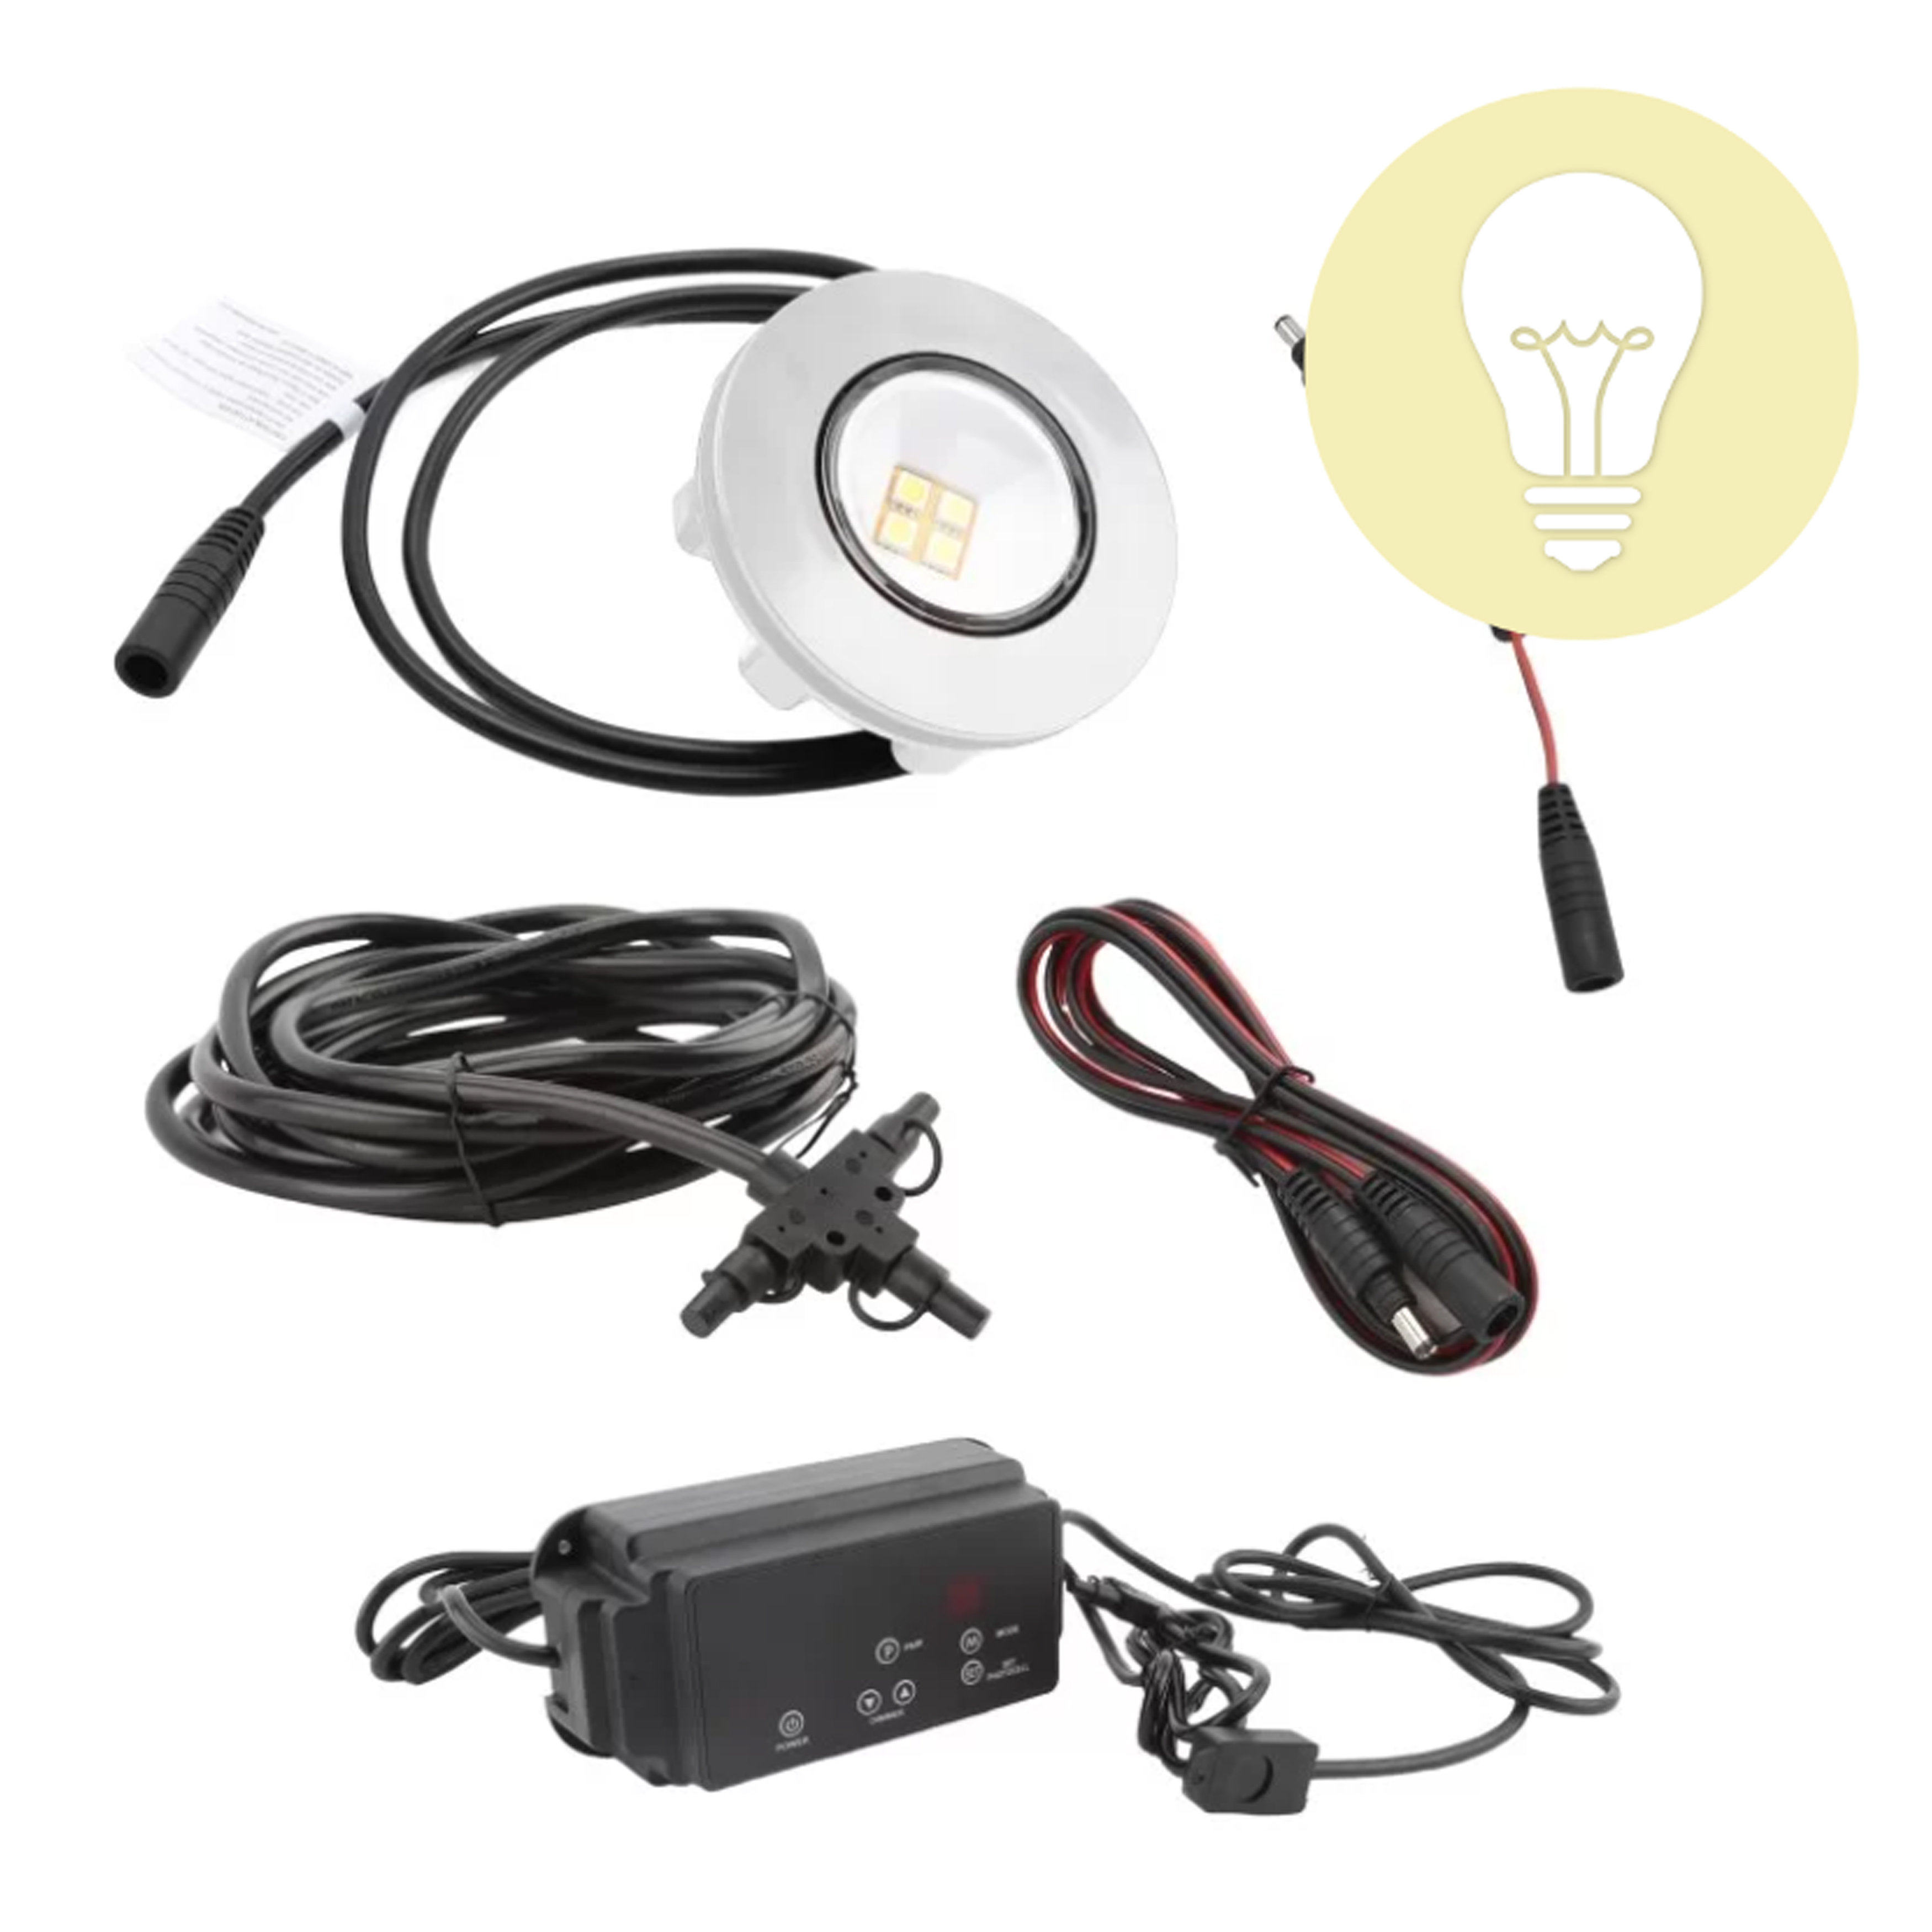
View Installation ManualStep 1: Preparing the Transformer and Wires
Instructions will be provided with your Smart Transformer Control Instructions, as well as your Wiring Harness and Splitters. Read them thoroughly and choose a proper spot for the power supply.
Step 2: Prepare the Light Layout
Configure the arrangement of your lights as needed to properly light your space and match the visual aesthetic of your choosing. Lay out the lights underneath your install area and plug in the wires to ensure all connections work properly.
Step 3: Measure and Mark
Measure the light placements from the main structure wall or the main beam and mark the spot in the middle of where each light will be installed.
Step 4: Drill the holes
At each spot that was marked for the lights, drill a 2.5" hole using a drill and a hole saw.
Step 5: Begin the Installation
Disassemble the wiring connections and begin installing. Start at one end and feed the light's wiring through the hole, using a gasket on each side of the structure. Push the light into the panel and hand-tighten the tension ring until the gaskets are under pressure.
Step 6: Continue Installation
Feed the wires and T connectors within the structure between the lights. Continue with step 6 until the entire area is installed.
Step 7: Connect to the Power Source
Secure the power supply to a 110V power source and connect the wires. You can mount the power supply to a wall, ledger board, or joist. Follow the instructions that were included with the power supply to fully set up the lighting system.
If you're still having trouble deciding what lights you need, don't hesitate to connect with one of our skilled sales representatives! We will be happy to point you in the right direction for your investment in ZipUp lights and can answer any questions you may have.
Contact Us