How To Install A Low Voltage LED Lighted Post Cap
Want to install low voltage post caps to your backyard space but are afraid that installation is too complicated? Do not worry; our easy step-by-step instructions will have you installing your lighted post caps in no time with little to no fuss.
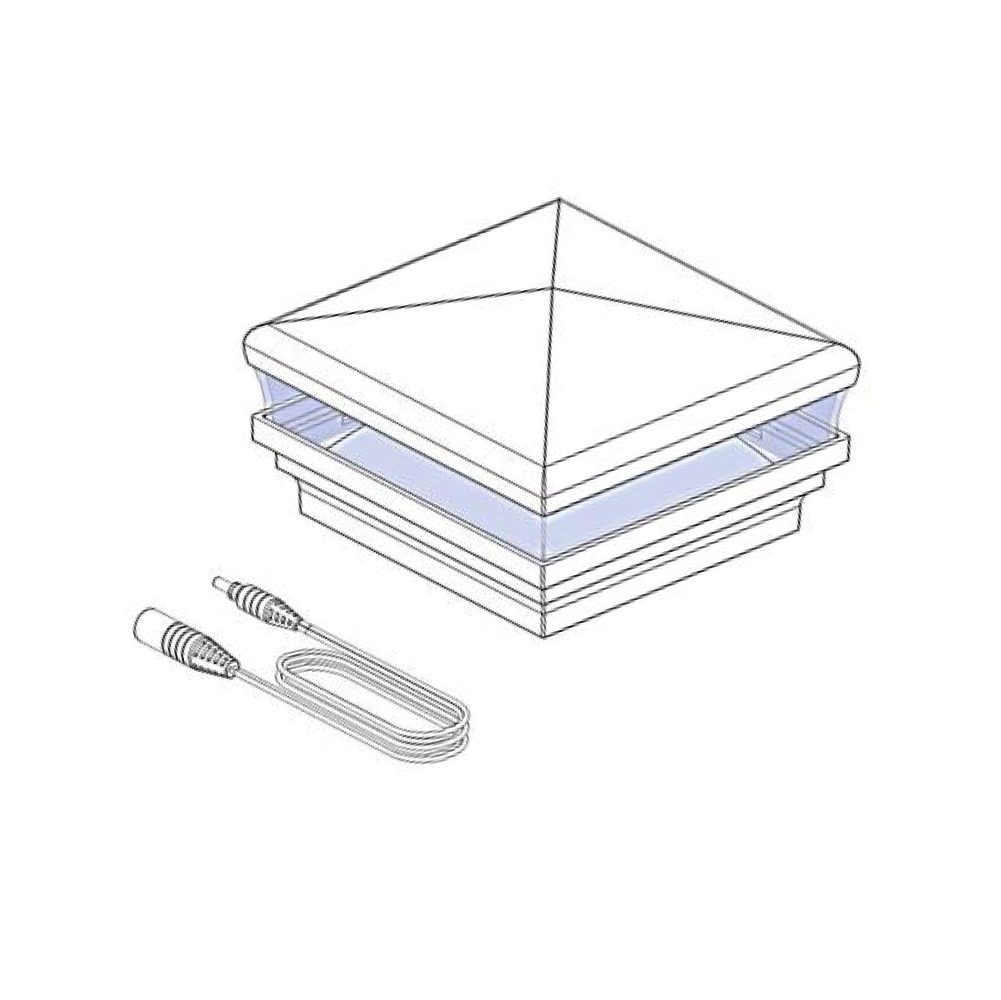
First, we instruct you not to cut off your lighted post cap wires. Any extra wires at the end of the installation can be easily looped and tucked away for a clean look. Cutting the wire, even the ends, could affect the quality of the wire and cause issues.
Installation Instructions For Low Voltage LED Lighted Post Caps
- Decide which post you would like to install your LED post cap on.
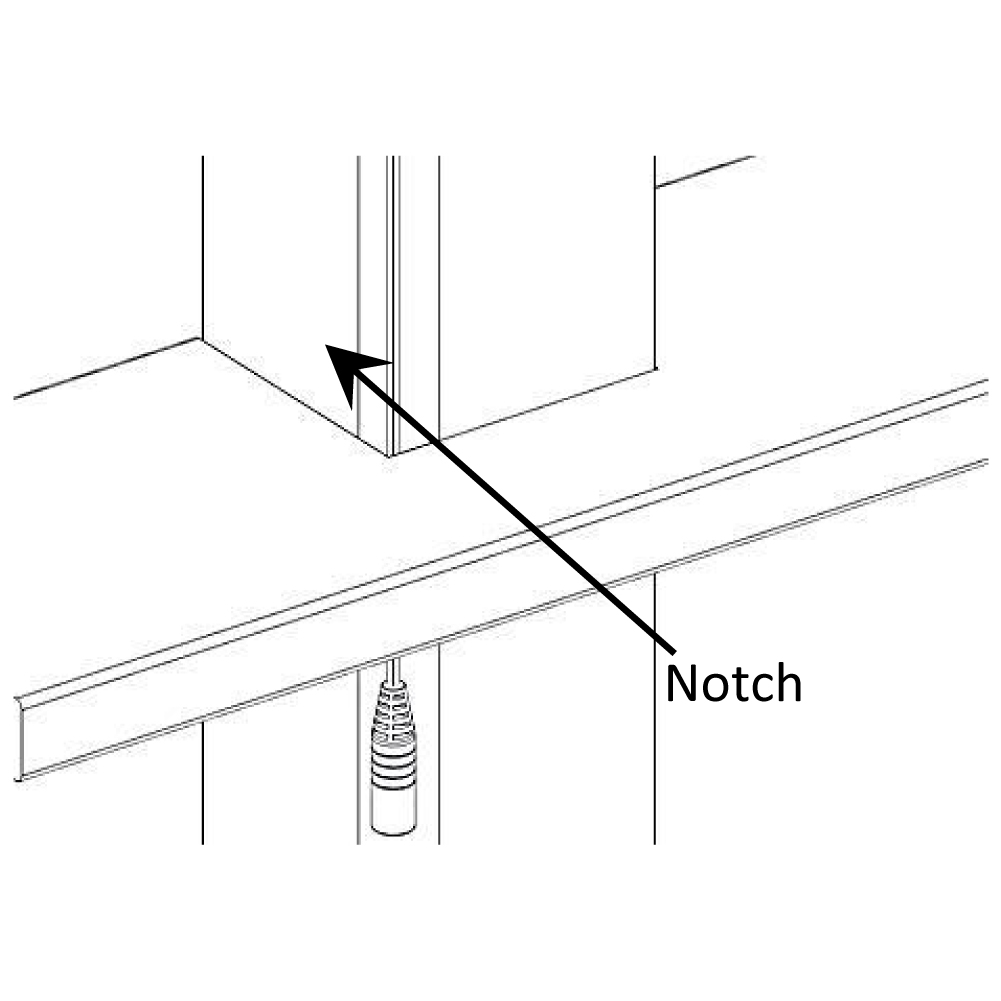
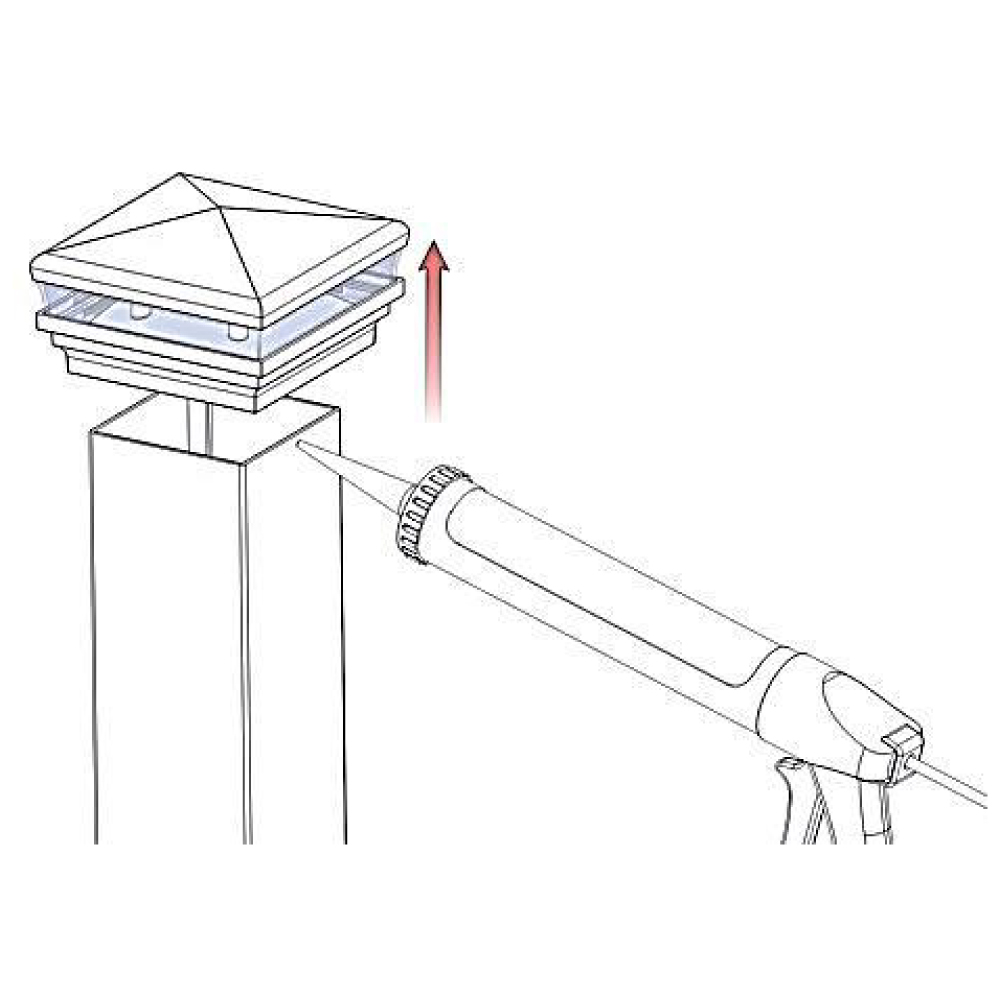
- Once you have decided where to install your post caps, drill a hole into the post using a 7/8” diameter Bi-metal hole saw if adding the cap to a metal post. If installing on a wood post, use a 7/8” Forstner bit to drill the hole. (Tip: to prevent splitting of wood, do not drill with ½” to the top of the post.)
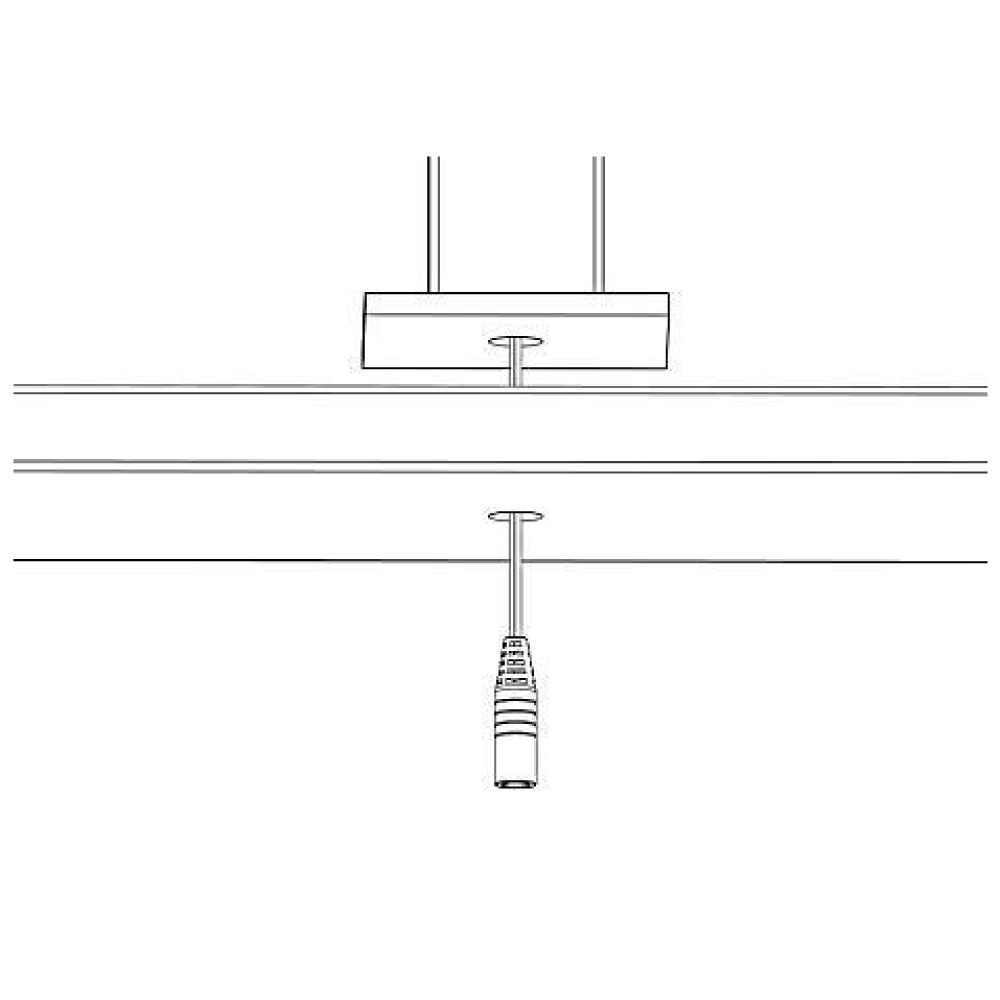
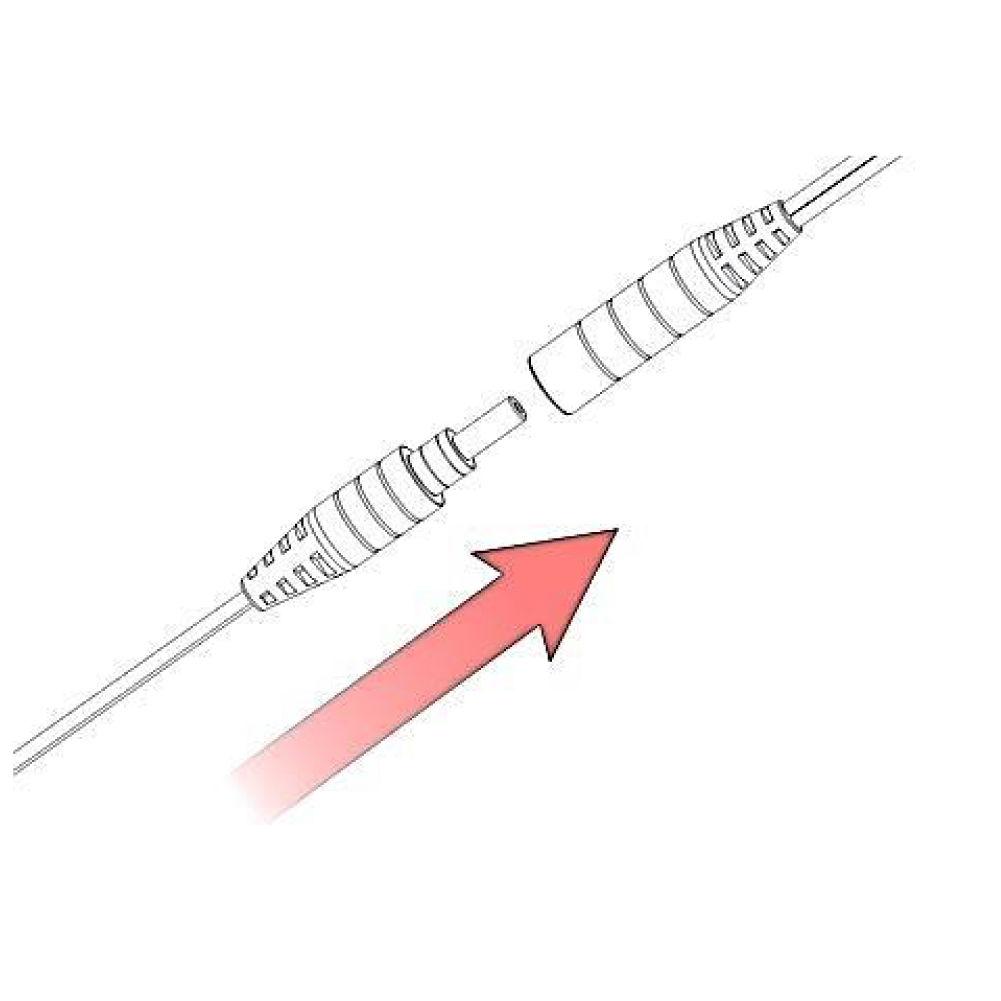
- After drilling the hole, feed the male end of the wire through the hole.
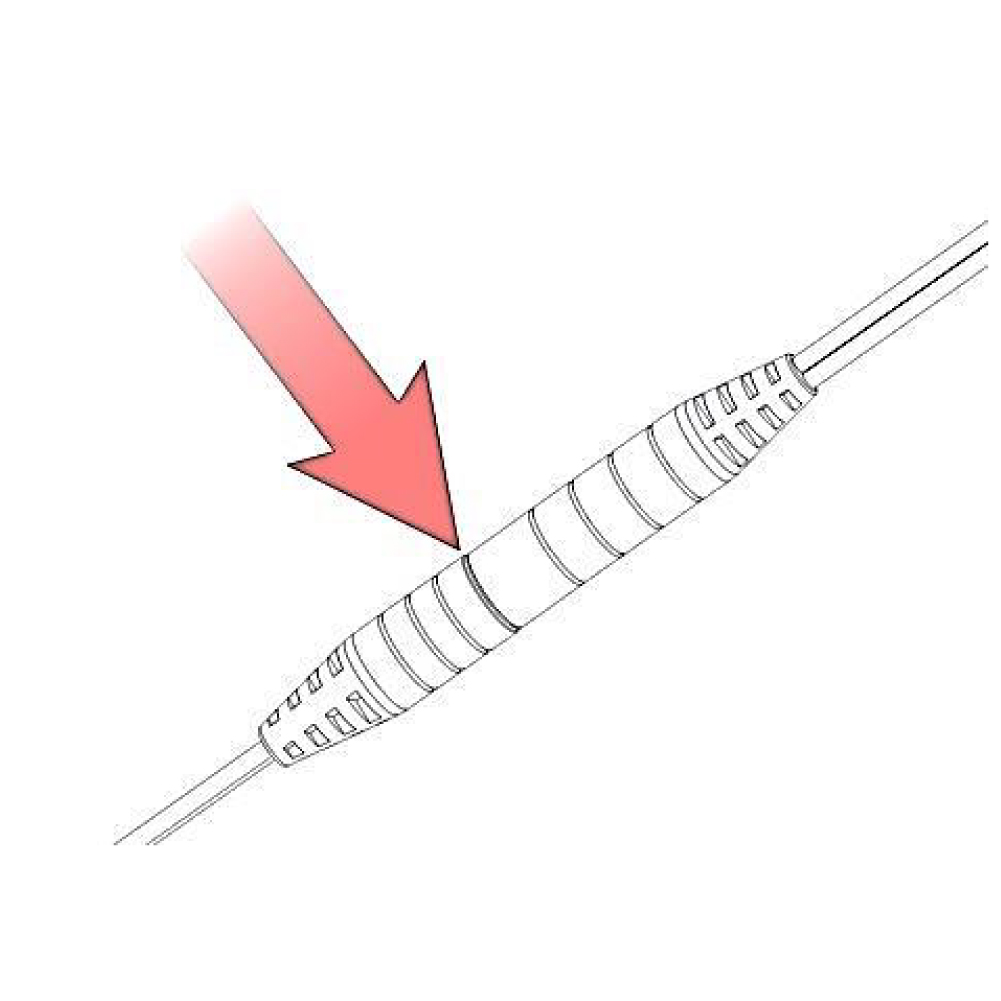
- When the male end of the wire has been run entirely through the hole, connect it to the female connection of the light. Ensure the ends are securely together.
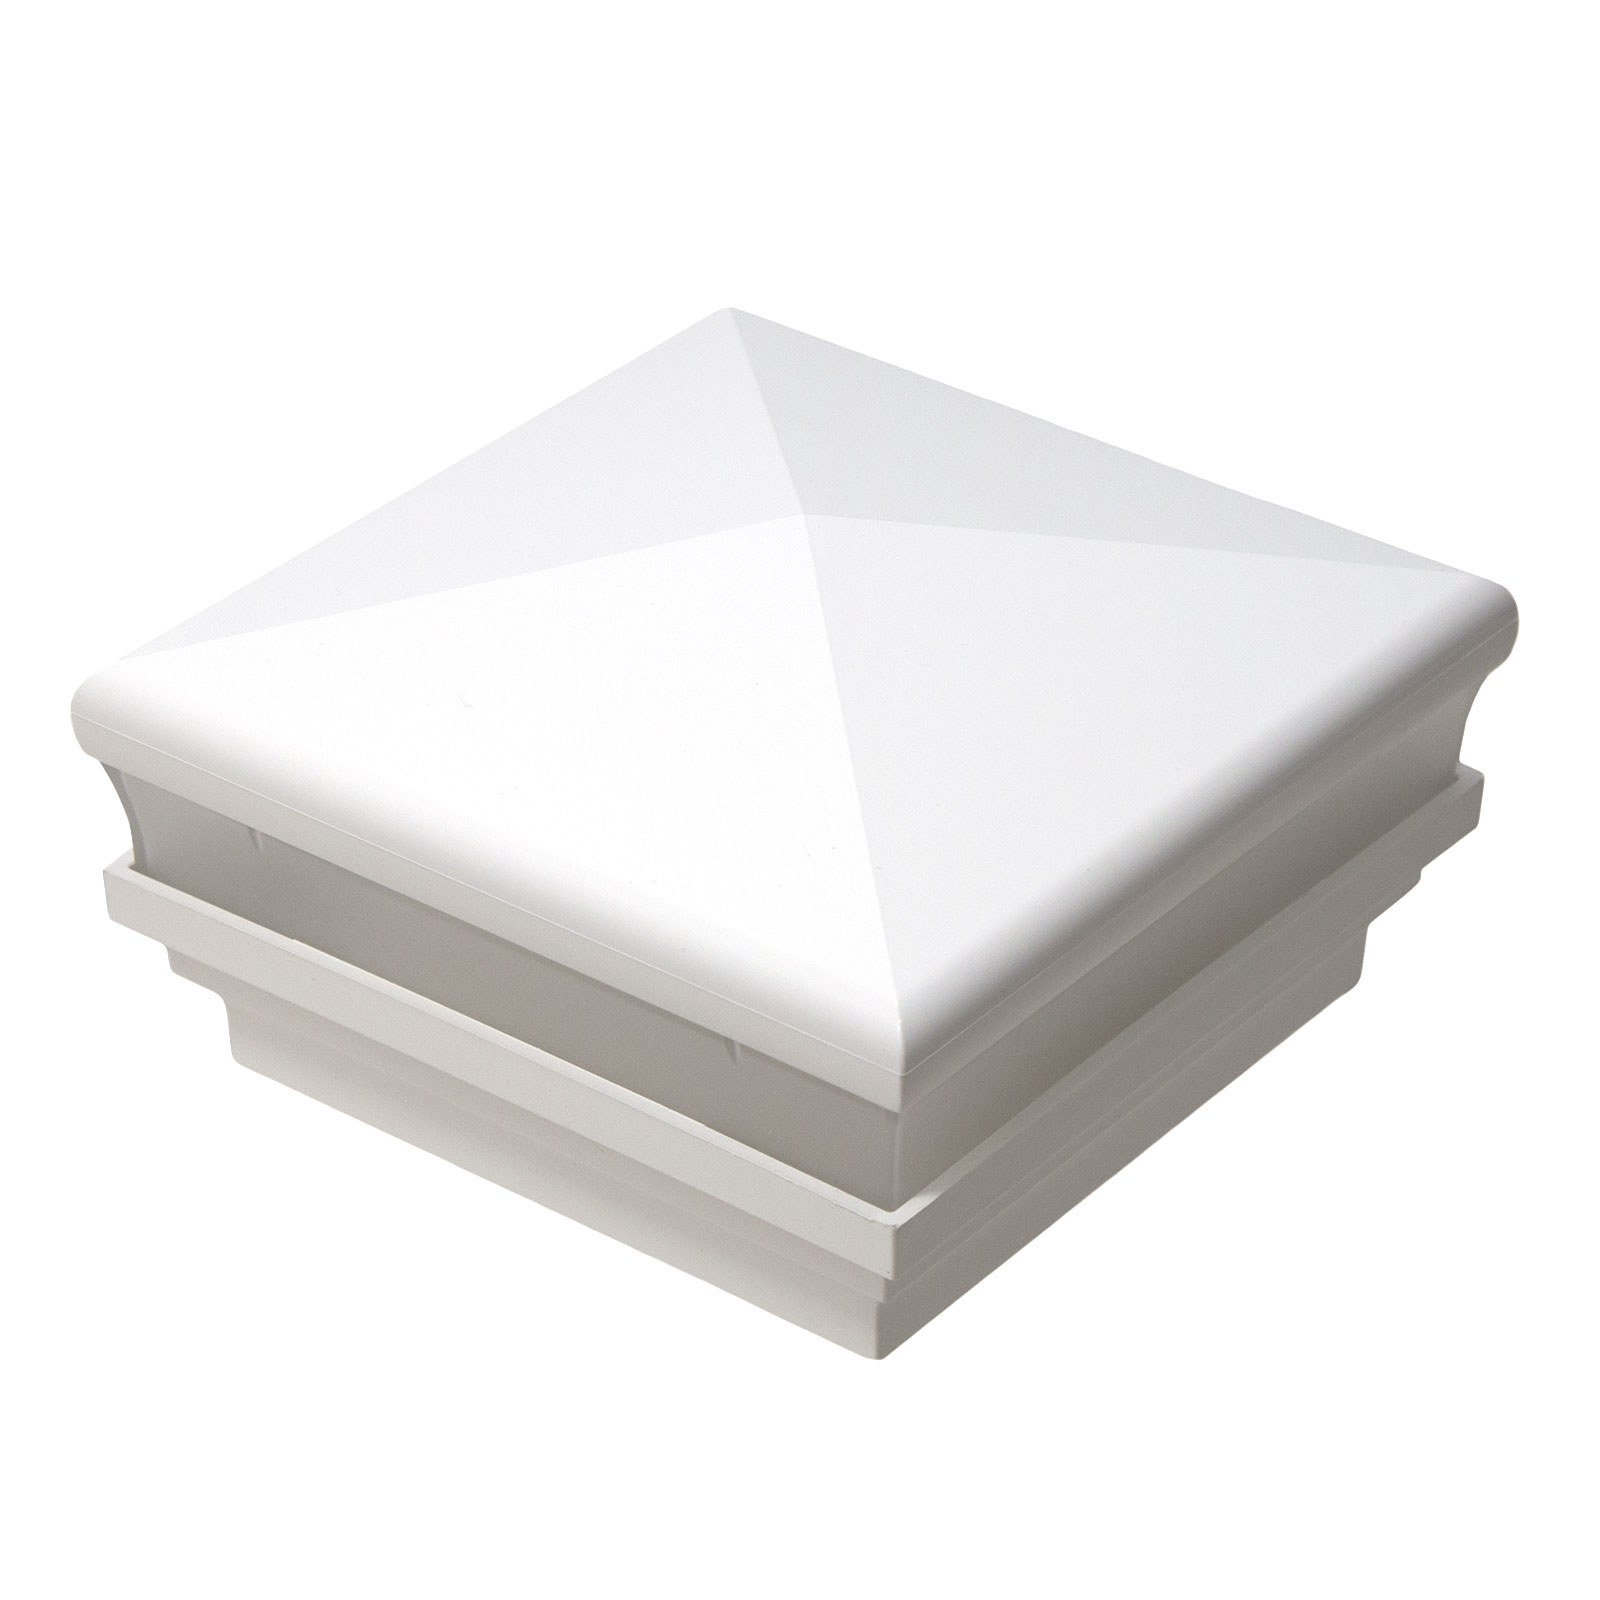
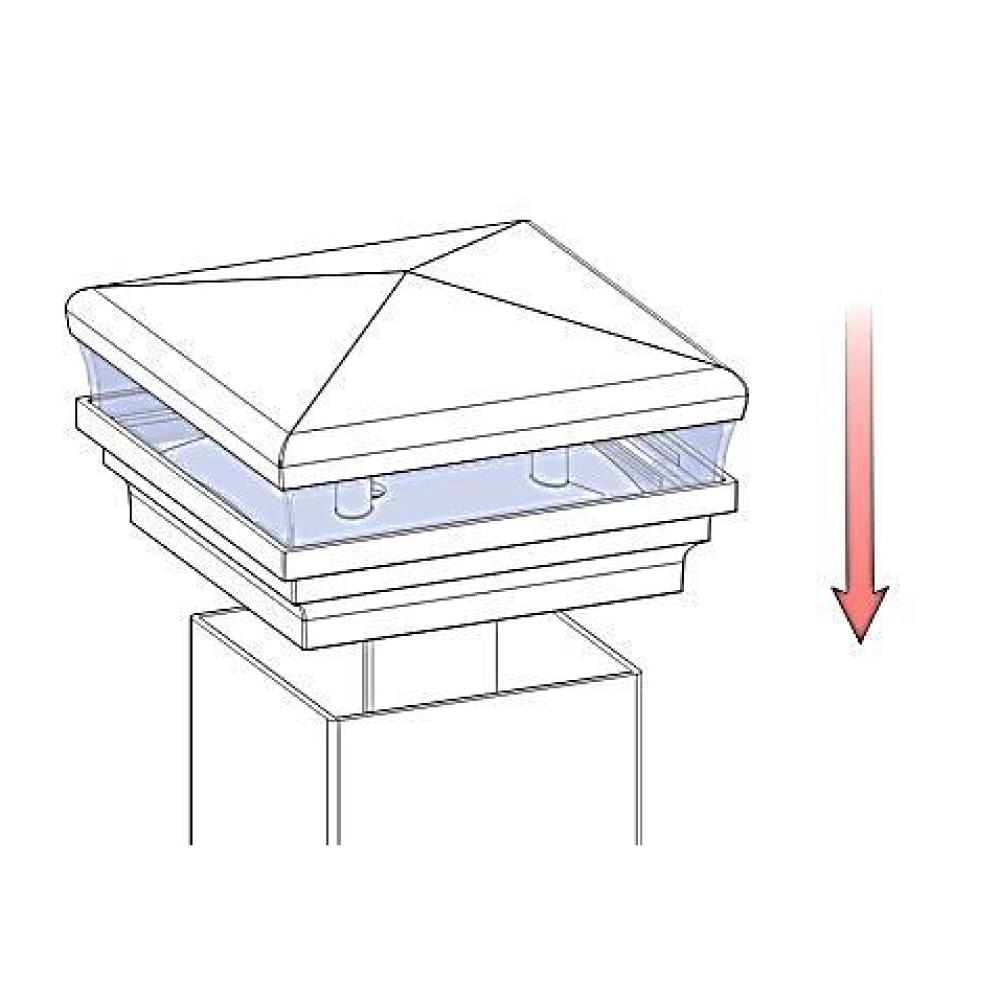
- You can now firmly press your lighted post cap into place.
- Your low-voltage LED post cap is fully installed and can illuminate your deck or patio.
Typical Installation Steps
Step 1

Step 2
Step 2.2
Step 2.2B
Step 2.3
Step 2.4
Step 2.5

Step 2.6
Step 3.1

Step 3.1B
Supplemental Video Guide: How to Install Low-Voltage Post Caps
Need a visual guide? We've created this video tutorial that will explain and show you all the steps needed to install your low-voltage vinyl post cap.