Have questions about solar post caps installation? You're in the right place. Our Frequently Asked Questions page covers the most common inquiries from customers just like you - whether you're a first-time buyer or a seasoned DIYer. We’re here to make your experience as smooth and informed as possible. Don't see your question here? Feel free to contact our expert sales team or check out our helpful resources page to find what you're looking for!
How to install a Solar-Lighted Post Cap
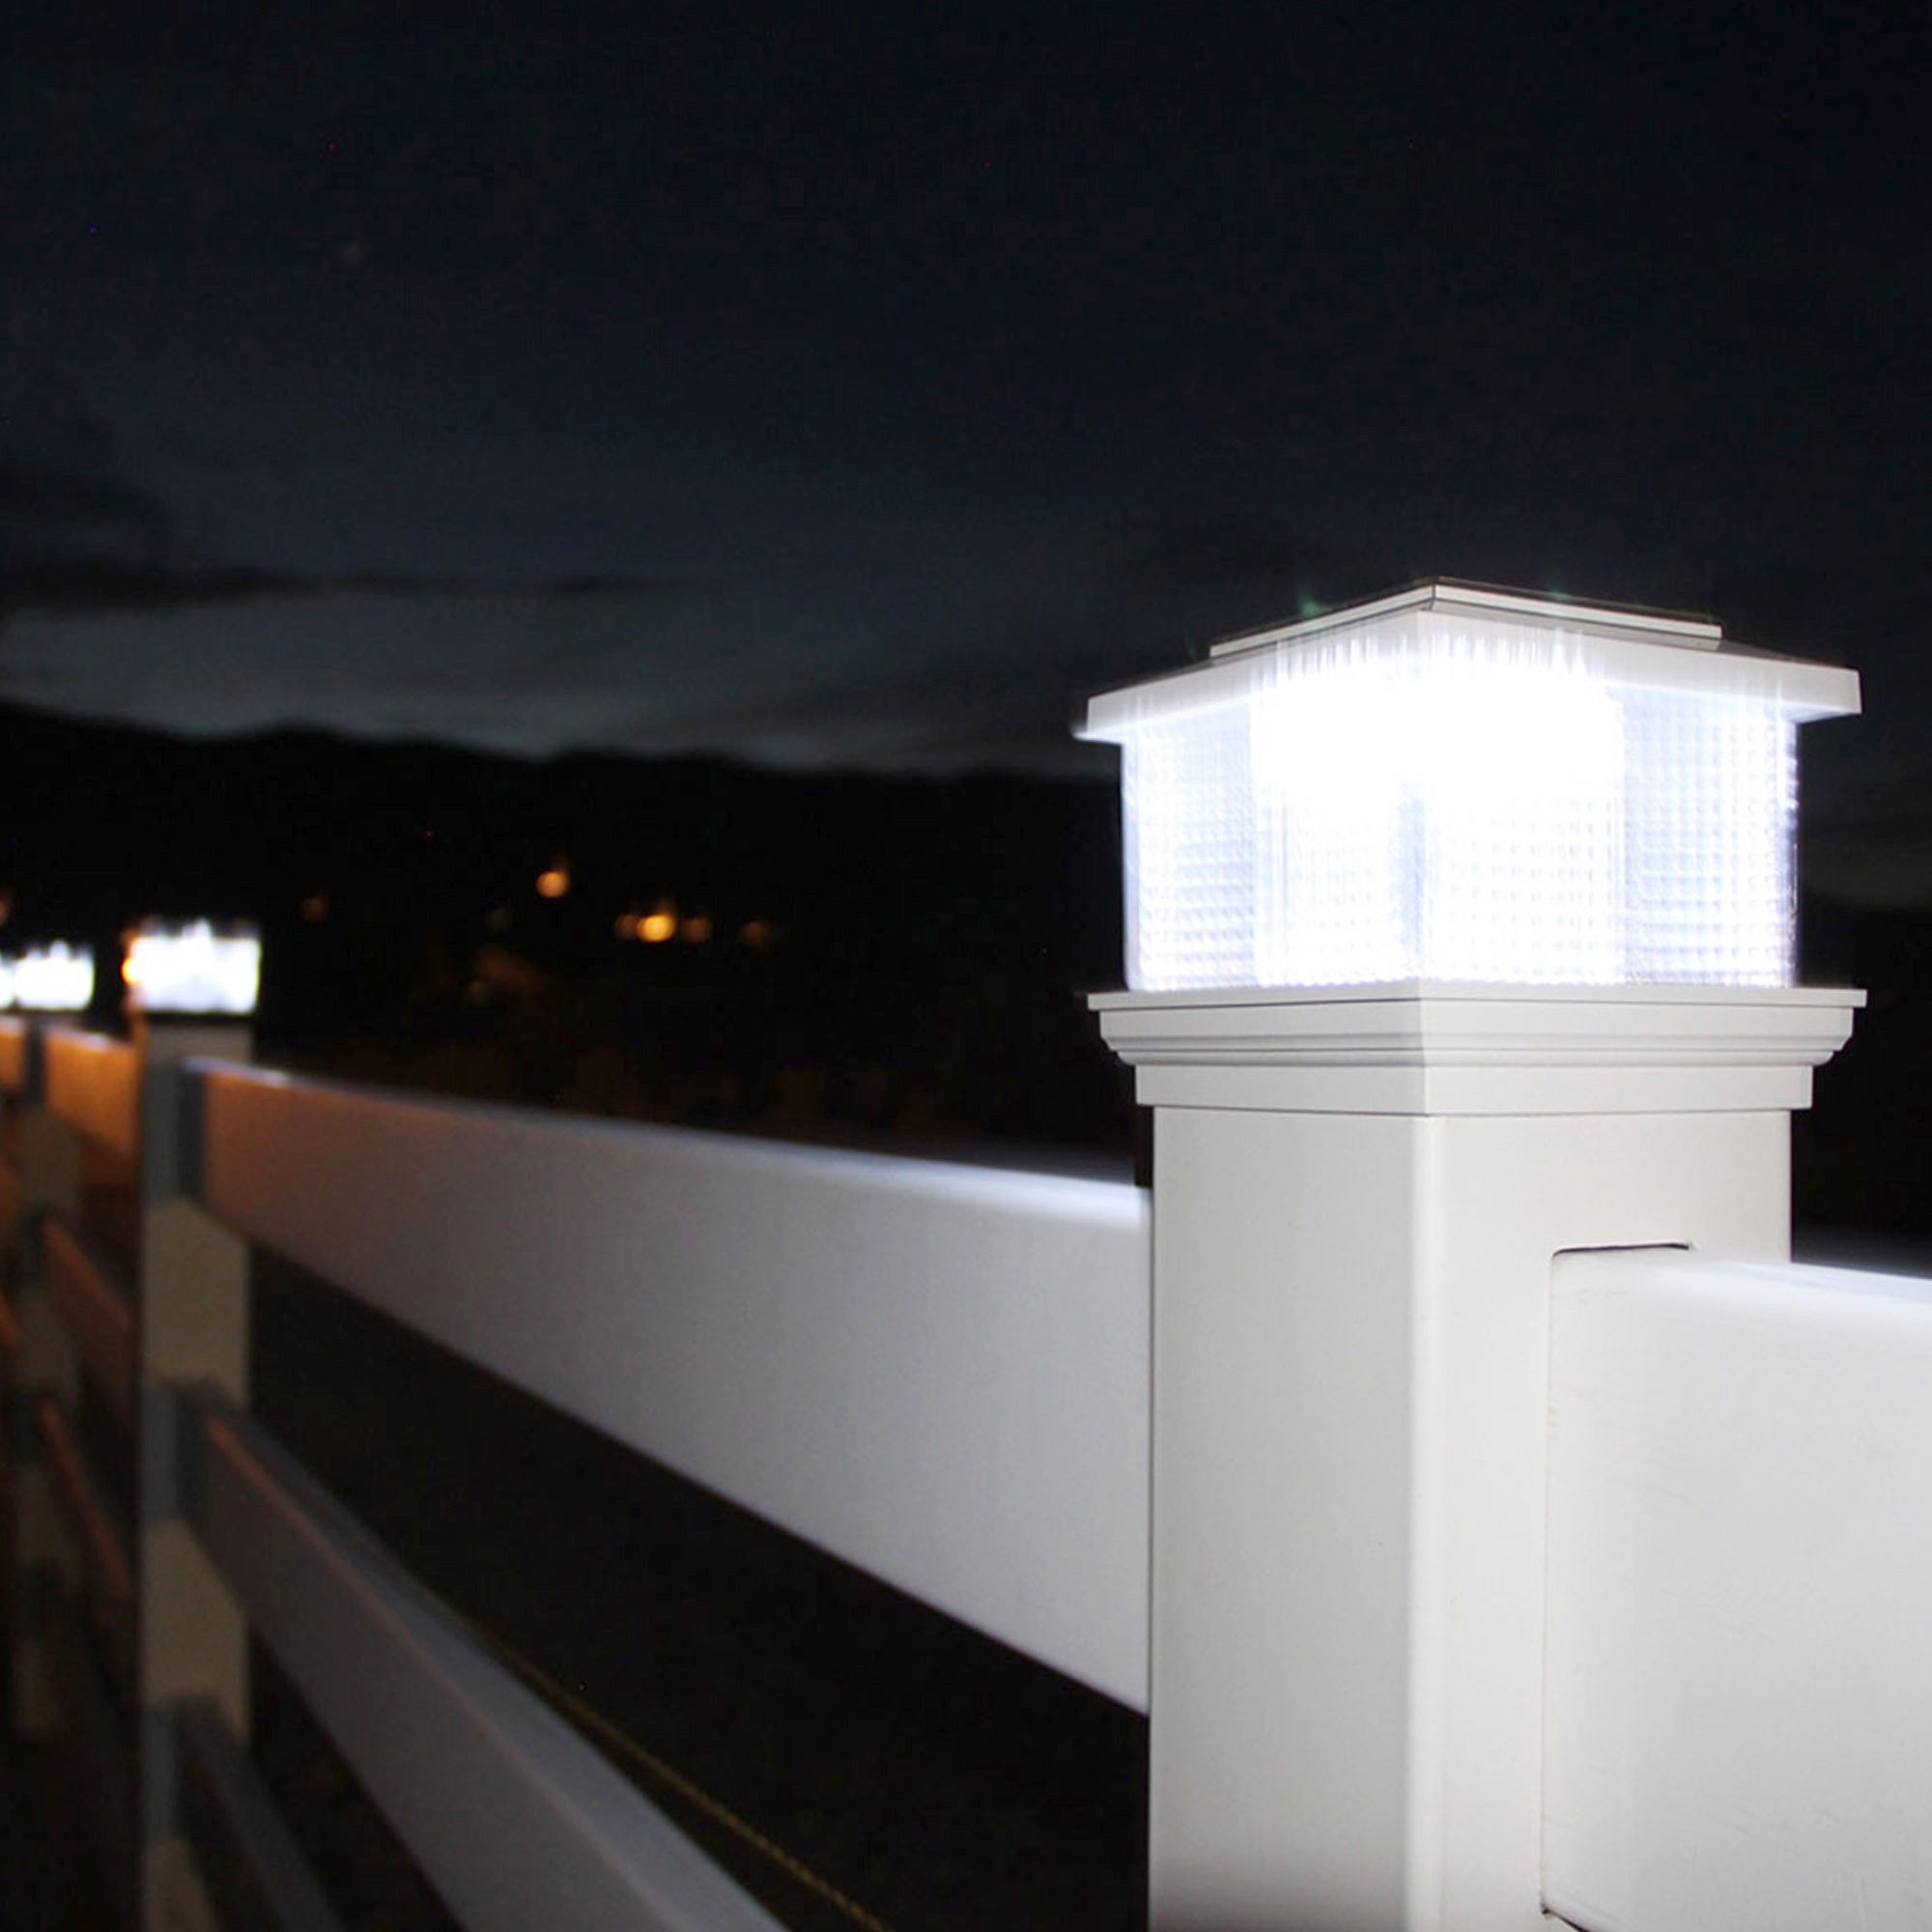
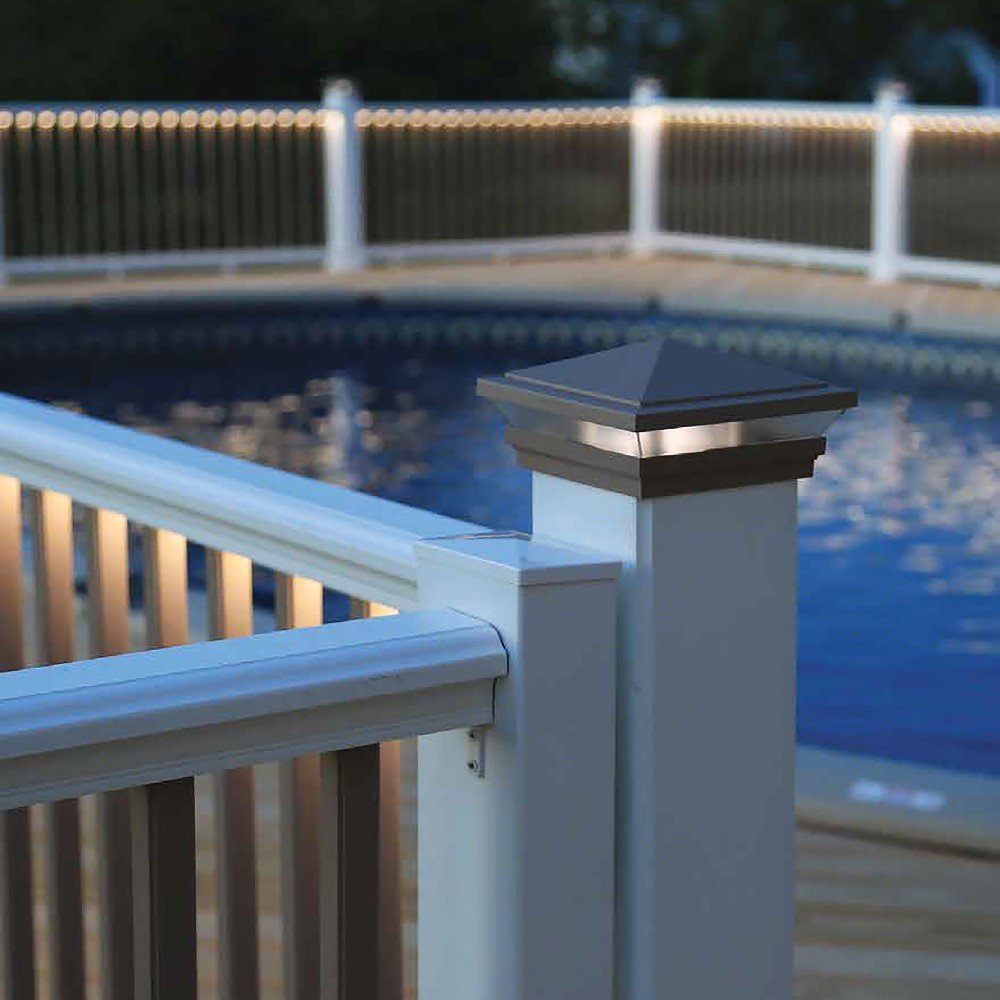
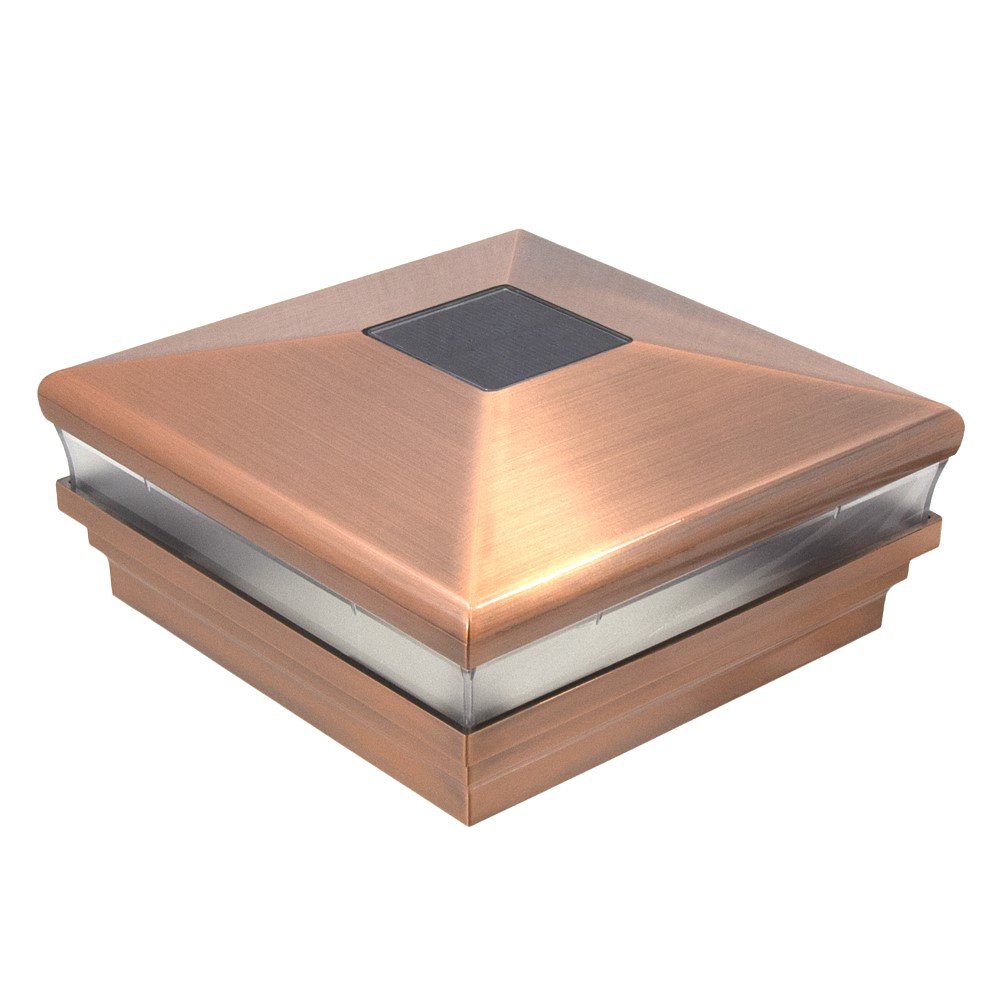
For just about all of our Solar Post caps, the only thing you need to do is ensure that you have the right size cap for your post as installation only takes seconds. Just flip the cap upside down and remove the pull-tab keeping the battery from touching the contact, ensure that the LED light is working correctly (the light should just come on instantly but may need charging), and then flip it upright and insert on top of your post.

Shop Solar Post Caps
How to install a Low Voltage LED Post Cap?
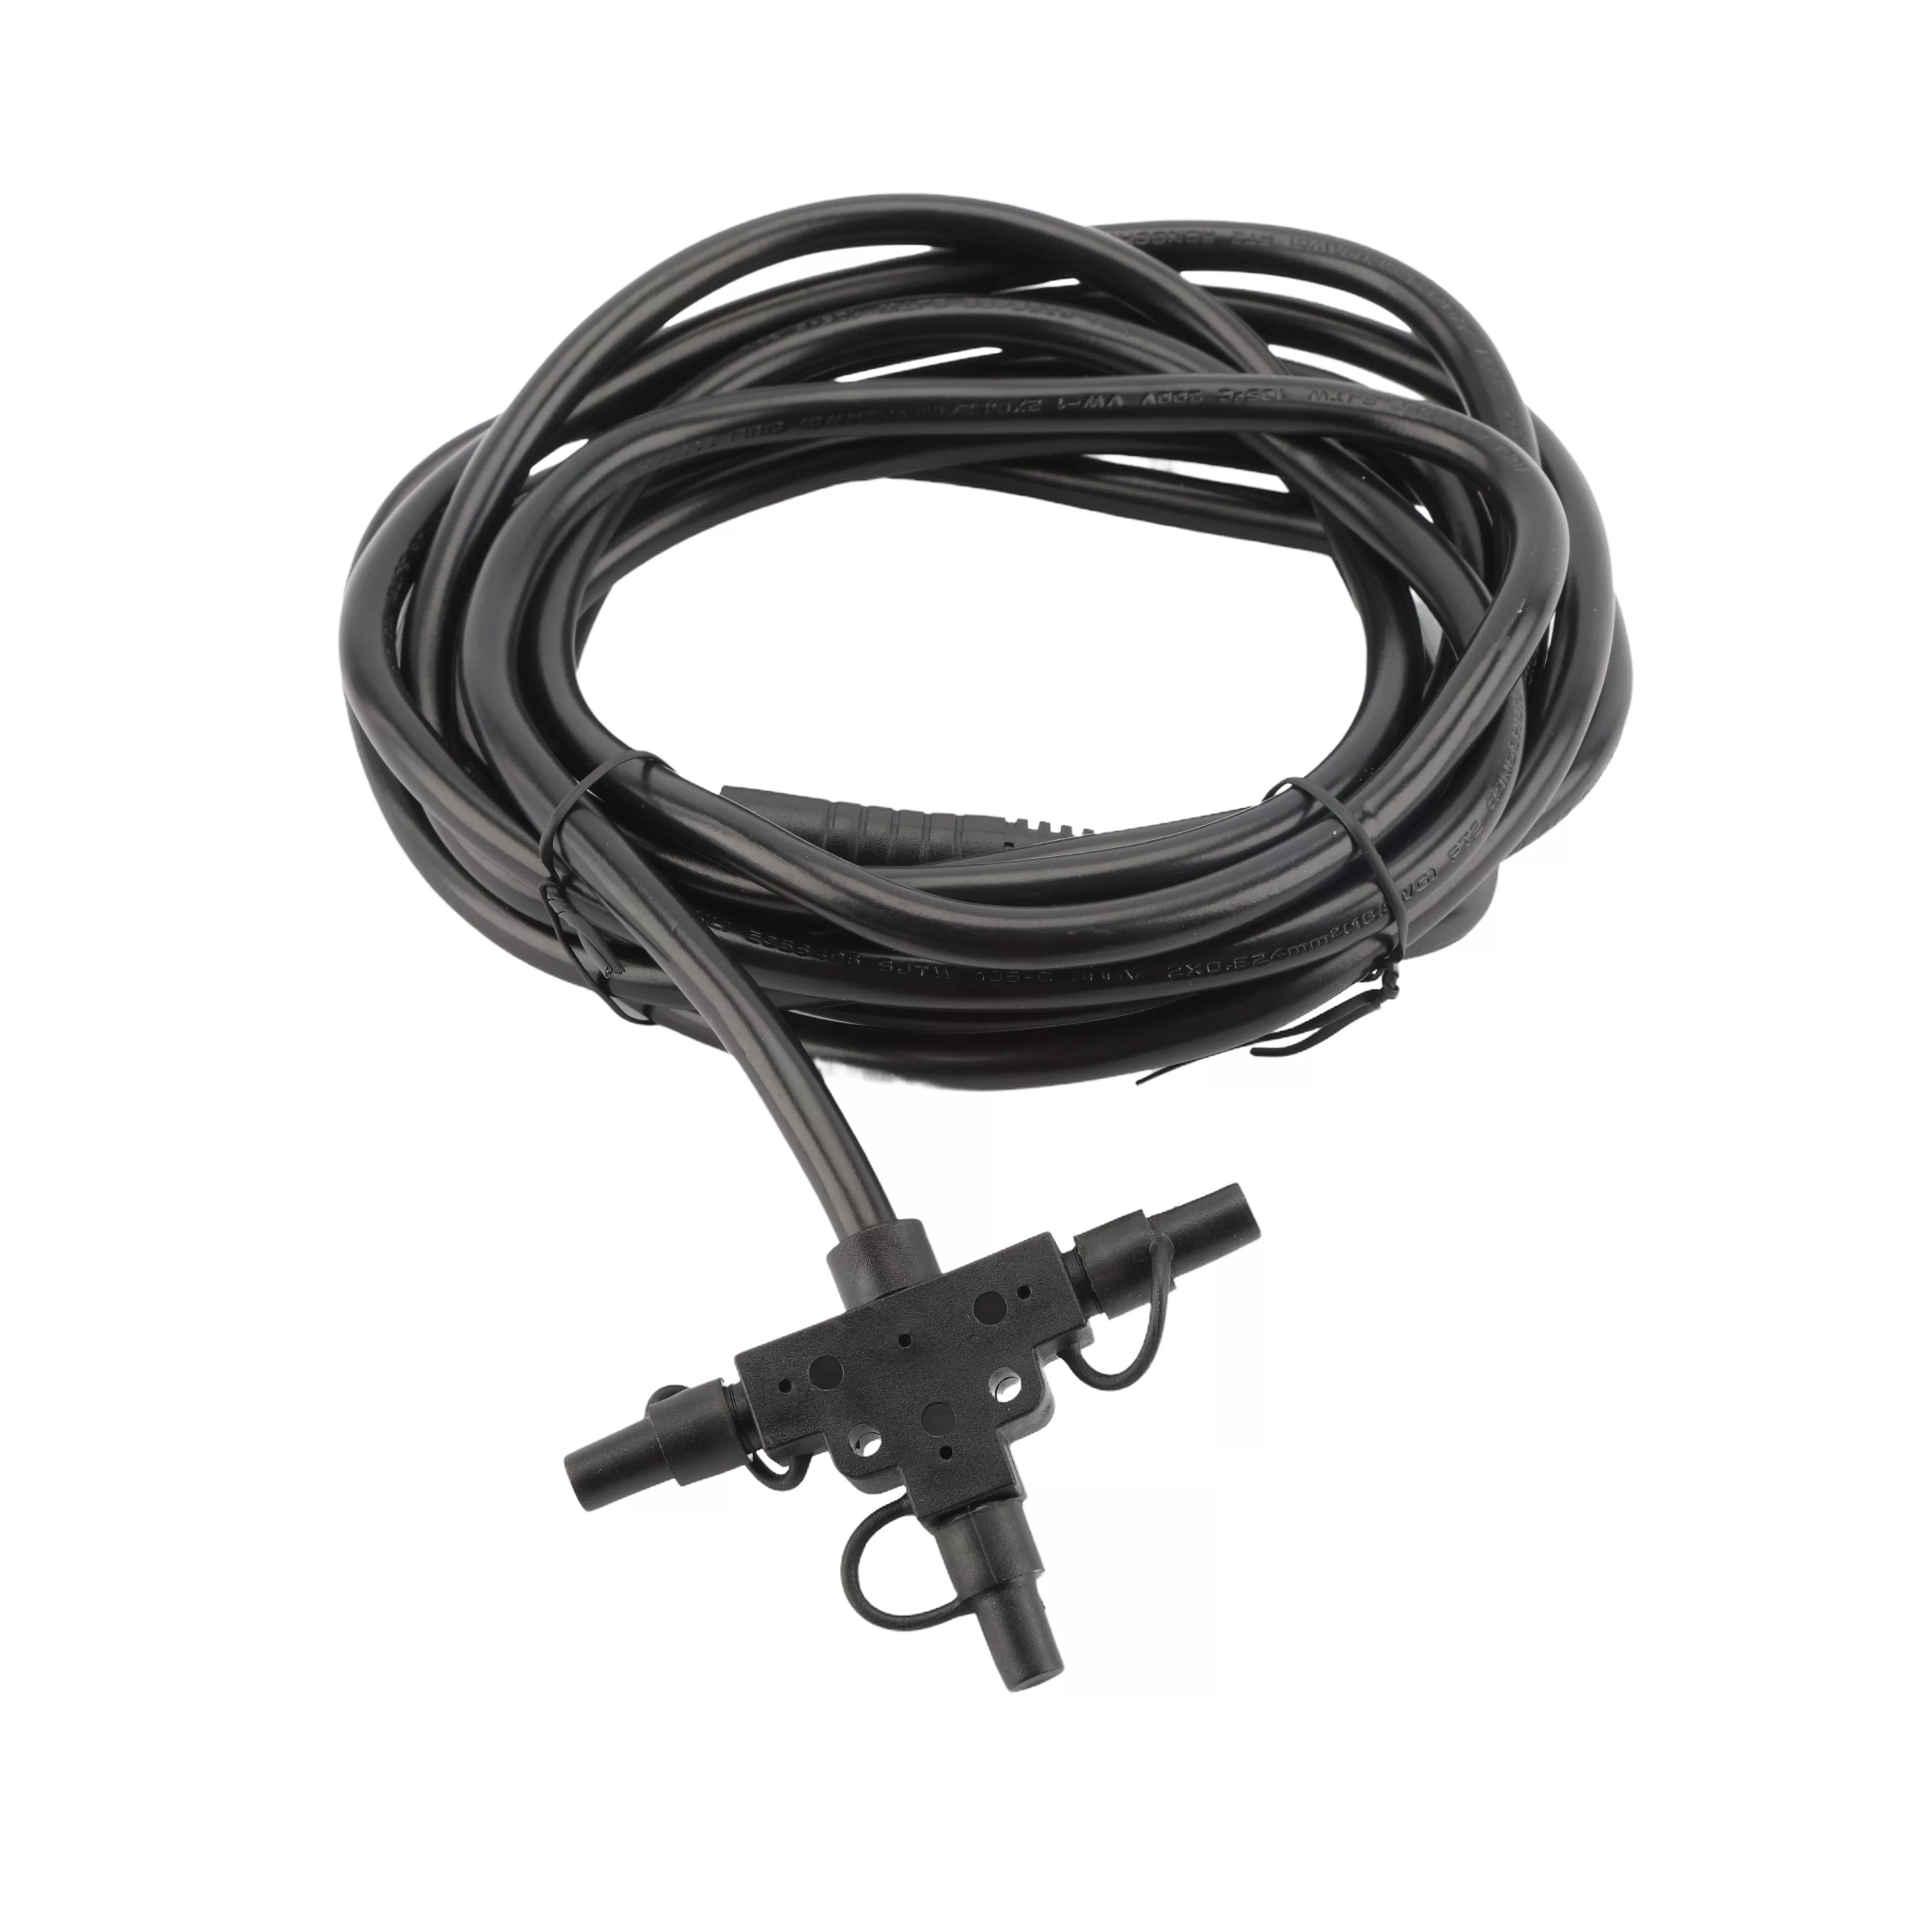
Unlike typical solar post caps, low voltage caps are a little bit more involved when it comes to installation as they require an external power supply. Here's a few general steps for you to follow:
- Decide which post you would like to install your LED post cap on.
- Once you have decided where to install your post caps, drill a hole into the post using a 7/8” diameter Bi-metal hole saw if adding the cap to a metal post. If installing on a wood post, use a 7/8” Forstner bit to drill the hole. (Tip: to prevent splitting of wood, do not drill with ½” to the top of the post.)
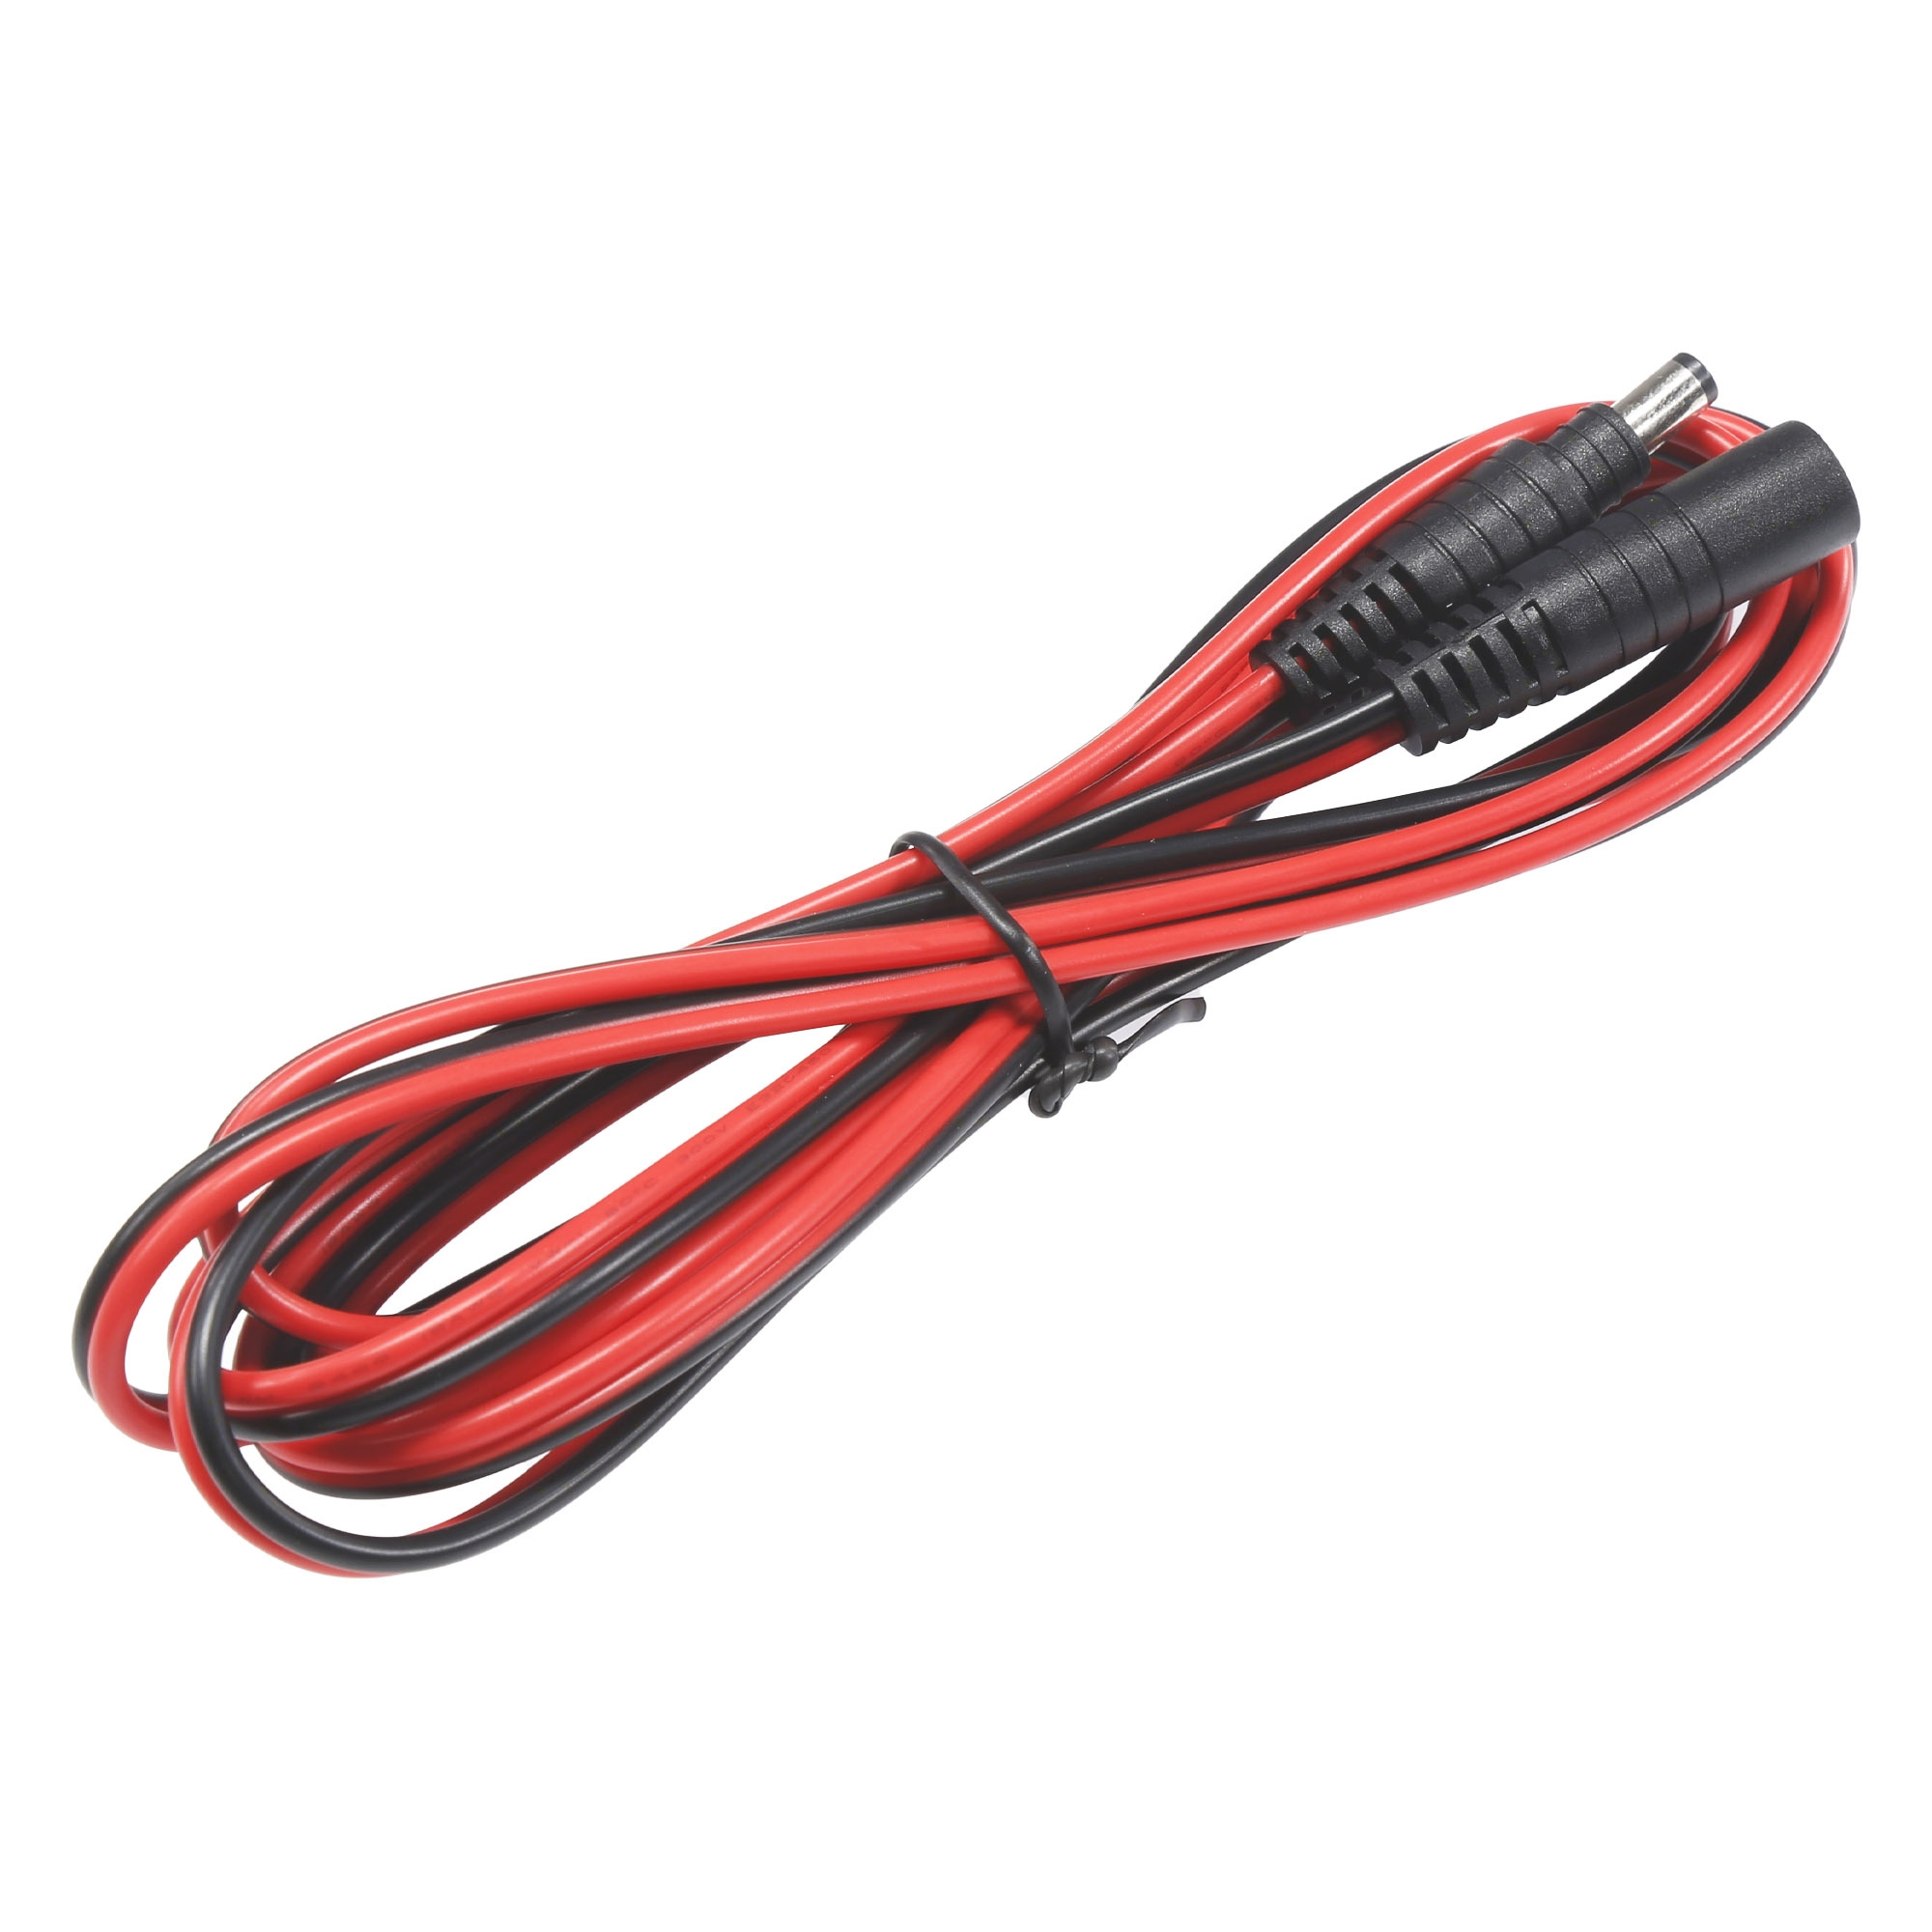
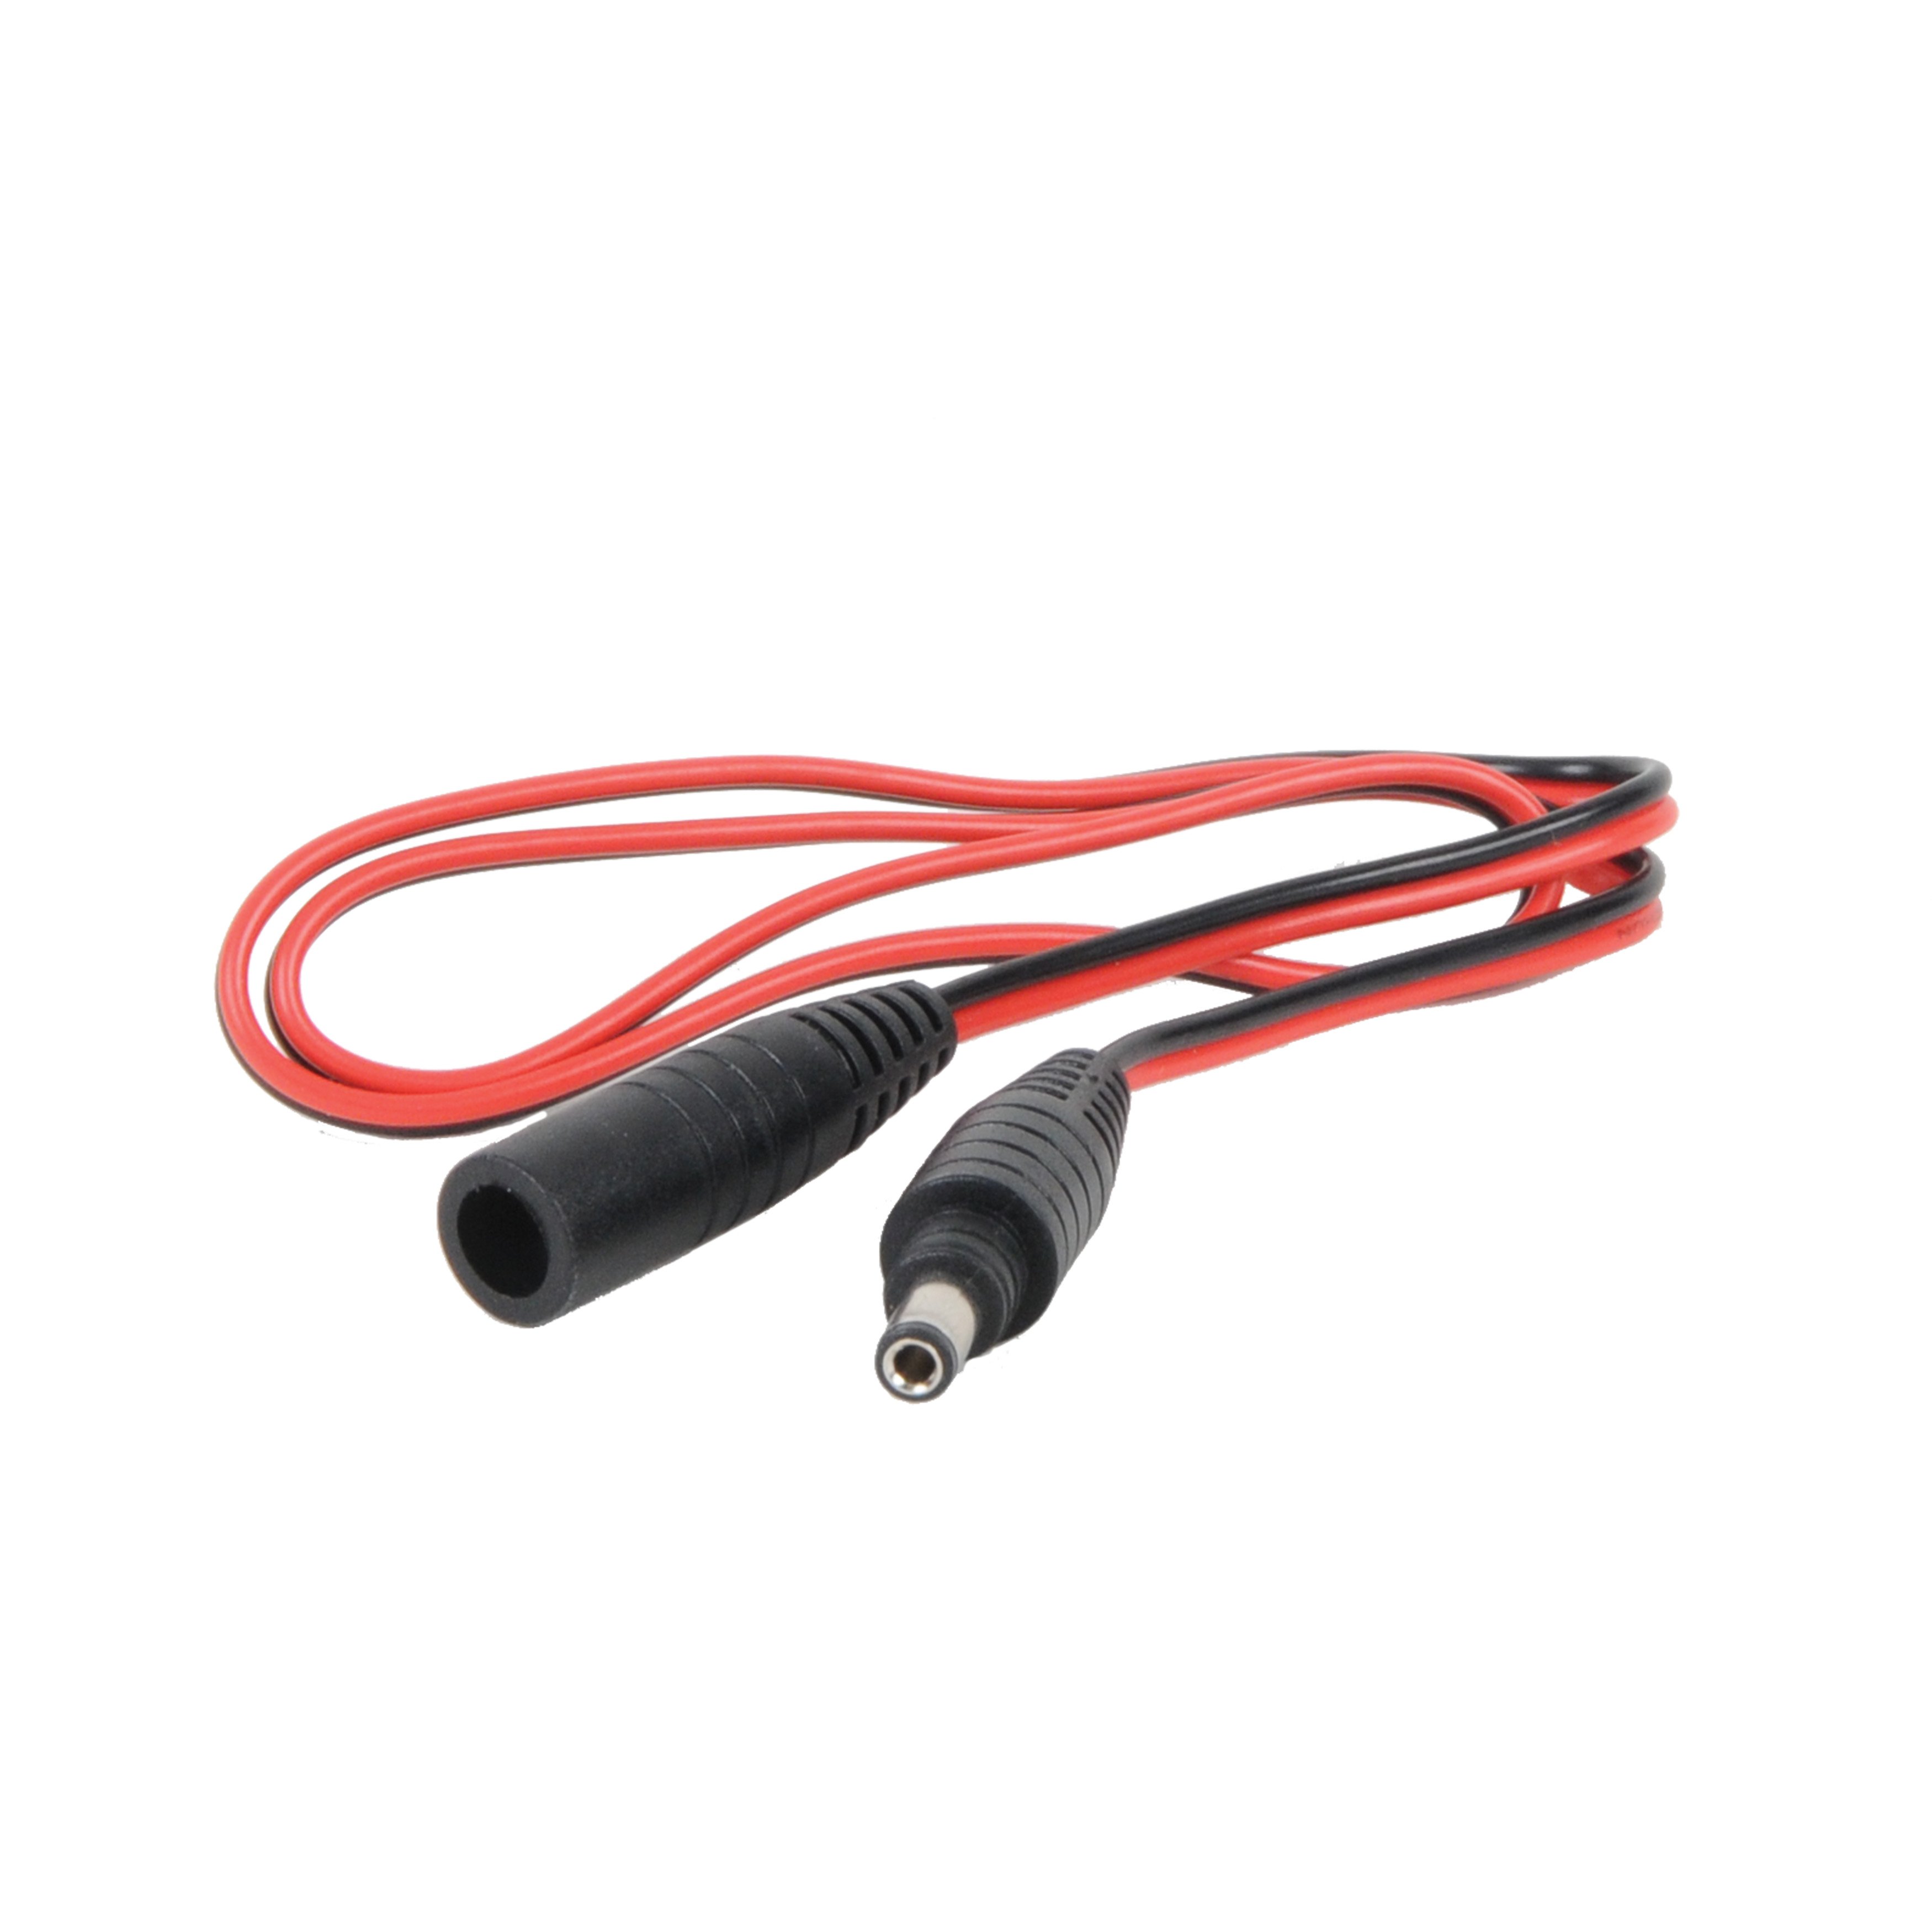
- After drilling the hole, feed the male end of the wire through the hole.
- When the male end of the wire has been run entirely through the hole, connect it to the female connection of the light. Ensure the ends are securely together.
- You can now firmly press your lighted post cap into place.
- Your low-voltage LED post cap is fully installed and can illuminate your deck or patio.
Do I need Vinyl Glue to install my Solar Post Caps?
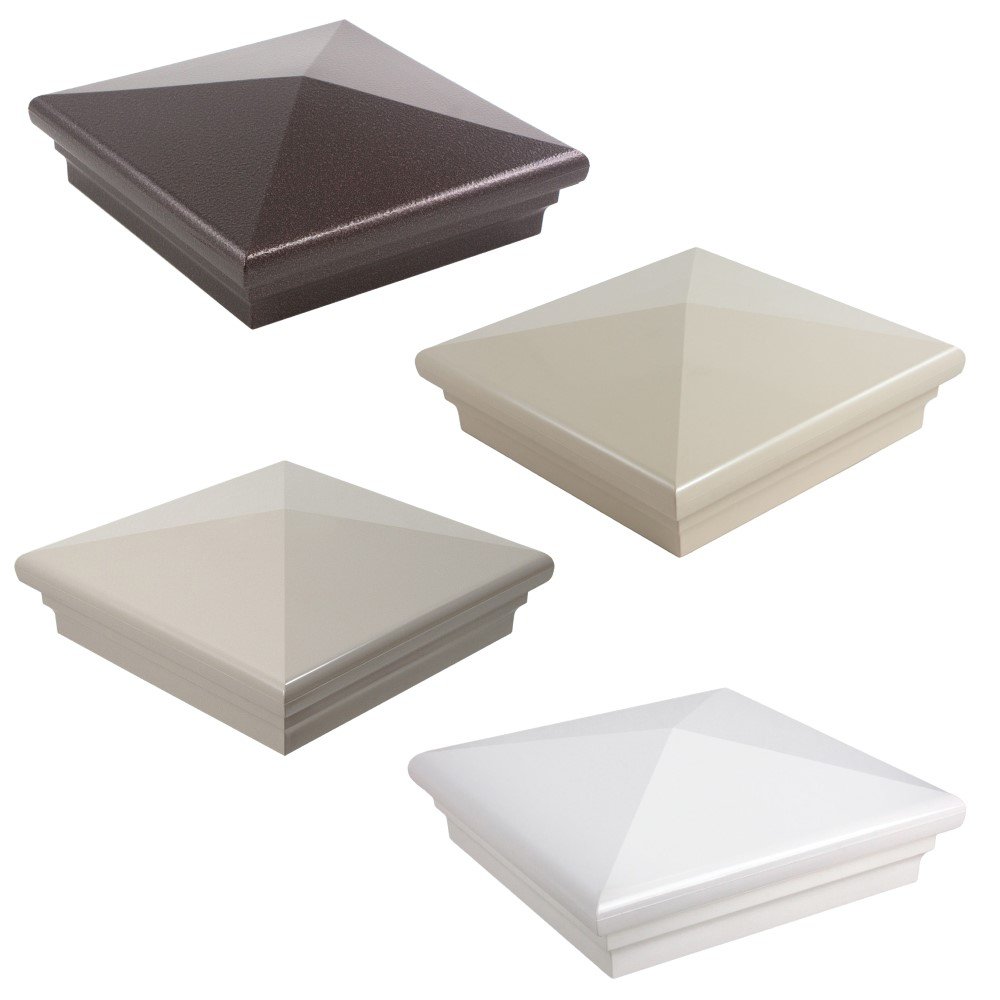
For most installations, no you do not necessarily need glue, however there are a few benefits to using it. For example, if you live in a high-wind area vinyl glue can prevent your post cap from flying off or becoming damaged. Or when you are attaching to wood, it can help adhere to the material as it may expand and contrast differently than the vinyl and thus be a less secure fit.
Shop Vinyl GlueDo I need to dig to install Landscape Lighting?
To install the lights themselves, no, you to not need to dig as they already have stakes that can just be driven into the ground by hand. Where a decision is made is what to do with the power supply, as low voltage lighting does require an external power source to stay lit. Some power supplies have wiring harnesses that can be dug into the ground for a seamless look or if you want to simply hide your cable for easy maintenance then you can use an above ground cable instead.
How long should a Solar Light be charged before installing?
Generally speaking your Solar Post Cap battery should come already charged for instant use, however sometimes things get knocked loose, batteries do drain over time, and generally speaking this does happen on occasion and the battery may not be charged. If you want to charge your solar light to ensure it's functional before installing, first make sure your solar battery is inserted into your post cap with the tab pulled out, then let it sit with the solar panel in direct sunlight for 5-10 hours. This should charge your post cap enough to function for about 7 - 8 hours uninterrupted. If this does not happen, test with another battery to ensure the battery is not faulty. If the post cap still does not light up, the cap itself may be faulty.
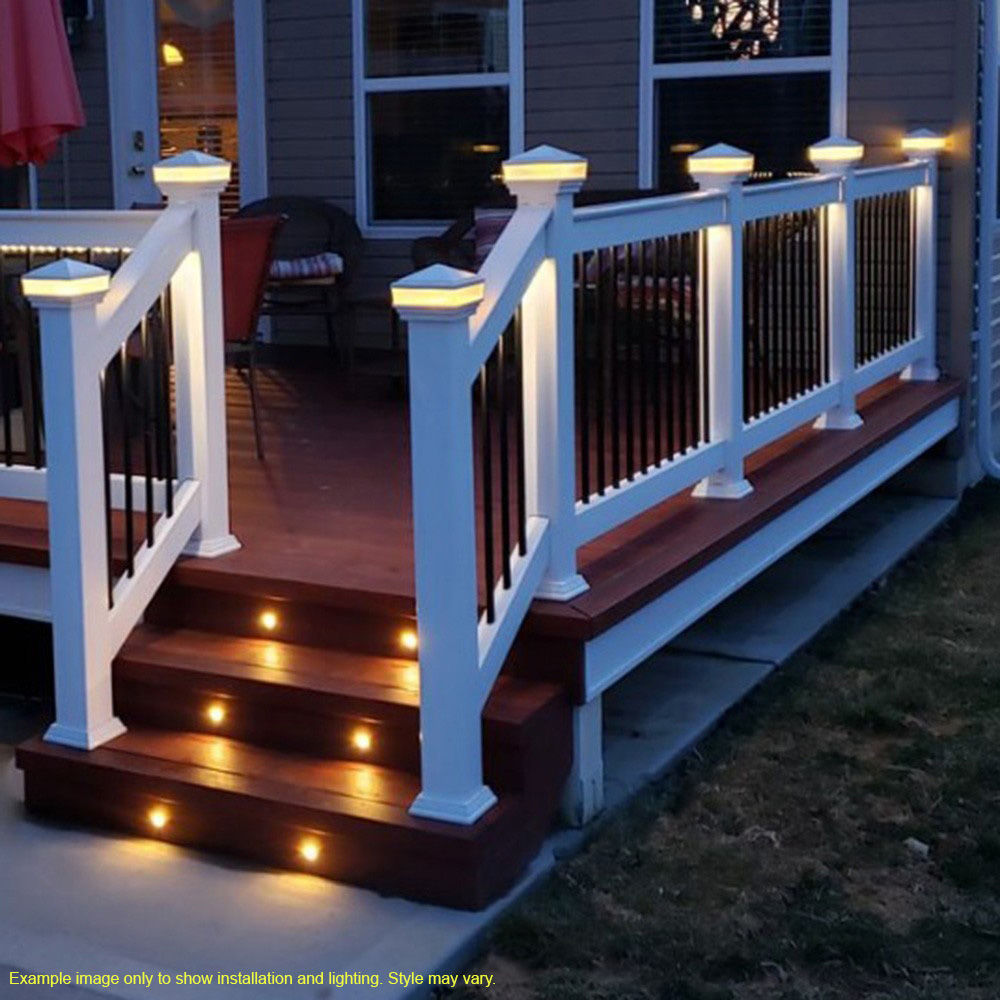
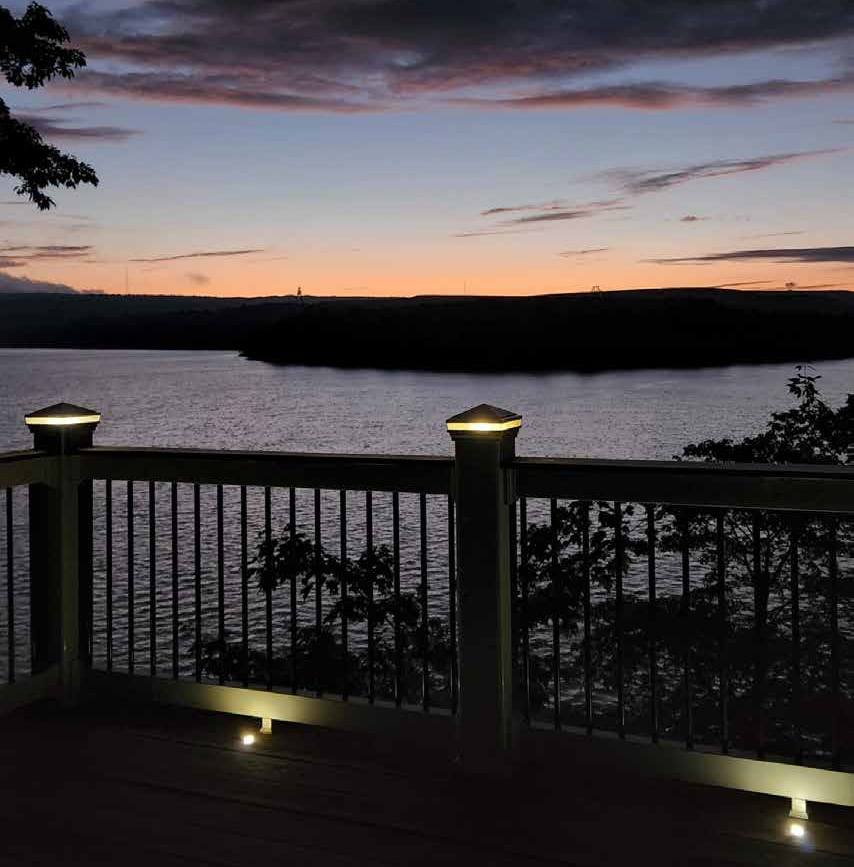
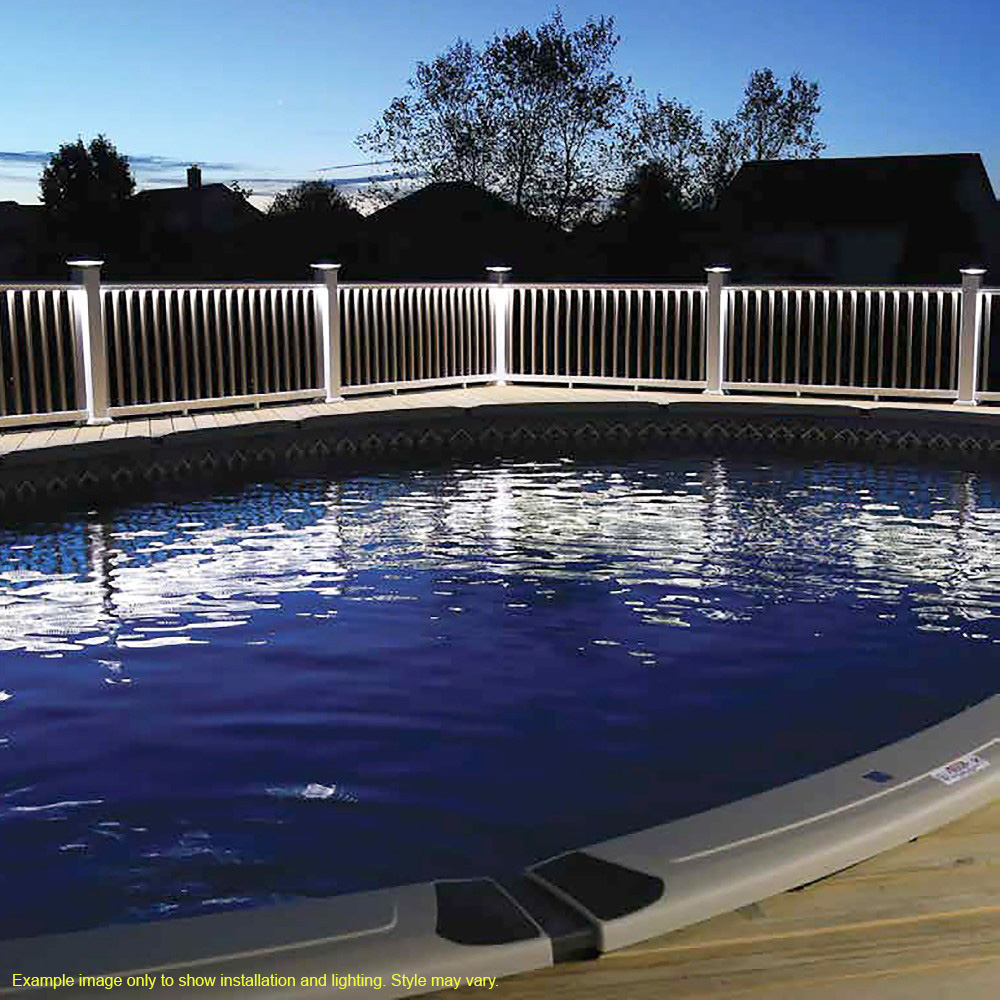
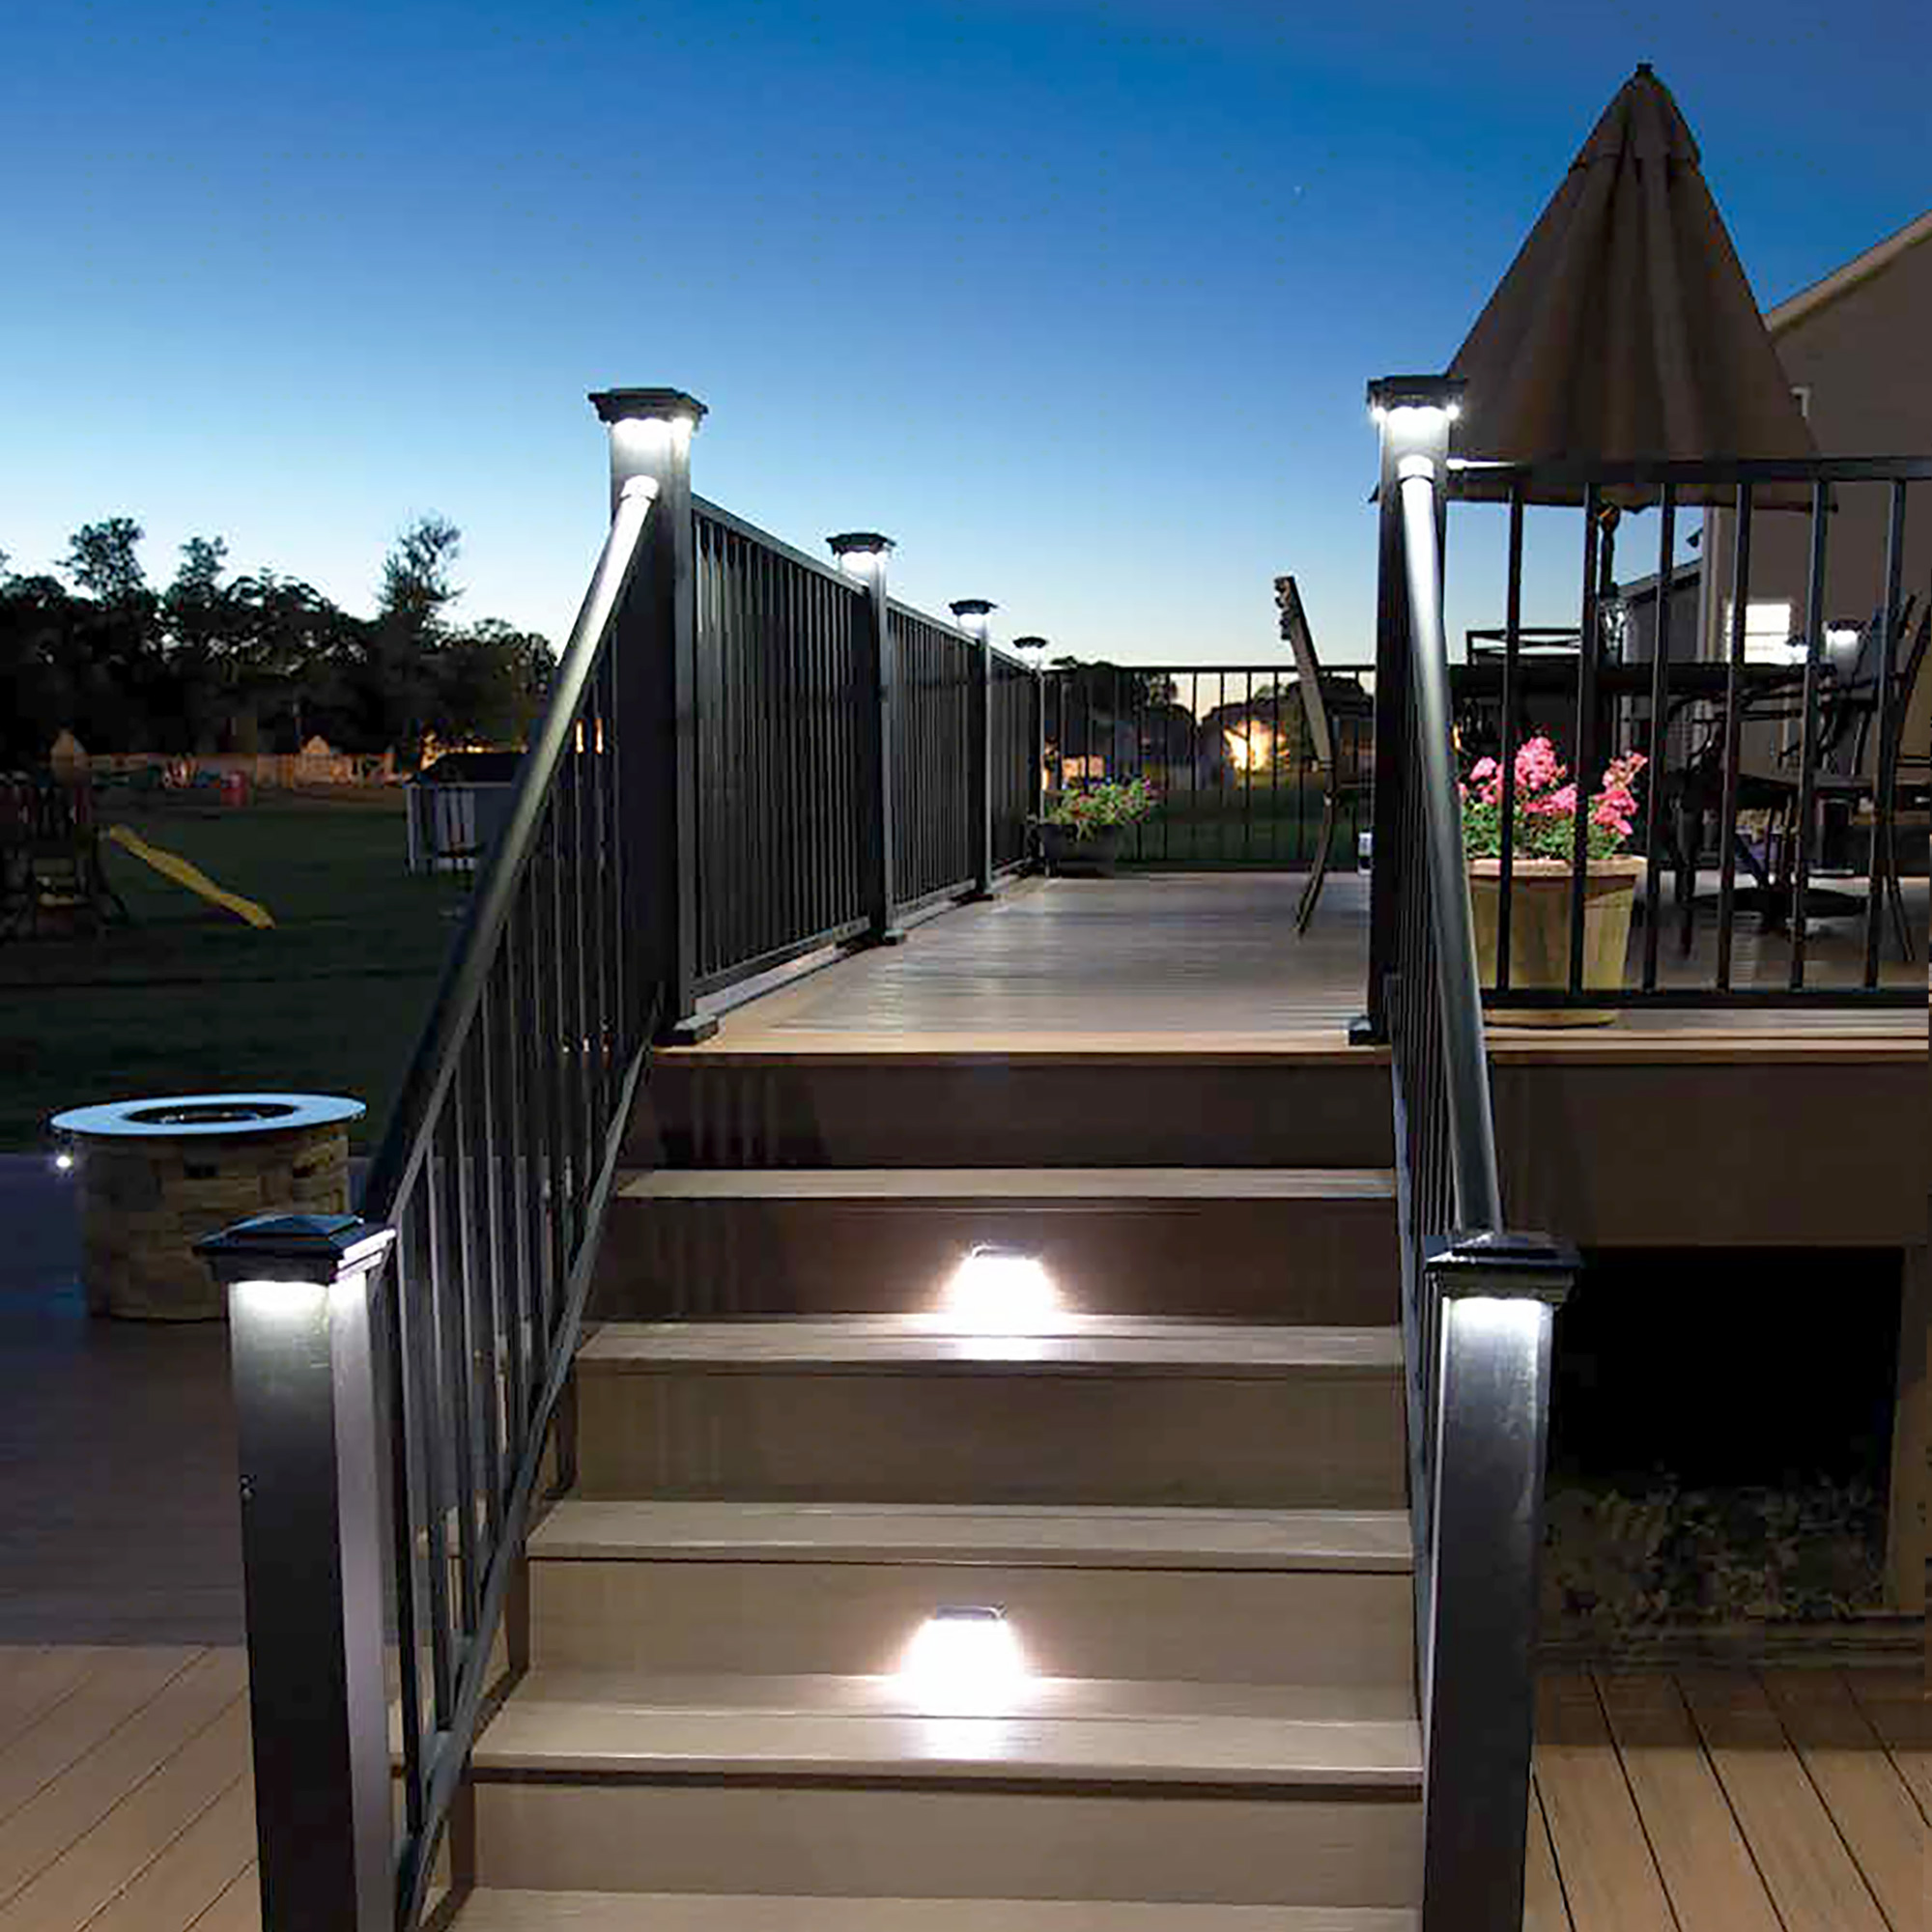
Where should I install my Solar Post Caps?
You can install your solar post caps just about anywhere! On your fence line, porch, sidewalk, anywhere they can securely fit with a good amount of sunlight is the perfect place for a solar post cap!